Last updated November 18, 2026




Free written scope consultation - allowances, timeline, and change-order rules on paper before a single trade is scheduled
Driveway & Pavers Maintenance Checklist for Hayward Homeowners
A paver that looks cracked in January in Hayward is almost never frost damage. It’s almost always soil movement underneath. And here’s the part that costs people real money: sealing that surface without fixing the base turns a $400 joint-sand and re-level job into a $4,000 tear-out and re-install. Our technicians have seen this exact mistake repeated across the East Bay, and it’s the single most expensive habit we’re asked to correct.
This checklist is built around what actually happens to Hayward driveways. Not snow loads. Not freeze-thaw cycles that don’t exist here. Just the two forces that quietly wreck Bay Area pavers year after year: expansive clay soil that swells and shrinks with the seasons, and marine air that leaves white mineral bloom across your surface.
You’ll learn what to inspect each month, which products are safe on Belgard and Boral pavers, and one five-minute test that tells you whether a crack means cosmetic wear or base failure. Everything here is something you can check yourself before you call anyone.
Quick Answer
Paver maintenance in Hayward comes down to two priorities: keep joint sand topped up so water can’t reach the clay subgrade, and remove mineral bloom before it hardens into the paver face. Inspect joints and surface staining every fall and spring, re-sand with polymeric sand before the first heavy winter rain, and never seal a driveway until you’ve confirmed the base is stable. Skip the base inspection and you’ll seal a problem in, not solve it.
Styles & brands we work with
- Kitchen remodeling
- Bathroom remodeling
- Home additions & ADU
- Roofing
- Windows & doors
- Driveway & pavers
- Fence
Table of Contents
- Why Hayward’s Clay Soil Is the Real Threat, Not Frost
- How to Inspect for Seasonal Paver Lift (No Tools Needed)
- Efflorescence: Identifying and Removing the White Stain
- The Month-by-Month Hayward Checklist
- Joint Sand Inspection and Which Polymeric Sand Holds
- Crack vs. Base Failure: The Test You Can Do in Five Minutes
- When (and When Not) to Seal a Hayward Driveway
- Drainage, Slope, and Hayward’s Intermittent Storm Loads
Why Hayward’s Clay Soil Is the Real Threat, Not Frost
Driveway maintenance guides written for the Midwest or Northeast spend pages on frost heave. Hayward doesn’t get that weather. What we get is clay – expansive clay that swells when it’s wet and shrinks when it dries, and the East Bay has plenty of it. That shrinking and swelling is what lifts pavers out of plane, opens joints, and cracks the edge restraints that hold the whole system together.
The pattern in Hayward runs on our own clock. The ground saturates through the wet winter, expands, and pushes. Then the dry summer pulls that moisture out and the soil contracts, leaving voids under pavers that were sitting flat in March. A paver that’s suddenly rocking in September isn’t a paver problem. It’s a foundation problem showing up at the surface.
Our technicians have up to 19 years of experience, and the lesson from nearly every failed driveway we’ve inspected is the same: the surface gets blamed, the base gets ignored. Under The Haven Standard, we document the substrate before we quote anything, because the number depends entirely on what’s under the pavers, not what color they are.
What you can do about it:
- Watch the transitions – the seam where driveway meets garage slab, sidewalk, or apron. Clay movement shows up there first.
- Note which pavers lift after heavy rain versus which are always high. Movement tied to wet weather is soil, not settling.
- Check that water runs off toward the street or a drain rather than pooling against the house or the garage door.
- Keep a photo log each fall. Clay movement is slow, and a dated record beats memory every time.
If your driveway is part of a larger exterior project, our team handles the full scope under one roof. You can see the whole picture at Driveway & Pavers in Hayward, where base prep and materials are quoted line by line before work begins.
How to Inspect for Seasonal Paver Lift (No Tools Needed)
You don’t need a level or a straightedge to catch most clay movement in Hayward. You need to get down to eye level and walk your driveway twice a year – once in late fall when the ground is starting to take on water, and once in early spring after the rains have done their work.
- Sight down the surface. Crouch at one end of the driveway and look along the plane. Pavers that appear to float above their neighbors are lifted. A flat surface that reads slightly wavy is normal wear; a distinct high paver surrounded by low ones is soil movement.
- Walk the grid and listen. Step on each paver section in a slow grid. A dull, solid report means it’s seated. A hollow click or a rock means there’s a void underneath. Mark those pavers with chalk.
- Press the joints with a fingertip. If you can push sand down easily, the joint sand has washed out. That’s the winter rain doing its work, and it has to be corrected before the wet season or the water goes straight to the clay.
- Check the edges. Run your hand along the edge restraint where the driveway meets landscaping or lawn. If pavers are pushing over the edge, the restraint has failed and the whole panel is moving.
- Compare fall to spring. Photograph the same spots in October and again in March. Pavers that lift October through March and settle by summer are clay-heave pavers.
Any paver that rocks underfoot is a call-to-action, not a wait-and-see. Left alone, a rocking paver grinds its neighbors and breaks the interlock that keeps the entire driveway flat. In Hayward, that progression typically runs one season, not several.
Efflorescence: Identifying and Removing the White Stain
Efflorescence is the white, powdery bloom that shows up on pavers across the Bay Area, and Hayward’s marine air makes it common. It’s salt and minerals carried to the surface by water moving through the concrete or stone and evaporating. It looks like a stain. It’s actually the symptom of water working through your pavers – which is why removing the stain without addressing the water path just brings it back.
It also matters because efflorescence makes water-driven problems visible. A heavy bloom in a low corner of a Hayward driveway tells you that corner is holding moisture. That’s the clue worth chasing.
What to use – and what voids your warranty:
- Start with a stiff brush and clean water. Many light blooms come off without chemicals.
- For stubborn mineral staining, use an efflorescence remover formulated for concrete pavers – a diluted mild acid wash is the standard product. Always test an inconspicuous paver first.
- Don’t use muriatic acid straight from the jug, and don’t scrub with steel tools. Both can pit the paver face.
- Check the manufacturer’s cleaning guidance before you touch the surface. Belgard and Boral both publish cleaning recommendations, and a heavy-handed acid wash can void the warranty on a paver that was otherwise covered.
One trade name worth knowing: products built around efflorescence removal for hardscape are what you want, not general-purpose concrete cleaner. And if the bloom returns within weeks of cleaning, the source is water intrusion, and the fix is in the joints and base, not the surface.
The Month-by-Month Hayward Checklist
Hayward’s year runs four distinct phases for a driveway, not the four calendar seasons the national maintenance guides describe. This is the schedule we’d give a homeowner if we were standing in their driveway ourselves.
June through September: dry season
- Water the drive during long dry spells. Clay that’s allowed to bake and crack is more prone to sudden movement when the rains return.
- Clear debris – leaves, seed pods, tree litter – before it works into the joints.
- Sweep rather than pressure-wash. High-pressure washing blasts out joint sand.
- Photos of the dry-season condition.
October: pre-winter prep (the most important month)
- Top up joint sand with polymeric sand before the first real rain.
- Test drainage with a garden hose. Water should run off the driveway, not stand on it.
- Clear gutters and downspouts so roof runoff isn’t aimed at the driveway edge.
- Record any pavers that have lifted over the summer.
November through March: wet season and the brief cold window
- After every heavy storm, check for standing water and washout along the joints.
- In January and February, Hayward gets occasional overnight freezing. That’s short and shallow, so it doesn’t cause the deep freeze damage you see in cold climates – but it can crack a saturated paver face. Look for new chips after a cold snap.
- Never use rock salt or ice melt on pavers. It stains and, over time, degrades the surface. Sweep sand over a slippery patch instead.
April and May: post-winter inspection
- Walk the grid and listen for hollow spots.
- Re-sand any joints that washed out over the wet season.
- Address efflorescence before it hardens up in the summer heat.
- Book a base inspection if any section is rocking.
In Natomas and parts of Hayward’s older neighborhoods, we regularly see spring failures that trace back to a joint-sand refill that never happened in October. The fix in the spring costs more than the sand would have.
Joint Sand Inspection and Which Polymeric Sand Holds
Joint sand is the least glamorous part of paver care and the most important in Hayward. The sand keeps pavers from grinding against each other, and it keeps water from reaching the clay base. Once the joints wash out, water finds the base, the clay moves, and the driveway starts the lift-and-rock cycle described earlier.
How to inspect joint sand:
- Walk the driveway and look at the joints. They should be filled to just below the paver chamfer, not level and not empty.
- Pour a cup of water into a joint. If it drains immediately, the joint is depleted.
- Push a joint with a screwdriver handle. If it depresses more than a few millimeters, add sand.
- Check after every heavy rain, and again mid-summer.
Which sand holds up in Hayward: For an interlocking driveway, polymeric sand is the standard recommendation. Traditional kiln-dried sand is fine in dry climates but doesn’t survive Hayward’s intermittent heavy rain events well. Polymeric sand hardens once wetted, binds the pavers together, and resists washout. Look for a product rated for hardscape use and follow the manufacturer’s installation instructions closely – the joint-fill and water-activation steps are where most failures happen. For a large or complex driveway, we install the system with a proper paver base and joint-sand spec rather than a surface patching approach.
Joints that are overfilled crack and lift, and overfill is one of the most common causes of premature joint failure. Fill, compact, and top off after settling – don’t mound and sweep.
Crack vs. Base Failure: The Test You Can Do in Five Minutes
A crack in a paver can be cosmetic or structural, and the distinction decides whether you spend a few hundred dollars or several thousand. Here’s the test, and it’s the one we run on every inspection.
- Stand on the cracked paver. If it moves or deflects underfoot while its neighbors stay firm, the base is failing. If it holds firm while the crack sits in the face, it’s surface wear.
- See whether the crack has a “step.” Run your fingertips across it. A crack that’s raised on one side is a moved paver. A crack that’s flush and stable is a worn face.
- Look at the surrounding joint pattern. A single crack in a solid field is cosmetic. A crack that runs across several pavers, or a crack where the joint pattern has opened in a fan, points to base movement.
- Check for hollow sound. Tap the paver with a screwdriver handle. A hollow ring under a cracked paver means the soil has settled and the paver is bridging a void.
If the paver holds firm and the crack is only in its face, you’re looking at surface wear and can live with it, watch it, and re-seal at the next maintenance cycle. If the paver moves, the base needs to be corrected before anything else. Sealing a moving driveway seals the problem in and the crack returns by spring.
Our crews document the substrate and the condition they found with photos on every visit, so you can see exactly what’s under the pavers before a base repair is ever quoted.
When (and When Not) to Seal a Hayward Driveway
A penetrating sealer can keep efflorescence down, make cleaning easier, and slow surface wear in a Hayward summer. But sealing is the wrong first move more often than it’s the right one. Seal applied over unstable pavers or a wet base just hides what’s happening.
- Seal only when the driveway is stable. If any paver rocks, or a section is lifted, resolve the base first.
- Seal in dry weather, mid-summer to early fall. Seal on damp clay and the moisture gets trapped underneath, and the efflorescence comes back worse.
- Match the sealer to the paver. Some pavers should stay unsealed for a natural look; some benefit. Follow the manufacturer’s recommendation, and confirm your paver brand’s guidance before applying anything.
- Re-seal on a schedule, not a feeling. A penetrating sealer typically lasts two to three years in an exposed Hayward driveway; a surface sealer may need attention sooner.
If a failed seal or a top coat of sealer is flaking, don’t add another coat over it – the old surface has to come off first, and that’s a job for a proper equipment-based clean and recoat, not a hose and brush.
Drainage, Slope, and Hayward’s Intermittent Storm Loads
Everything upstream of the base – drainage, slope, and where the water goes – decides whether the base ever gets challenged. Hayward doesn’t deliver steady rain; it delivers concentrated storms with long dry gaps in between, and a driveway that drains fine in a drizzle can carve out its joints in a proper downpour.
Two things to check each fall:
- Surface slope. The driveway should shed water toward the street or a drain, away from the garage and house. Standing water on the driveway 24 hours after rain is a problem to fix before winter.
- Runoff sources. Downspouts, sump pumps, and neighboring properties running water onto your driveway are contributing to joint washout. Redirect them.
If the driveway is part of a bigger landscape or exterior plan, the fence line and grading work together. Our Fence Installation in Hayward service often comes up at the same time as paver work, because the fence line and the driveway edge both sit on the same soil that’s moving.
If a driveway project is part of a bigger addition to the property, that’s a scope question we plan together. See Home Additions & ADU in Hayward for the planning side, and Rowan Construction Group Hayward home for how the seven trades fit a single written plan.
Common Mistakes to Avoid
- Pressure-washing the joints out of the driveway. A high-pressure wash strips the joint sand and opens the door to water. In Hayward, that’s the first step toward a re-sand in spring and a base problem the following fall.
- Sealing a moving driveway. A sealer over a rocking paver traps water and hides the movement until it’s worse. Fix the base first, seal second.
- Skipping the October re-sand. Polymeric sand added before the rains is the cheapest maintenance you’ll do all year. Skip it, and you’ll be paying for a repair in April.
- Using rock salt in the rare January cold snap. Hayward’s brief cold isn’t a snow problem. Salt stains pavers, and a sand fill is the safer de-icer alternative.
- Cleaning efflorescence with whatever’s in the garage. Muriatic acid straight from the jug can pit the paver face and void a Belgard or Boral warranty. Use a paver-rated efflorescence remover.
- Ignoring an edge-restraint failure. When pavers push past the edge, the whole panel is working loose. Catching it early is a restraint fix; waiting is a re-lay.
- Letting a “surface crack” sit through the wet season. In Hayward’s clay, a crack that looks cosmetic in October is often a base void by January. The five-minute test above settles it in seconds.
See the difference
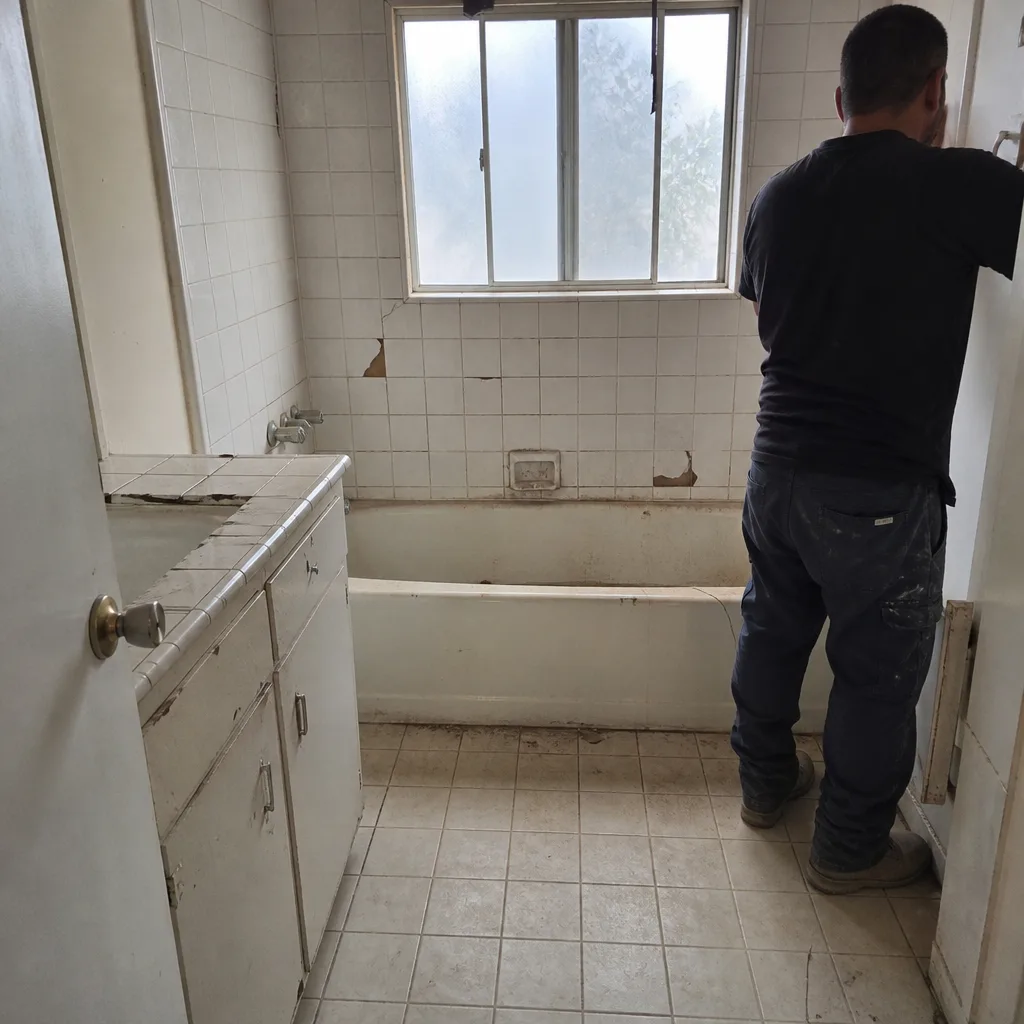 Before
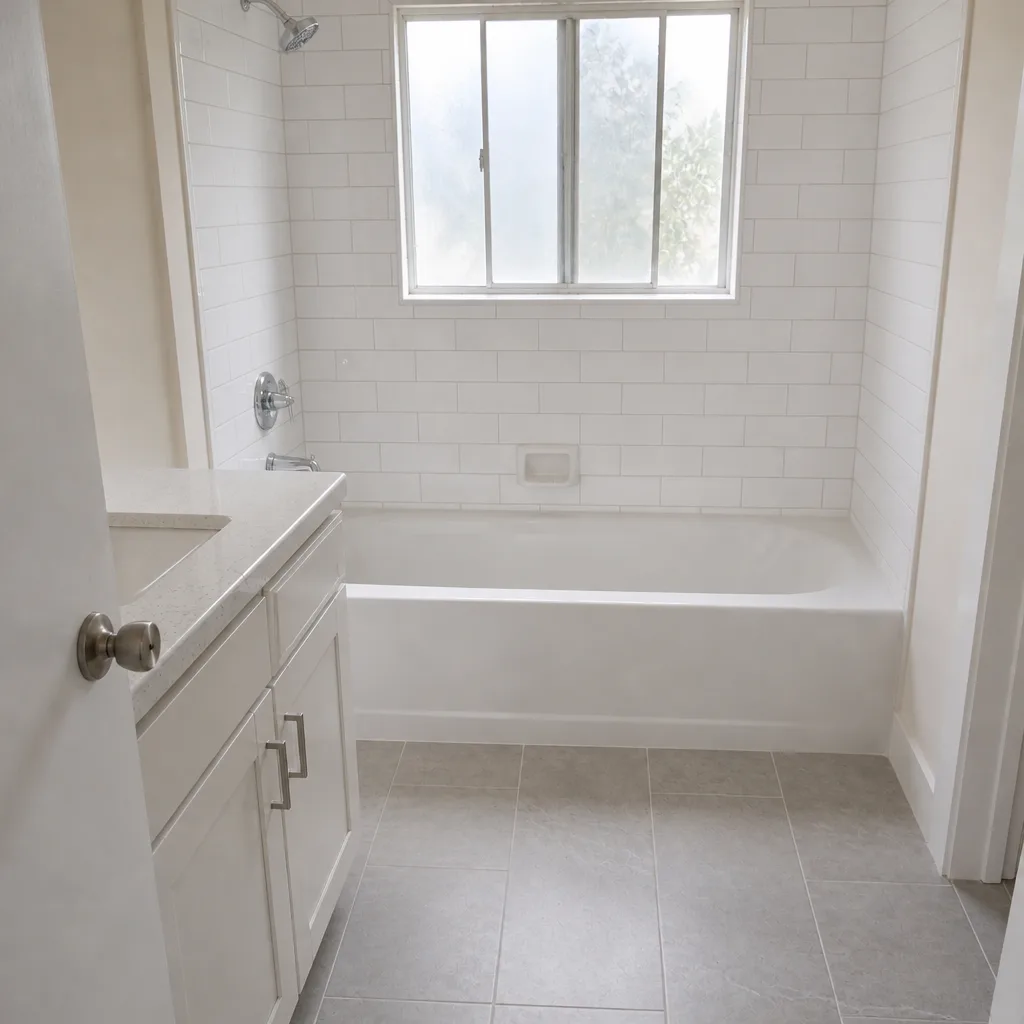 After
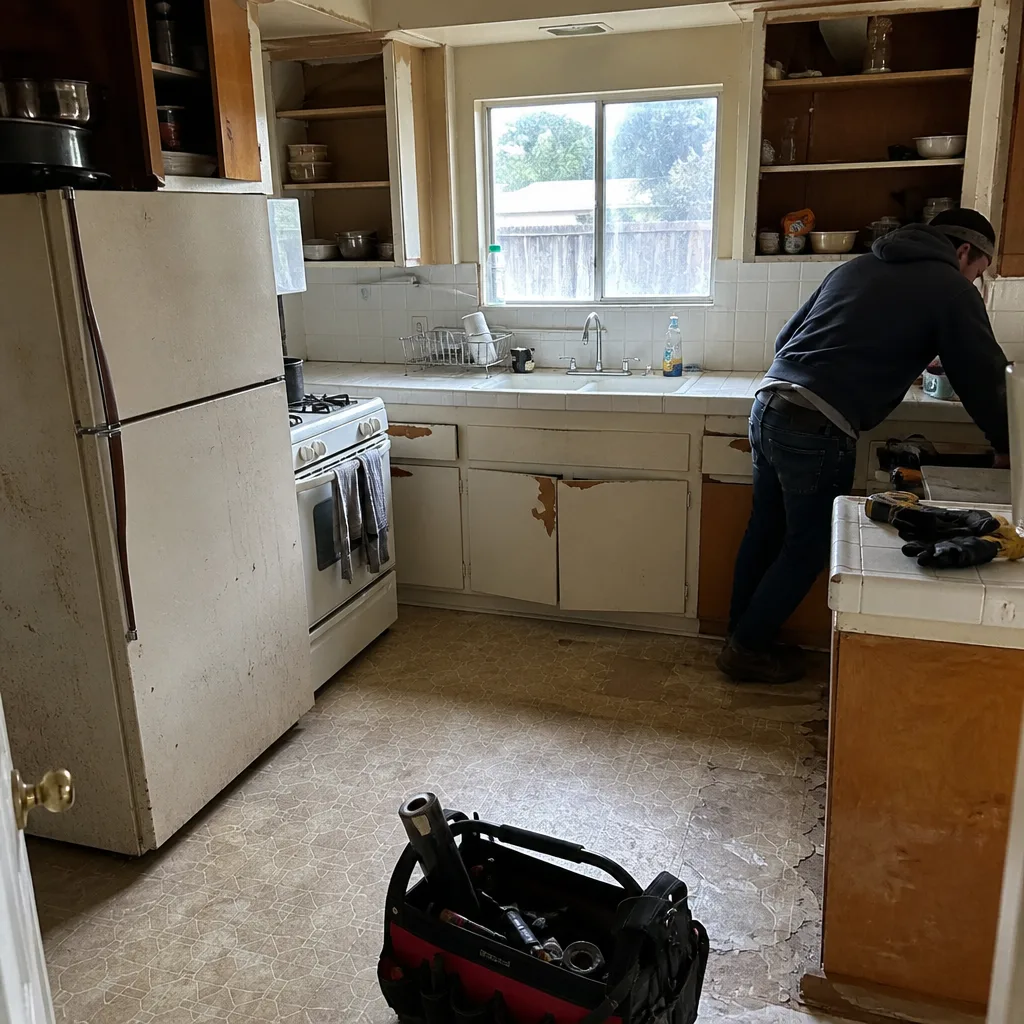 Before
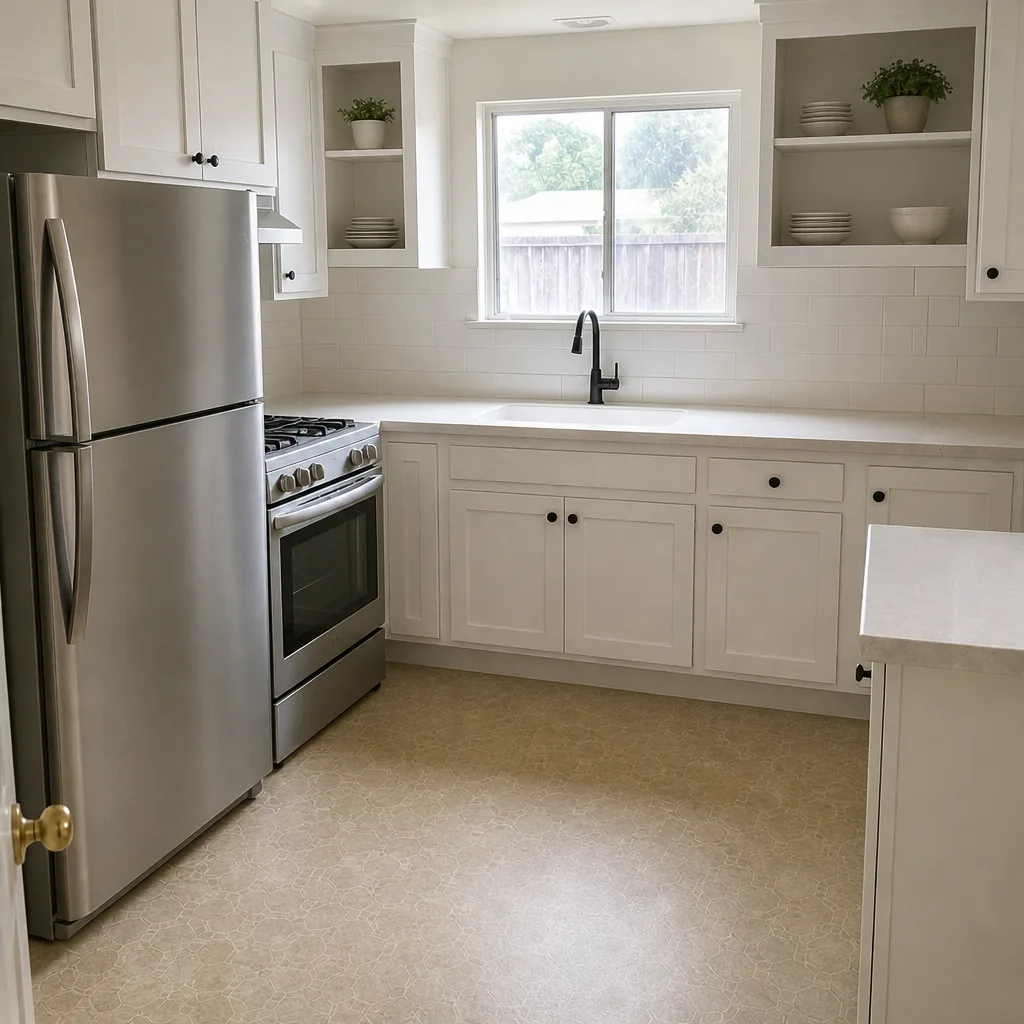 After
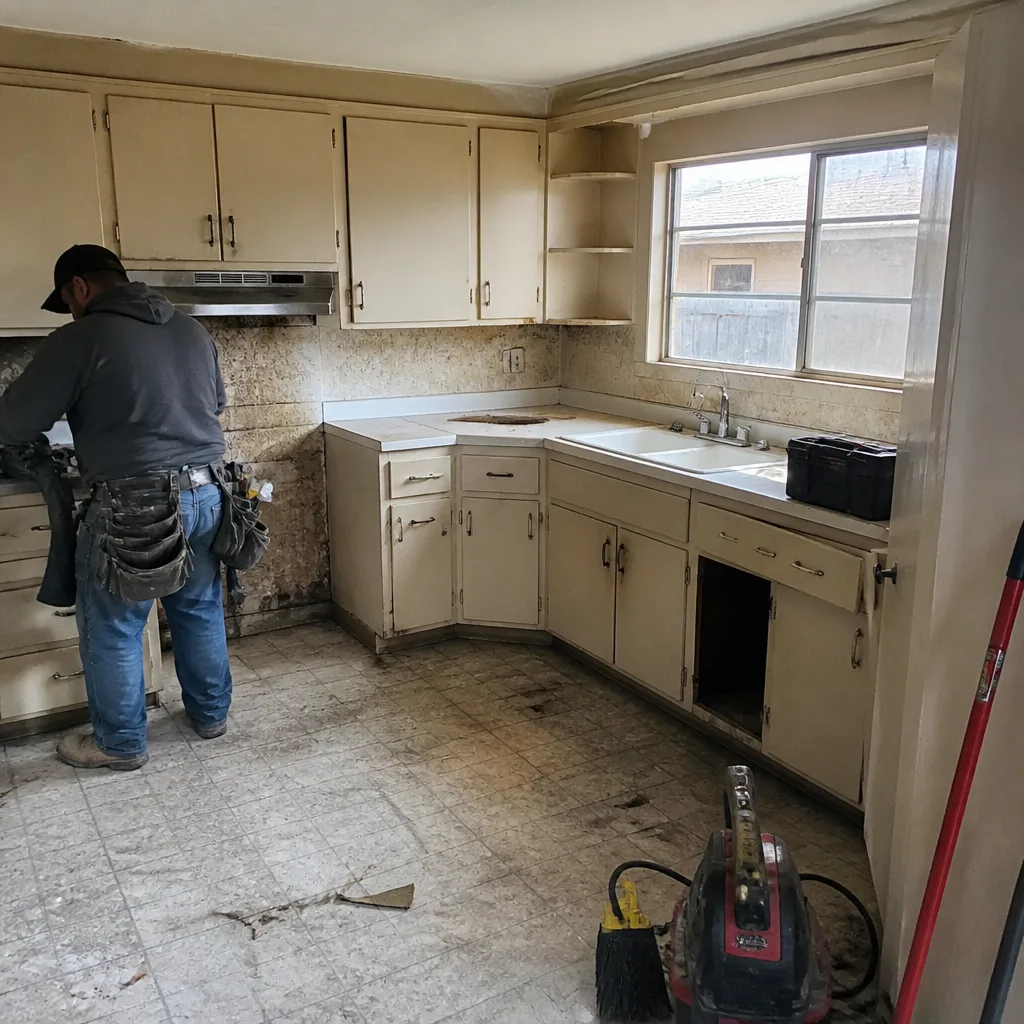 Before
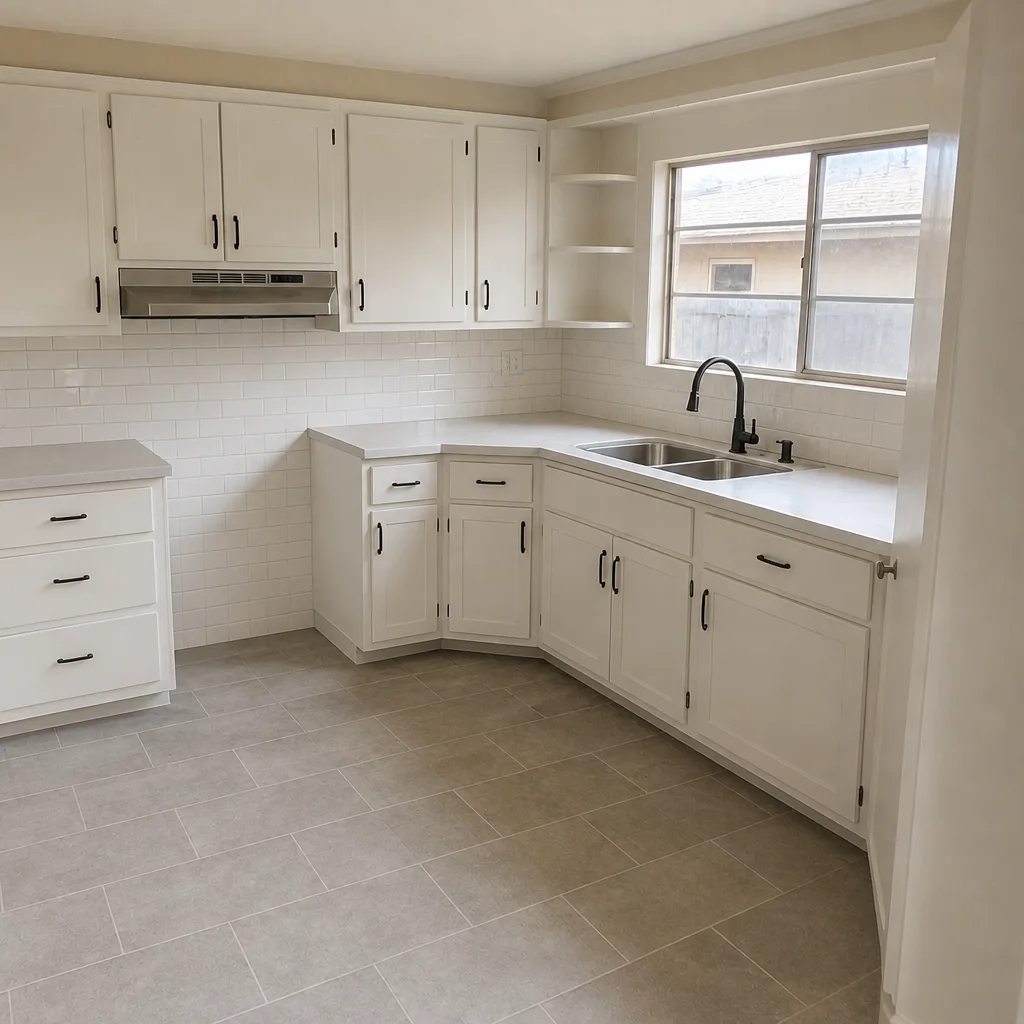 After
When to Call a Professional
Most of this checklist is genuinely doable on a Saturday with a broom, a hose, and a bag of polymeric sand. Call a professional when the list crosses these lines: any paver that rocks or rocks harder after rain; a section that lifts more than a finger-width out of plane; a crack that runs across several pavers or fans out; water that stands on the driveway long after a storm; an edge restraint that’s letting pavers push out; or efflorescence that comes back within weeks of a clean. Those are base-level problems, and sealing or re-sanding over them costs more than fixing them. Our team at Rowan Construction Group Hayward offers free estimates in Hayward – call (866) 863-1729 – and quotes a flat written price with a written scope before any work starts. A written estimate is free, and so is a second opinion on any estimate you’ve already been given.
Frequently Asked Questions
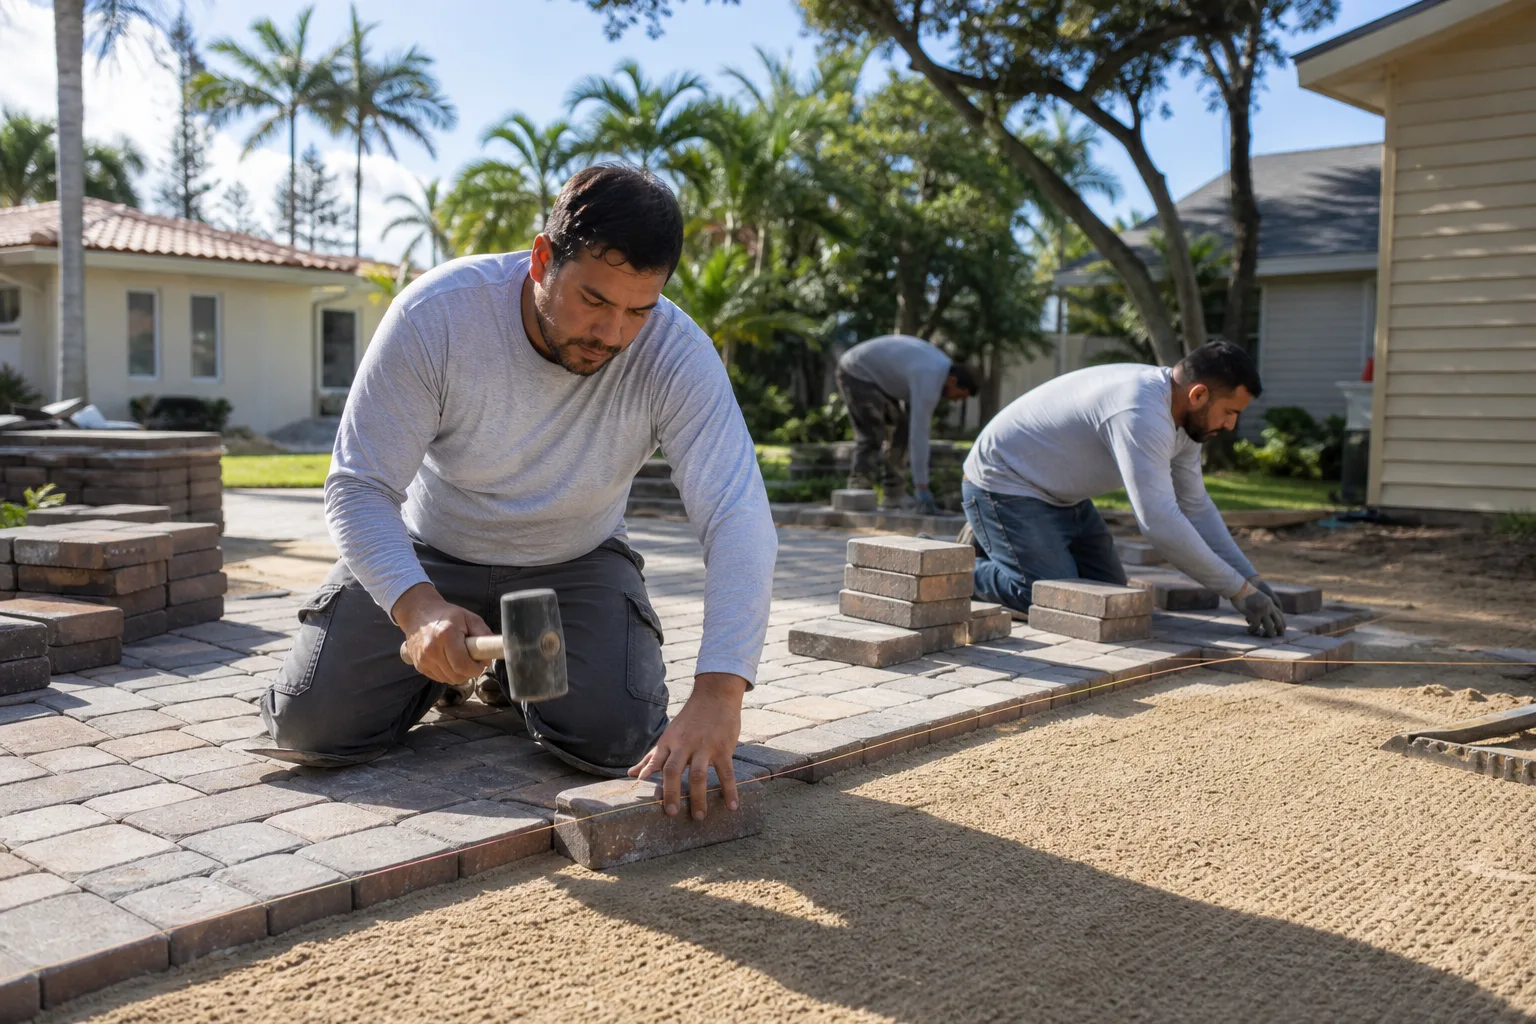
Most single-paver and small-section repairs in Hayward run a few hundred dollars, while joint-sand refills and a proper clean sit in the low hundreds depending on driveway size. A base repair under a lifted section is commonly four figures, because the paver has to come up, the clay base gets corrected, and the panel gets re-laid. Call (866) 863-1729 for an exact quote – estimates are free and written.
The white bloom is efflorescence – mineral salts carried to the surface by water moving through the paver and evaporating. In Hayward, the marine air and wet winters make it common. Clean light blooms with water and a stiff brush; for stubborn cases use a paver-rated efflorescence remover and test a hidden paver first. If it returns within weeks, the source is water intrusion and the joints and base need attention.
Not always, and not before the base is stable. A penetrating sealer helps with efflorescence and surface wear, and in a Hayward driveway it typically lasts two to three years. Seal in the dry season, only after any rocking or lifted pavers are fixed, and follow your paver brand’s guidance before applying anything. Our team can assess whether sealing makes sense for your specific driveway.
It depends on whether the crack is surface wear or base movement. Stand on the paver: if it holds firm and the crack is only in the face, it’s cosmetic and can wait. If it moves or sounds hollow, the base has failed and a wet Hayward winter will make it worse – call (866) 863-1729 before the rains arrive.
A quality polymeric sand rated for hardscape use is the right choice for an interlocking paver driveway in Hayward, because it hardens and resists washout better than traditional kiln-dried sand. Follow the manufacturer’s installation steps exactly – the joint-fill depth and water-activation steps are where most failures happen. Our crews install to the manufacturer’s spec, not a shortcut.
Often, yes. A local base repair under a lifted section can be done by lifting the affected pavers, correcting the clay base, re-compacting the base, and re-laying the pavers – usually with the same materials. Rowan Construction Group Hayward documents the substrate and quotes a flat written price before work begins. Call (866) 863-1729 for a free estimate.
The Bottom Line
Hayward driveways don’t fail from weather that never arrives. They fail from expansive clay soil that moves with every wet winter and dry summer, and from joint sand that washes out before anyone notices. The maintenance that actually matters is seasonal and simple: inspect at eye level each fall and spring, listen for hollow pavers, top up the joints with polymeric sand before the rains, and treat efflorescence as a water-path signal rather than a stain. And before anyone seals your driveway, confirm the base is stable. The five-minute crack test – stand, step, fingers, tap – is your best protection against turning a small repair into a full re-install. Keep a dated photo log and you’ll catch the change while it’s still cheap to fix.
Questions about a specific driveway in Hayward? Reach us at Rowan Construction Group Hayward.
Call (866) 863-1729 to schedule your free estimate on your driveway and pavers.
Written by the team at Rowan Construction Group Hayward.