Last updated November 18, 2026


Free written scope consultation - allowances, timeline, and change-order rules on paper before a single trade is scheduled
Driveway & Pavers Troubleshooting: Common Problems and How to Fix Them
Rocking pavers are rarely a paver problem. In nine out of ten cases the paver itself is undamaged. The bedding sand beneath it has migrated out through failed edge restraints, and the fix is a $300 – $600 intervention if caught early or a $3,500 – $6,000 base rebuild if the subgrade has settled too. Most homeowners in Hayward assume a loose stone means cracked concrete or a bad product. It usually means water found a way out and carried the sand with it. This guide diagnoses eight specific symptoms, traces each one to its actual cause, and puts the repair cost range on the page so you know what you’re facing before anyone picks up a shovel.
Quick Answer
Most driveway paver failures in Hayward trace to the base and edge restraints, not the surface. Re-sanding with polymeric sand runs $0.75 – $1.25 per square foot, individual paver replacement runs $12 – $25 per paver, and a partial base rebuild runs $18 – $28 per square foot. Diagnose the cause before you buy a fix.
Styles & brands we work with
- Kitchen remodeling
- Bathroom remodeling
- Home additions & ADU
- Roofing
- Windows & doors
- Driveway & pavers
- Fence
Table of Contents
- Why Do Pavers Rock and Shift?
- What Causes Pavers to Push Up Above the Surface?
- Why Does a Sunken Channel Form Across the Driveway?
- What Is the White Powder on My Pavers?
- How Do You Probe for Base Failure Without Demolition?
- Why Do Edge Restraints Matter So Much in Hayward?
- What Does Each Paver Repair Cost?
- What’s the Right Order of Repair Steps?
Why Do Pavers Rock and Shift?
Rocking pavers almost always come from sand migration. The bedding layer, usually an inch of coarse sand between the paver and the compacted base, holds the paver flat and distributes load. When joint sand washes out and the edge restraint no longer locks the outer course, the bedding sand has a path to escape. Once a pocket of void forms, the paver rocks underfoot and the joints widen. Each load cycle pushes more water in, and the sand keeps leaving.
In Hayward, we see this most often on driveways built against the slope up toward the hills, where runoff concentrates at the apron and pushes outward against the first three or four courses. It also shows up on flat driveways with a failed control joint that channels water toward the edge instead of the street drain.
What to check before you call anyone:
- Stand on a rocking paver and rock it. If it moves, the bedding sand under that specific paver is gone or displaced.
- Look at the joint width around the rocking paver. If joints are wider than a quarter inch, the joint sand has been escaping for a while.
- Check the outer course where it meets the driveway apron or the sidewalk. The edge restraint is either visible (plastic L-channel or aluminum) or buried. If it’s loose, the whole perimeter is at risk.
- Look for a fine sand trail on the driveway surface after rain. That’s the bedding layer leaving.
The fix: lift the affected pavers, re-bed with coarse sand, re-compact the base beneath, and re-set with a proper edge restraint. Re-sanding with polymeric sand afterward runs $0.75 – $1.25 per square foot. If the base under three or more pavers has settled, that becomes a partial rebuild. That’s when the $18 – $28 per square foot number appears on the quote.
What Causes Pavers to Push Up Above the Surface?
Raised pavers come from something below pushing up, not something above settling down. The most common culprits in established Hayward neighborhoods are tree roots, frost heave (rarely, but possible in cold snaps), and swelling clay soil. Roots from a mature ficus or liquidambar can travel under a driveway and lift the base as they thicken. It’s a slow process: the paver rises a quarter inch over a season, the joint opens, water goes in, the base softens and swells, and the paver rises another quarter inch.
Clay soil swelling is the other big one. Hayward’s expansive soils, especially in the flats west of Mission Boulevard, take up water and expand. If the base below a section of pavers wasn’t excavated deep enough or didn’t have a proper geotextile separation layer, movement shows up as a ridge or a cluster of raised pavers.
What to check:
- Look upward from the raised paver to the nearest mature tree. If the tree is within 15 feet and its canopy overhangs the driveway, roots are the likely cause.
- Push a screwdriver into the joint next to the raised paver. If it stops hard within an inch or two, you’ve hit root or rock.
- Check whether the raised section is a straight-line ridge or a single cluster. Roots create a line. Swelling clay creates a broad bulge or a cluster.
- Note the season. If the pavers rise in winter and settle in summer, you’re looking at moisture-driven soil movement, not roots.
Repair depends on the cause. Root intrusion may need root pruning (with the help of an arborist) or a root barrier before the pavers are re-laid. Soil movement requires excavating to a deeper base and installing a separation geotextile. Neither is a surface fix.
Why Does a Sunken Channel Form Across the Driveway?
A continuous sunken channel across a driveway is a water problem, not a paver problem. Two causes dominate: a broken irrigation pipe beneath the slab, or soil washout from a failed drainage path. Both pull the base out from under the pavers, and the pavers follow the base down.
The irrigation clue is easy to test. Look at your water bill for a spike that doesn’t match your usage. Walk the channel and check for damp patches that don’t correspond to recent rain. In many Hayward homes, an older PVC irrigation lateral runs under the driveway and the joint fails after 15 to 20 years. The leak runs continuously, the soil beneath the base liquifies, and a channel forms.
Soil washout is the second cause. If the driveway sits below a slope and there’s no proper cut-off drain or French drain, water runs under the pavers during heavy rain and takes the fines with it. That shows up as a soft area near the low point of the driveway after a storm.
Repair varies by cause:
- Irrigation leak: repair the pipe first, then re-excavate and rebuild the base section. Expect $18 – $28 per square foot for the base rebuild plus the plumbing repair.
- Soil washout: add drainage upstream of the driveway before excavating. Without addressing the water path, the channel comes back the next rainy season.
- Compaction failure: if the subgrade was never compacted to proper density, the channel forms gradually across the whole driveway and needs a full base rebuild.
Don’t ignore a sunken channel. The longer it stays, the more base material leaves, and what starts as a $1,500 patch becomes a full re-lay.
What Is the White Powder on My Pavers?
Efflorescence is the white, powdery deposit that shows up on the surface of concrete pavers. It’s salts being pushed out of the material as water moves through the paver and evaporates from the face. The salts come from the cement in the paver itself, from the bedding sand, or from the base aggregate.
On its own, efflorescence is cosmetic. It doesn’t damage the paver. But it’s an indicator: it tells you moisture is actively cycling through the system. In Hayward’s wet-season-then-dry-season pattern, a driveway with poor drainage often shows efflorescence recurring every February and March, then fading by June. If it’s recurring, the moisture path is the real problem, not the salt.
What to check:
- Is the efflorescence uniform across the whole driveway or concentrated near joints and edges? Concentrated means moisture is coming from one direction.
- Does it recur in the same spot each year? If so, water is entering the system there.
- Is the driveway sloped away from the house and toward the street? Look for ponding after rain. Standing water accelerates the cycle.
- Are the joints filled with fresh polymeric sand? Old, cracked joint sand lets surface water into the base layer, which sends it up through the paver.
The fix is drainage first, cleaning second. A clear-water rinse and a specialty efflorescence remover will take the visible powder off. If you clean without fixing the water path, the white returns within a season. The repair range for the drainage side is often a re-sanding job with proper polymeric sand at $0.75 – $1.25 per square foot, sometimes paired with re-sloping near the apron.
How Do You Probe for Base Failure Without Demolition?
You can tell whether pavers need surface work or a base rebuild without lifting a single paver. The tool is a moisture meter. Any decent pin-type moisture meter used for wood or concrete works. Push the pins into the joint sand and into the base material at a few spots along the failure pattern.
Here’s what the readings mean:
- Below 12%: base is dry. The failure is surface-level. Expect re-sanding or individual paver replacement.
- 12% – 18%: base is holding moisture but not saturated. Investigate the drainage upstream. A partial repair may be enough.
- Above 18%: base is actively retaining water. Surface repair won’t fix it. Excavation and base rebuild is the honest answer.
Pair the meter with a simple physical test. Lift one paver at the center of the failure pattern (not at an edge, where the sand loss is worst). Look at what’s under it. If you see damp, dark sand and the base below is soft enough to push a screwdriver into with light pressure, the base is compromised. If the sand is dry and firm and the paver was simply loose, you’re looking at a bedding fix.
One more check worth doing: photograph the failure pattern before anyone touches it. The joint width, the crack direction, the location relative to downspouts and slope, all of it. If the driveway is less than five years old and the failure is base-related, California’s four-year statute on contractor warranty (Business and Professions Code Section 896, which puts a four-year window on specified defects) may come into play. Documentation is what makes that conversation possible.
For a broader look at what a properly built paver driveway involves, see our Driveway & Pavers in Hayward service page – it walks through base prep, compaction depths, and paver selection in the material quality ranges we work with every week.
Why Do Edge Restraints Matter So Much in Hayward?
Edge restraint failure is the hidden multiplier in paver repairs. When the plastic spike-in restraint pulls out of Hayward’s expansive clay, joint sand loss accelerates, the bedding layer migrates, and a $400 fix becomes a $4,000 re-lay. The restraint is the least-visible part of the driveway and the one that determines how long it holds.
Hayward’s soils work against spike-in restraints more than most Bay Area cities. The clay shrinks in the dry season and swells after rain, which pulls the spikes loose over a couple of seasons. Once a spike loses grip, the L-channel bends outward under load, the interlock between pavers fails, and every wheel pass on that edge pushes the pavers apart. We’ve seen edges fail in as little as three wet seasons on installations where the restraint was undersized or the spikes weren’t long enough.
What to check:
- Walk the outer course of the driveway where it meets the apron, the sidewalk, and any planter. Any loose or wobbly paver at the edge is a warning sign.
- Look for a visible gap between the outer paver and the restraint. More than an eighth inch means the restraint is no longer holding.
- Check whether the restraint is aluminum or plastic. Aluminum L-channel with proper stakes lasts longer in clay; plastic spike-ins are common and less reliable.
- Look for cracked joint sand along the outer two courses. That’s the first sign that the restraint is releasing.
A proper fix is to excavate the edge, set an aluminum restraint with stakes long enough to reach below the swelling zone, backfill with compacted base material, and re-set the outer course. Doing only the resanding without fixing the restraint means the same failure recurs. For edges that run against a property line or a planting bed, pairing the repair with a proper fence or retaining element sometimes makes sense – our Fence Installation in Hayward team handles those edges when the fence footing and the driveway restraint have to be coordinated.
What Does Each Paver Repair Cost?
Here’s the range by repair type. All figures are Bay Area market rates for 2026, materials and labor combined, for a standard residential driveway. Every quote should be itemized in writing so you can compare.
- Re-sanding with polymeric sand: $0.75 – $1.25 per square foot. Includes joint cleaning, polymeric sand application, and compaction. Typical 400-square-foot driveway: $300 – $500.
- Individual paver replacement: $12 – $25 per paver, including color match and re-bedding. Costlier per unit than re-sanding but the right fix when individual pavers are cracked or chipped.
- Partial base rebuild: $18 – $28 per square foot. Includes excavation to subgrade, re-compaction in lifts, new geotextile separation, fresh bedding sand, and re-lay.
- Edge restraint replacement: $400 – $900 for a typical driveway perimeter, depending on length and whether the outer two courses need re-setting.
- Full driveway re-lay: $15 – $25 per square foot when the whole base has to come out. Usually only when a partial rebuild has been deferred too long.
- Root barrier installation: $300 – $700 installed, paired with a partial rebuild where roots are the cause.
Two numbers to keep in your pocket. A $400 edge fix today saves you a $4,000 re-lay in three years. And any written quote should show the base depth and compaction spec, not just a square-foot number. If the number is on one line with no scope beneath it, ask for a line-item quote.
Under Clause 1 of The Haven Standard at Rowan Construction Group, the price is written before anyone picks up a tool. That’s the standard we’d hold anyone else to as well.
What’s the Right Order of Repair Steps?
Getting the sequence right is what separates a fix that lasts from one that comes back next season. Here’s the order we work in.
- Document the failure. Photograph the pattern, the joint widths, and the drainage path. If the driveway is less than five years old, pull the original contractor’s scope and warranty paperwork.
- Diagnose the cause with a moisture meter and a test lift. Base reading above 18% means excavation. Below 12% means surface work. In between means investigate drainage.
- Fix the water first. Repair irrigation leaks, extend downspouts, add a cut-off drain or a French drain. No repair will last if the water path isn’t corrected.
- Repair the base if needed. Excavate to the correct depth (6 to 8 inches compacted for a residential driveway, more under heavier vehicle loads), compact in two-inch lifts, install geotextile separation.
- Rebuild the edge restraint. Aluminum L-channel with stakes below the swelling zone, backfilled with compacted base.
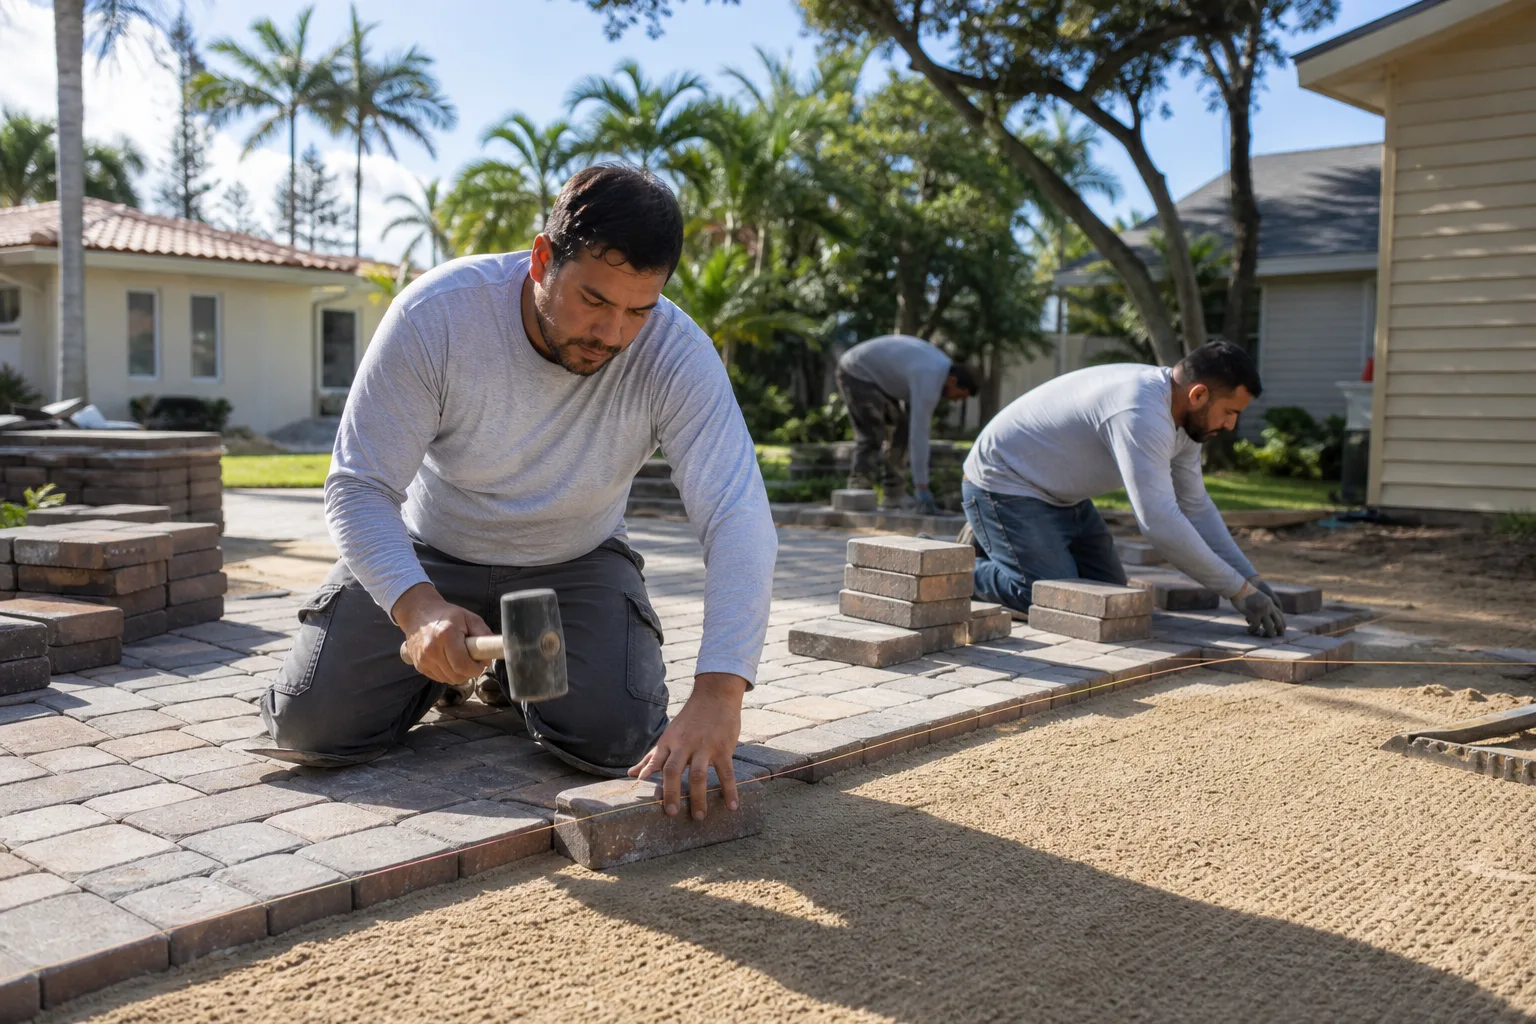
- Re-bed and re-lay the pavers. Fresh coarse bedding sand, proper slope, reinstated interlock.
- Re-sand with polymeric sand. Work it into the joints, activate per the manufacturer spec (usually a light water set), let it cure.
- Document the completed repair. Paver count, base depth, restraint type, and materials. That record is what protects you if a similar failure shows up down the road.
Every one of our visits ends with a documented photo record of what was found and what was done. Not as an upgrade, as the standard. It’s the same evidence discipline we bring to every trade across the seven we run – from Kitchen Remodeling through Home Additions & ADU in Hayward – under one standard, one written price, and one guarantee: the 365-Day Done Right Promise. If it’s not done right, we make it right.
Common Mistakes to Avoid
- Re-sanding over an active drainage problem. New polymeric sand over a base that’s still taking water will fail within one wet season. The powder comes back, joints crack, and you’ve spent the money twice.
- Spike-in restraints on Hayward clay. Plastic spike-in edge restraints pull out of swelling clay faster than anywhere else on the Peninsula. Ask for aluminum L-channel with stakes set below the swelling zone.
- Assuming new pavers mean the problem is the pavers. In our experience, fewer than one in ten failing paver jobs has an actual paver defect. The failure is in the base or the edge.
- Doing individual paver replacement without matching lot color. Pavers from a different production run rarely match the driveway color exactly, especially on mature driveways. Match by lot where possible or accept a mild color shift.
- Skipping the moisture meter. A visual inspection will tell you a paver is loose. Only a moisture reading tells you whether the base beneath is compromised.
- Not pulling the original contractor’s paperwork. Base failures inside the California four-year warranty window may be covered. Without a written scope and photo record, you can’t make the claim.
- Treating a sunken channel as cosmetic. A low spot on a driveway is evidence that the base is being removed by water. It always gets worse.
See the difference
 Before
 After
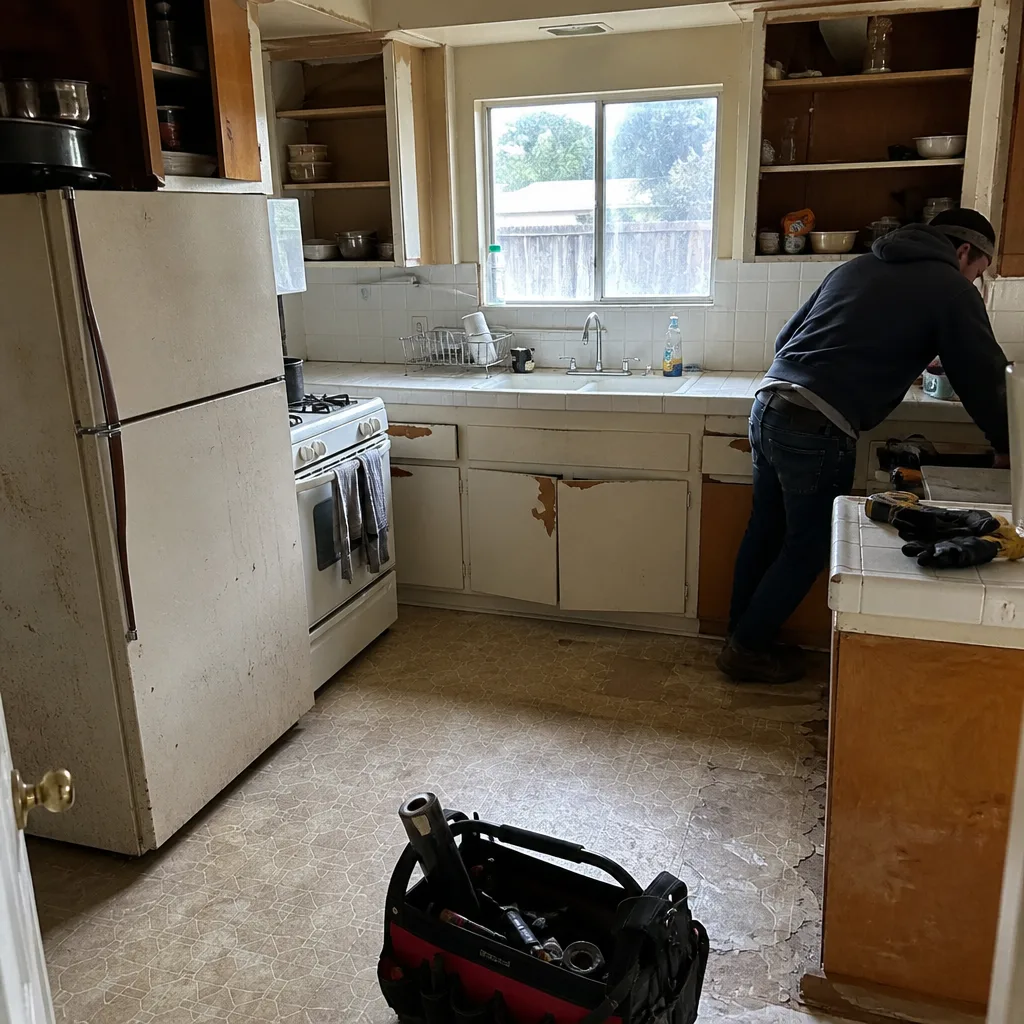 Before
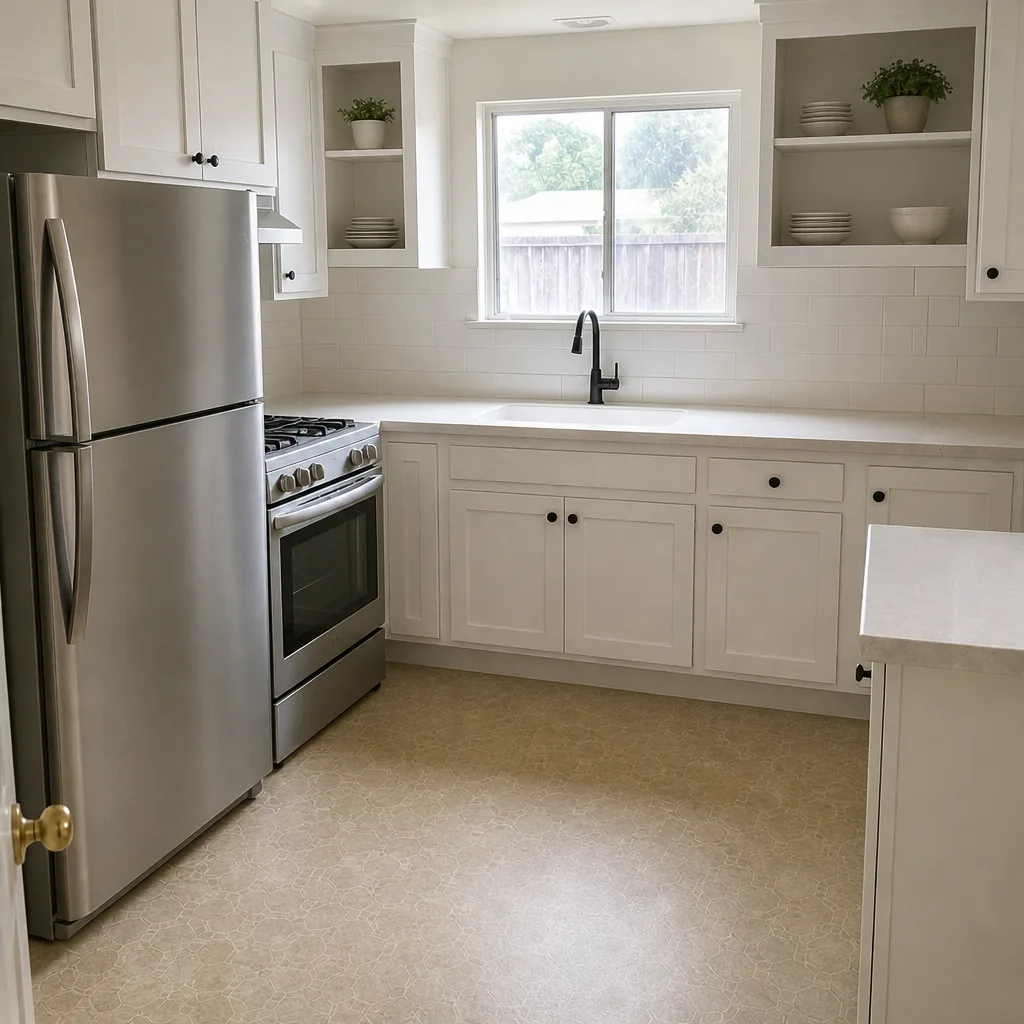 After
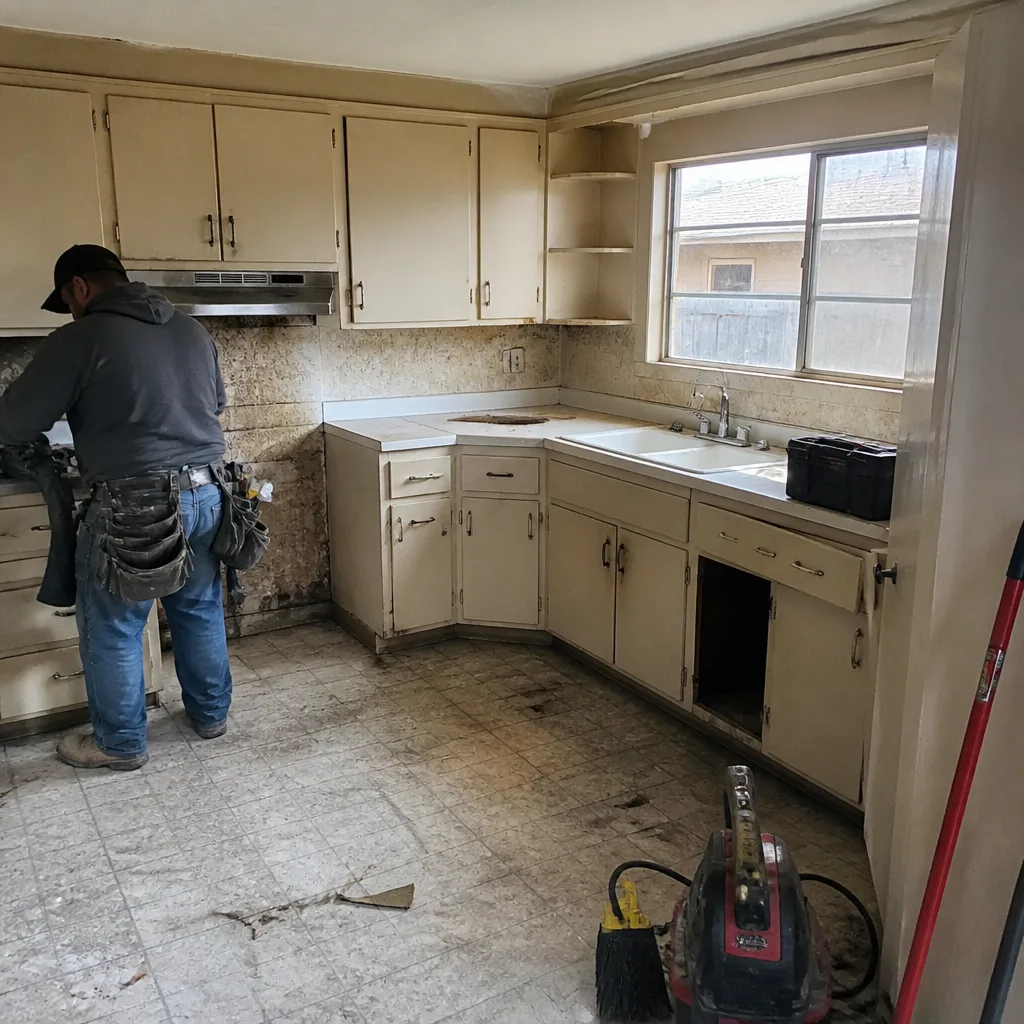 Before
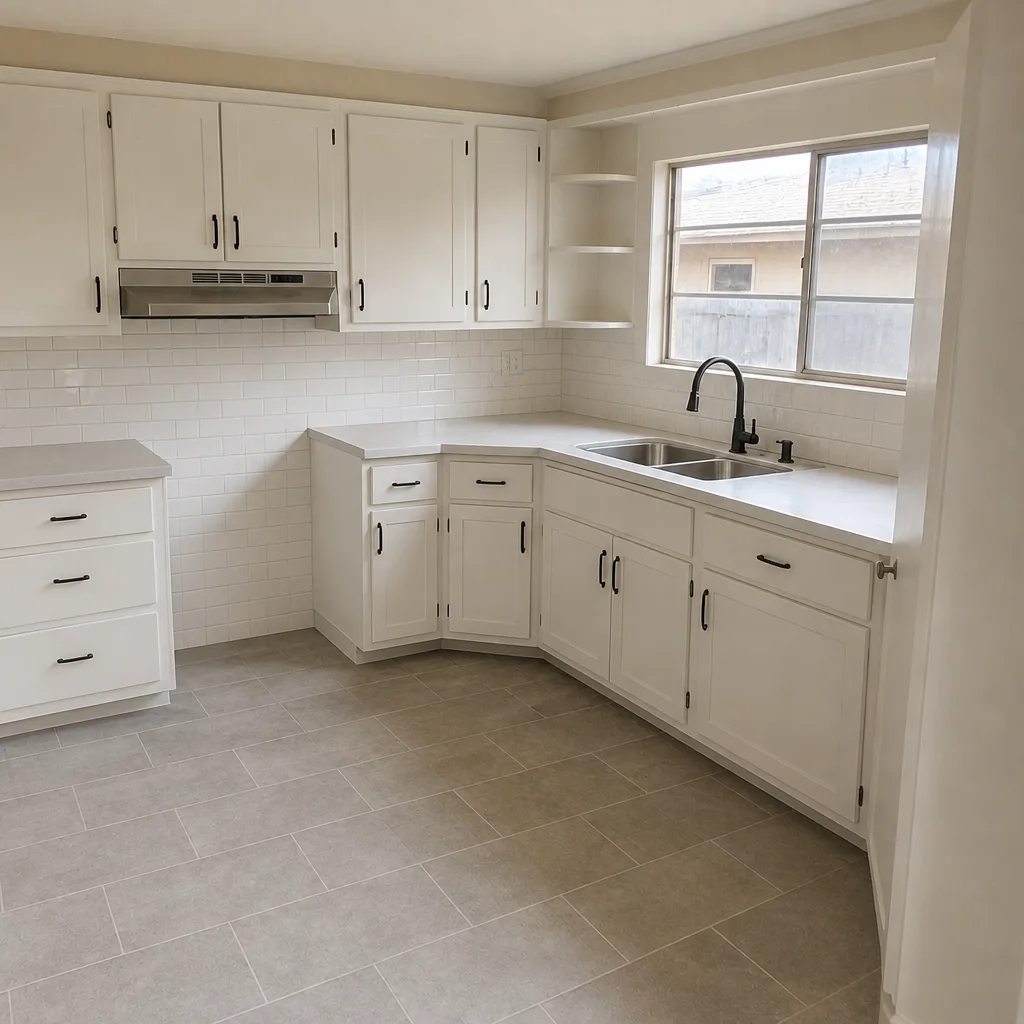 After
When to Call a Professional
Call a professional when the moisture meter reads above 18% in the base layer, when the failing section is larger than six pavers, when a sunken channel runs more than 18 inches across the driveway, or when the edge restraint has visibly pulled away from the outer course. Those conditions mean excavation, and hand tools in unskilled hands can crack pavers, damage the base further, and void any warranty the original installer might still honor. Rocking that’s isolated to one paver and dries within a few hours of rain is usually within reach of a determined homeowner; anything that shows up as a repeat problem after a patch is not.
Rowan Construction Group Hayward offers free estimates in Hayward – call (866) 863-1729 and we’ll bring a moisture meter, photograph the failure pattern, and put a written price in front of you before any tool comes out. Background-checked technicians, live person answering 24/7, and the full quote line by line rather than a single number on a card.
Frequently Asked Questions
Paver repair in Hayward runs $0.75 – $1.25 per square foot for re-sanding, $12 – $25 per paver for individual replacement, and $18 – $28 per square foot for a partial base rebuild. Edge restraint repairs typically run $400 – $900. Call (866) 863-1729 for an exact quote on your driveway – estimates are free.
No. Rocking pavers need a diagnostic visit first, and the actual repair depends on whether the cause is surface sand loss or a base failure. A one-paver surface fix can often be scheduled within a week; a base rebuild takes longer and starts with excavation. Call (866) 863-1729 to schedule the diagnostic visit.
Not without a signed change order. Under our Haven Standard, the written price is the price unless you approve a change in writing – no surprise additions on the final invoice. If a competitor’s quote changes mid-job without documentation, that’s a red flag worth asking about.
Most paver repairs don’t require a permit. Full driveway re-lays that alter the slope toward the street, add new square footage of impervious surface, or touch the right-of-way often do require a city permit. The written quote should tell you which applies to your address.
A re-sanding job on a 400-square-foot driveway is usually one day. Individual paver replacement is one day for up to about 20 pavers. A partial base rebuild runs three to five days, depending on excavation depth and how much of the base needs replacement.
Pavers that stay damp without rain usually have a base that’s holding water from an irrigation leak, a failed downspout, or soil that drains poorly under the subgrade. The moisture cycles through the paver and shows up as efflorescence or a permanently dark surface. Call (866) 863-1729 for a diagnostic visit – the moisture meter will tell you exactly where the water is coming from.
The Bottom Line
Diagnose the cause before you buy the fix. A rocking paver is sand migration. A raised paver is roots or swelling clay. A sunken channel is a water problem. White powder is a moisture cycle you haven’t corrected. The moisture meter tells you which of those you’re facing, and the reading above 18% is the line between a $400 surface job and a $4,000 base rebuild. Photograph the failure before anyone touches it. Check the edge restraint first. And put the price in writing before work starts. Rowan Construction Group Hayward brings that discipline to every Hayward driveway we look at, and to Rowan Construction Group Hayward home across all seven trades. Free Second Opinion on any written estimate you’ve already received – bring it in and we’ll walk it line by line at no charge. Call (866) 863-1729 for a free estimate.
Written by the team at Rowan Construction Group Hayward.