Last updated November 18, 2026


Free written scope consultation - allowances, timeline, and change-order rules on paper before a single trade is scheduled
Driveway & Pavers Warning Signs Every Homeowner Should Know
White chalky film on a concrete paver driveway sends a lot of homeowners to the phone, and most of those calls get a contractor out for something that is almost always cosmetic. Meanwhile, the sign that actually matters rarely looks alarming. A shallow dip along a vehicle track, a crack that starts at one central high point, a low spot where water sits for hours after rain – those get ignored because they don’t look serious. They are the structural warnings. This guide separates cosmetic noise from real failure, assigns every visible symptom a severity tier with a likely cause and an estimated repair cost, and explains how to measure what you’re seeing with tools you probably already own. We’re writing it from Hayward, where the soil and the street trees produce some very specific patterns.
Quick Answer
Driveway paver warning signs fall into three tiers: cosmetic issues you can monitor annually (efflorescence, minor color fade, pitting under 1/4 inch), repairs you should schedule within 90 days (rocking pavers, joint sand loss over 20% of the surface, edge restraint gaps), and urgent failures you shouldn’t wait on (settlement over 1/2 inch, standing water after 4 hours, base material visible through the joints). The tier tells you the time frame. The measurement tells you the cause. In our experience, most emergency paver repairs start with a small depression in a vehicle track that went unmeasured for a year.
Styles & brands we work with
- Kitchen remodeling
- Bathroom remodeling
- Home additions & ADU
- Roofing
- Windows & doors
- Driveway & pavers
- Fence
Table of Contents
- The Three Severity Tiers for Paver Problems
- Why Efflorescence Is Almost Never Structural
- How to Measure Settlement Without Special Tools
- Tree Root Damage: Radial Versus Linear Cracking
- Drainage Warning Signs You Can Catch Early
- When Your Own Landscaping Voids a Warranty
- What Each Repair Actually Costs
- Common Mistakes to Avoid
- When to Call a Professional
- Frequently Asked Questions
The Three Severity Tiers for Paver Problems
Every observable symptom on a paver or concrete driveway falls into one of three time frames, and getting the time frame right matters more than identifying the exact cause. Here’s how we sort what we see on Hayward driveways.
Tier 1 – Monitor annually. Efflorescence, slight color fading from UV exposure, surface pitting under 1/4 inch. None of these move toward failure on their own. Inspect them once a year, photograph them, and compare. They’re cosmetic until a Tier 2 symptom shows up in the same area.
Tier 2 – Repair within 90 days. Individual pavers that rock when you step on them, joint sand loss across more than 20% of the surface, and gaps between the paver edge and the edge restraint. These describe the early stages of base movement. The base is the compacted aggregate layer under the sand bed. Once water reaches it through missing joint sand, the base loosens and the pavers above start to move. Repair at this stage is usually a re-sanding and a handful of reset pavers. Wait two seasons and it becomes base reconstruction.
Tier 3 – Urgent, do not delay. A settlement depression deeper than 1/2 inch, standing water still present 4 hours after rain stops, and visible base material through the joints. Settlement over 1/2 inch in California clay soils usually means the base either wasn’t compacted to spec (typically 95% relative compaction for residential driveways) or water has washed it out. Either way, the paver is now acting as a lever on its neighbors every time a car drives over it.
If you’re seeing Tier 3 symptoms across more than one area, get the driveway assessed before the next rainy season. The repair scope grows fast once the base is compromised, and a full driveway replacement on a two-car Hayward driveway runs considerably more than a targeted repair. If the rest of the property is ready for exterior work at the same time, it often makes sense to look at Fence Installation in Hayward alongside driveway repairs so equipment and crew visits aren’t duplicated.
Why Efflorescence Is Almost Never Structural
Efflorescence is that white, chalky, salt-like film you see on concrete pavers, brick, and sometimes on concrete flatwork. It’s calcium hydroxide migrating to the surface from inside the material and reacting with carbon dioxide in the air. It’s most common during the first 1 to 2 years of cure, when there’s enough free lime and enough moisture moving through the paver to carry it up.
Here’s the practical problem: efflorescence looks alarming. Homeowners call us convinced the pavers are disintegrating. The repair quote they’re worried about – $800 to $2,000 for resurfacing or replacement – is almost never necessary. In the overwhelming majority of cases, efflorescence is cosmetic, it fades with weathering, and a dry brushing with a stiff-bristle brush handles most of it. A paver sealer applied at the right time (after the material has finished curing, not before) prevents recurrence.
The one exception worth watching: efflorescence that keeps returning in the same small area, especially around the joints, can indicate water is getting into the base and pushing up through the paver. That’s not an efflorescence problem – it’s a drainage problem wearing a cosmetic disguise. The tell is location. Efflorescence on the open driveway surface is weather. Efflorescence concentrated in a low spot or along the house edge is water movement.
What actually deserves your attention while you’re out there brushing? Look at the joints between the pavers. Missing joint sand has a rough, open texture you can see in raking light. Run your hand across a few feet of driveway – if your palm picks up loose sand, you’re due for a re-sand. That’s a small job that protects a large investment, and it’s the single most cost-effective thing you can do for a paver driveway.
How to Measure Settlement Without Special Tools
A dip in the driveway is the warning sign homeowners most often dismiss, because a dip doesn’t look dramatic. A 1/2-inch depression along a vehicle track is nearly invisible from standing height but is the clearest signal that the base is failing under that wheel path. You can measure it accurately with two things: a 6-foot level and a tape measure.
- Lay the level across the low spot. Set it perpendicular to the direction of the dip, resting on the pavers on either side.
- Find the widest gap. Slide the tape measure under the level at the deepest point of the dip.
- Record the measurement. Under 3/8 inch is normal minor variation from soil settling. Over 3/8 inch starts to suggest base failure rather than simple paver shift.
- Repeat every 6 months. Same spot, same level, same direction. A measurement that grows is the difference between watchful and urgent.
The number that matters is 3/8 inch. Below it, pavers may have slightly shifted on the sand bed and can be reset. Above it, the level is telling you the base layer underneath has lost its compaction – typically because water got in and washed fines out, or because the original compaction didn’t meet spec. A carpet layer of new pavers over a failed base is the single most common way we see homeowners spend money twice.
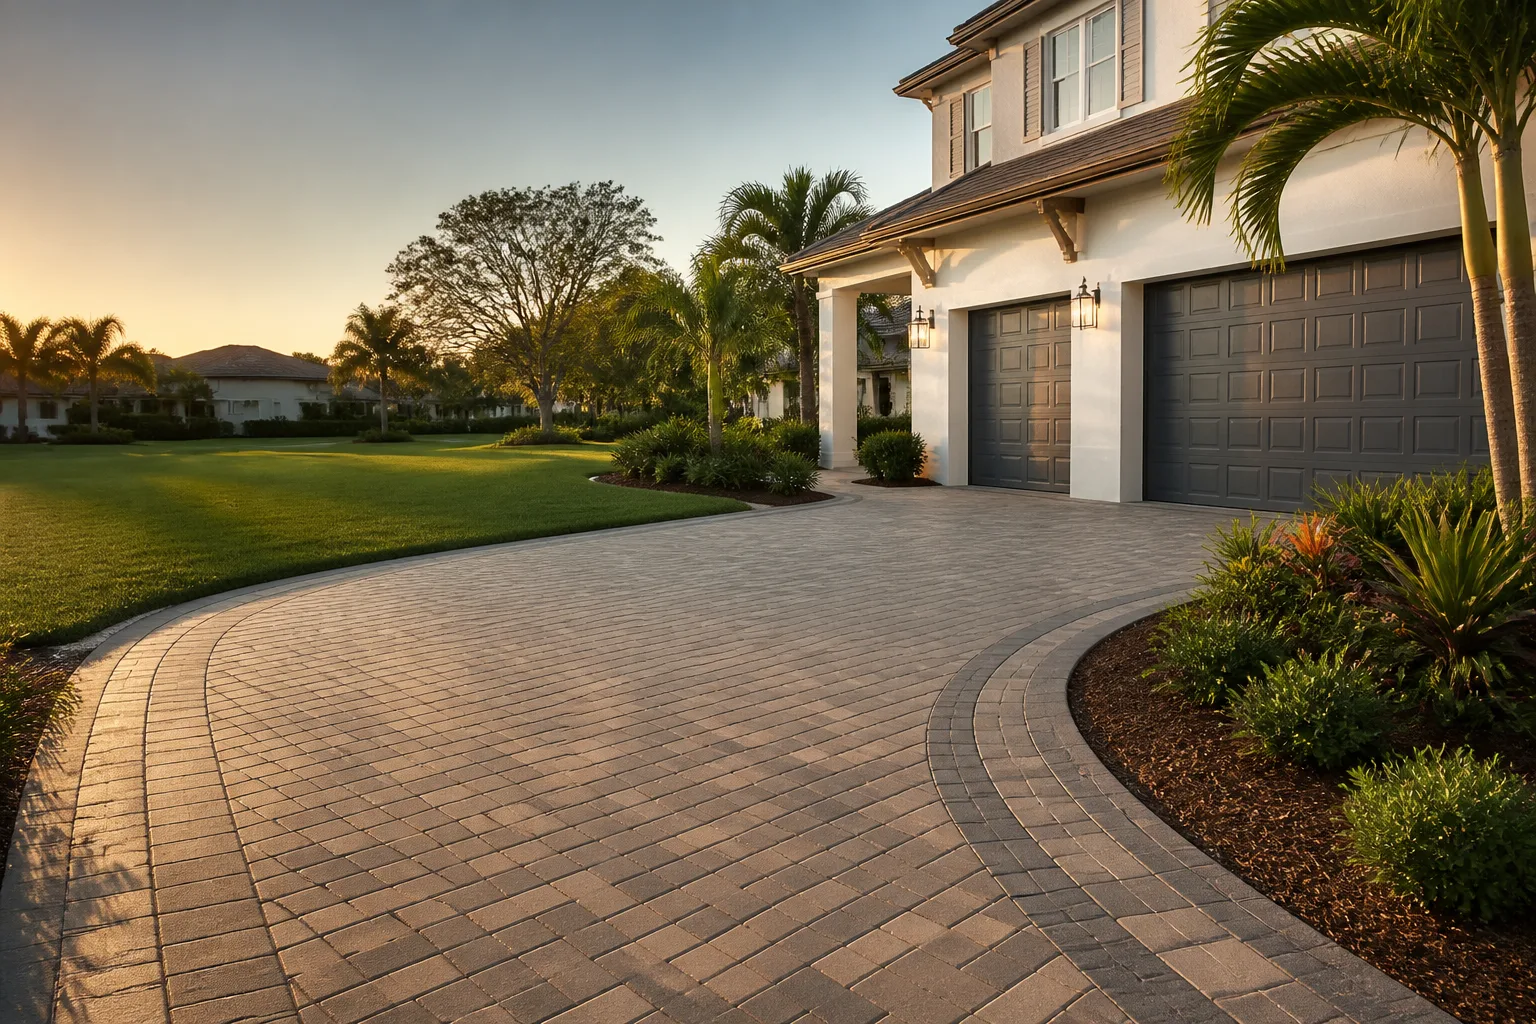
We’ve seen this plenty on Hayward driveways built on the clay soils common through much of the East Bay. Clay holds water at the surface instead of draining through it, so a base that was fine when it was installed can start moving after one wet season if joint sand wasn’t maintained. If you want a quick visual reference for what a properly built driveway surface looks like, our Driveway & Pavers in Hayward page describes the base preparation and edge restraint details that matter.
Tree Root Damage: Radial Versus Linear Cracking
Cracking tells you which force is at work, and the two common patterns point to completely different repairs. Hayward has a lot of mature street trees and yard trees that grow close to driveways and cause both.
Radial cracking looks like a starburst. Several cracks radiate outward from one central high point where a root has heaved the paver up. The crack lines aren’t parallel or orderly – they fan out from a single spot. This is tree root pressure, and the fix involves root management and typically re-grading a section of driveway.
Linear cracking runs in lines roughly parallel to each other, often across the full width of a driveway or along a control joint. This is soil settlement and thermal movement, not roots. Settlement patterns are usually related to drainage, base compaction, and how the driveway was built. The repair scope is different and in most cases less expensive than root work.
In Hayward, the tree that most often shows up on our driveway assessments is liquid amber (sweetgum), which has a shallow, aggressive root system that finds water and follows it under concrete and pavers. Sycamore runs deep but spreads wide, and older olive trees push surface roots that move pavement slowly and steadily. Before removing a tree that’s causing a heave, it’s worth knowing that Hayward requires a permit for removal of certain street trees and protected species. Removing a tree doesn’t automatically solve a cracked driveway if the roots stay in place, either – the roots decay over years, and until they do, they can hold the soil up as effectively as they did alive.
The severity tiers apply here too. A radial crack under 1/8 inch wide with less than 1/4 inch of heave is Tier 2 – schedule a repair, manage the roots, watch it. A heave over 1/2 inch that’s creating a trip hazard or trapping water is Tier 3. When the driveway work overlaps with replacing a failing fence along the same tree line, we often see homeowners handle both projects in the same season, so coordinate with Fence Installation in Hayward if that’s on your list.
Drainage Warning Signs You Can Catch Early
Water damage to a paver driveway is visible long before you can see cracks. The first signal is slope. A residential driveway should pitch away from the house by roughly 1 to 2 degrees – just enough to carry water off without making the driveway feel steep to walk on. When the slope reverses, water sits against the house or against a drain and finds its way into places it shouldn’t. That’s the beginning of a much more expensive repair than the driveway itself.
You can check slope with a 4-foot level. Lay it on the driveway pointing away from the house, lift the house-side end until the bubble centers, and measure the gap. About 1 to 2 inches of rise over 4 feet puts you in the right range. If the level shows the driveway running toward the house, that’s your warning sign – and it’s worth photographing with the level in place so a contractor can see exactly what you found.
Other drainage indicators to watch for:
- Standing water after 4 hours. A puddle that’s gone within 4 hours is normal on a slight pitch. One still there the next morning means the water has nowhere to go.
- Water staining or efflorescence concentrated in a low spot. That’s the water telling you where it’s pooling.
- Joint sand washing out along one continuous path. The path is where the water flows.
- A depression that appears at the end of a downspout run. A downspout that discharges directly onto a driveway concentrates a surprising amount of water into one spot, and pavers don’t love it.
Drainage correction is usually less expensive than base repair because it’s caught before the base is compromised. Which brings us to the subject of what your warranty says about it.
When Your Own Landscaping Voids a Warranty
Most driveway and paver warranties in California include a clause covering owner-modified drainage. Translation: if you change the grading, add or move landscaping, install new hardscape, redirect a downspout, or change how water flows near the driveway after the work was done, the manufacturer or installer can decline a drainage-related claim. This is worth knowing before you plant anything within ten feet of the driveway.
The protection is documentation. Take photos of the driveway and the surrounding grading at completion. Note where water drains during the first rainy season. If you later change landscaping, photograph the change and the driveway area it affects. If a drainage problem shows up two years down the road, the record of what the driveway looked like at completion is what separates a warranty repair from an out-of-pocket one.
This is also the practical reason we deliver a documented photo record on every visit. It’s not just a nicety – it’s evidence of the condition the driveway was in, and evidence of the work performed. The 365-Day Done Right Promise on our side is backed by that record, not by a handshake. If the driveway starts to settle inside the first year, we have the baseline to compare against. And if we want to put that promise on paper properly, a written scope and written warranty is how it’s done: a flat, written price before work starts and a written warranty when we leave.
Quick Reference: What to do if you’re not sure which tier you’re in
- Photograph the problem area with a ruler or coin in the frame for scale.
- Check the slope with a 4-foot level pointing toward the front of the driveway.
- Measure any settlement with a 6-foot level and a tape measure.
- Note whether the problem gets visibly worse after rain.
- Bring all of it to a contractor for a written assessment – the evidence travels well.
What Each Repair Actually Costs
Prices here reflect typical East Bay market ranges for Hayward driveways. Treat them as ballpark figures for planning; a written quote for your specific driveway is the only number that matters for your project.
- Re-sanding joints: $150 to $400 for a standard two-car driveway, usually included with a maintenance visit.
- Resetting 5 to 20 individual pavers: $350 to $900 depending on access and whether base work is needed underneath.
- Targeted base repair at a settled area: $600 to $2,000. The range reflects how much base has failed and how much area needs re-excavation and recompaction.
- Slope/drainage correction: $800 to $2,500. Catching this before water reaches the house or a foundation element is what keeps the number in the low end.
- Popped paver by tree root: $250 to $600 for one paver plus root grinding work; more if a section needs re-grading.
- Full paver driveway replacement (two-car): $10,000 and up. This is the number that justifies the other repairs.
Half of these are preventive. The other half are only necessary when a Tier 3 sign is present. That’s the whole argument for learning the tiers: a $200 re-sand and a 15-minute slope check every year is what keeps you out of the $10,000 category, or the even more expensive category of a driveway that’s failed and a foundation that’s got water against it. The difference between a small repair and a large one often comes down to a single water-flow decision made early.
One trade-specific detail worth naming: the specific brands of paver and edge restraint matter. A driveway spec’d with Belgard or Techo-Bloc pavers, installed over a compacted aggregate base with steel edge restraints and correct joint sand, behaves very differently from a cheap-paver job with plastic edging. If you’re having a driveway built or rebuilt, ask for the paver brand, the base spec, and the edge restraint detail in writing. If you’re having a driveway repaired, the same spec is what should show up in the repair work. For any neighboring home projects – a back patio, outdoor kitchen, or an ADU that changes water flow near the driveway – have the site plan reviewed together. It’s the same drainage pattern. Our Home Additions & ADU in Hayward page describes how additions are evaluated relative to existing site drainage.
See the difference
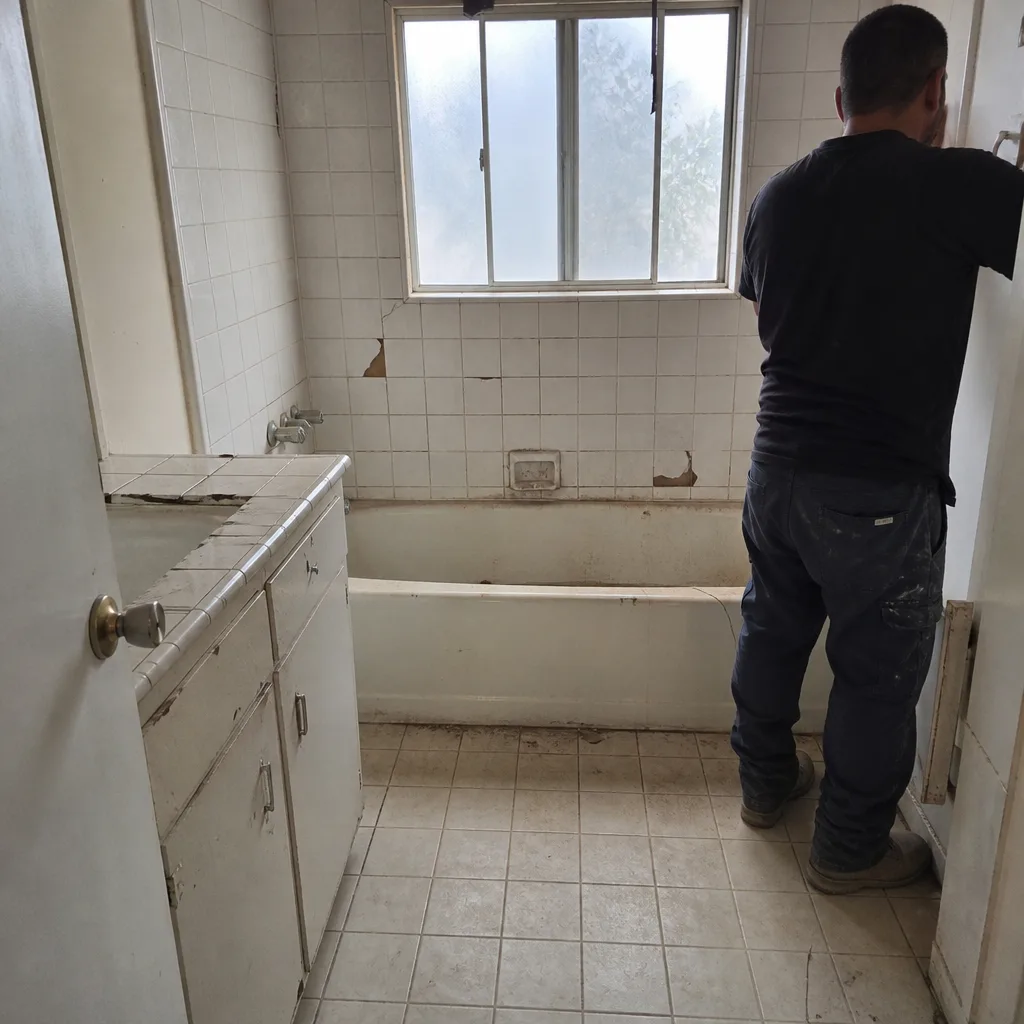 Before
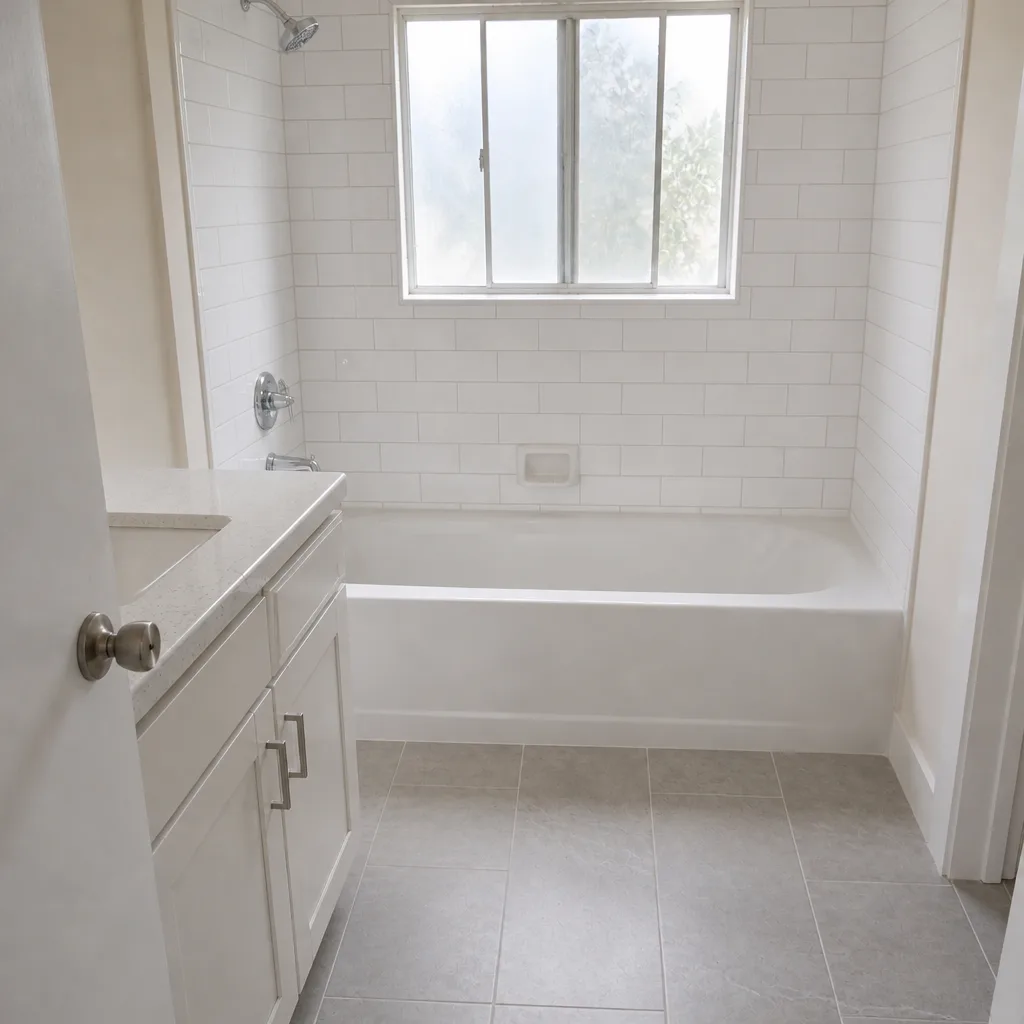 After
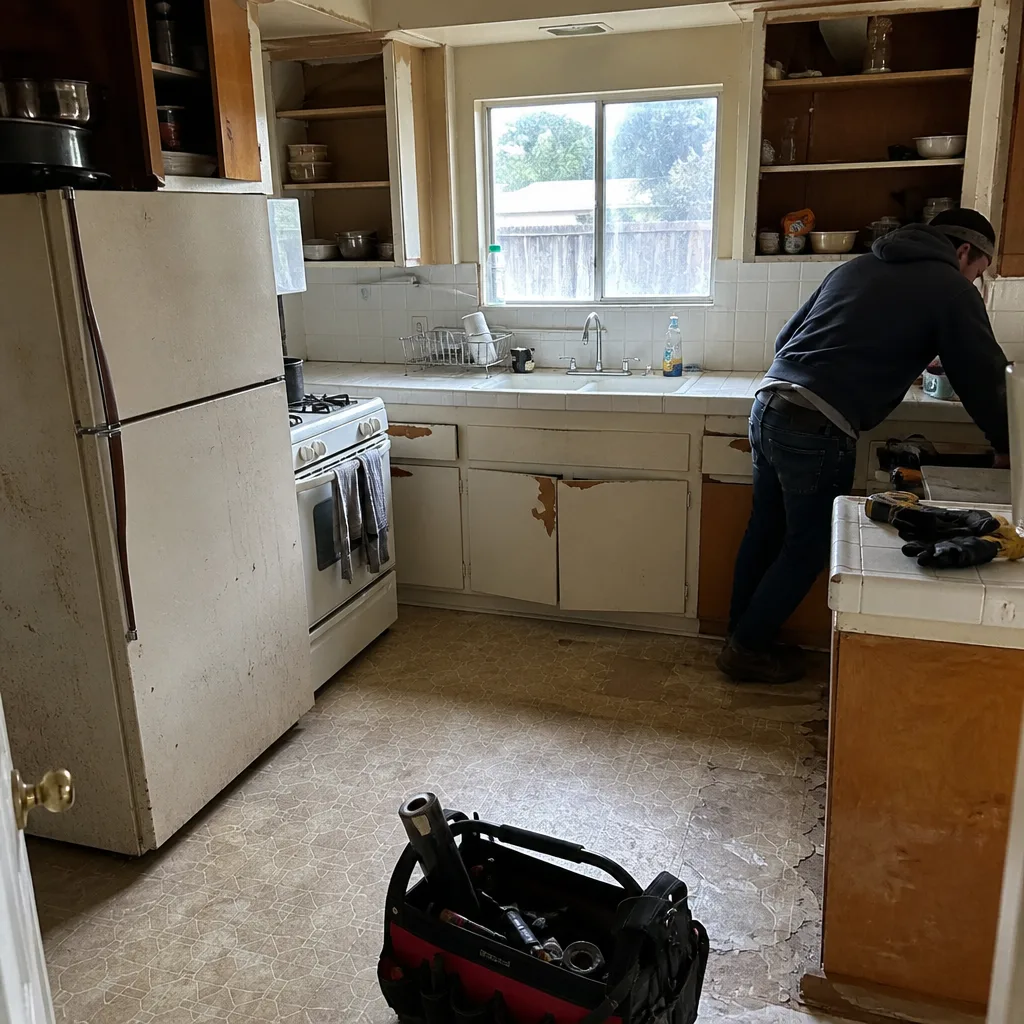 Before
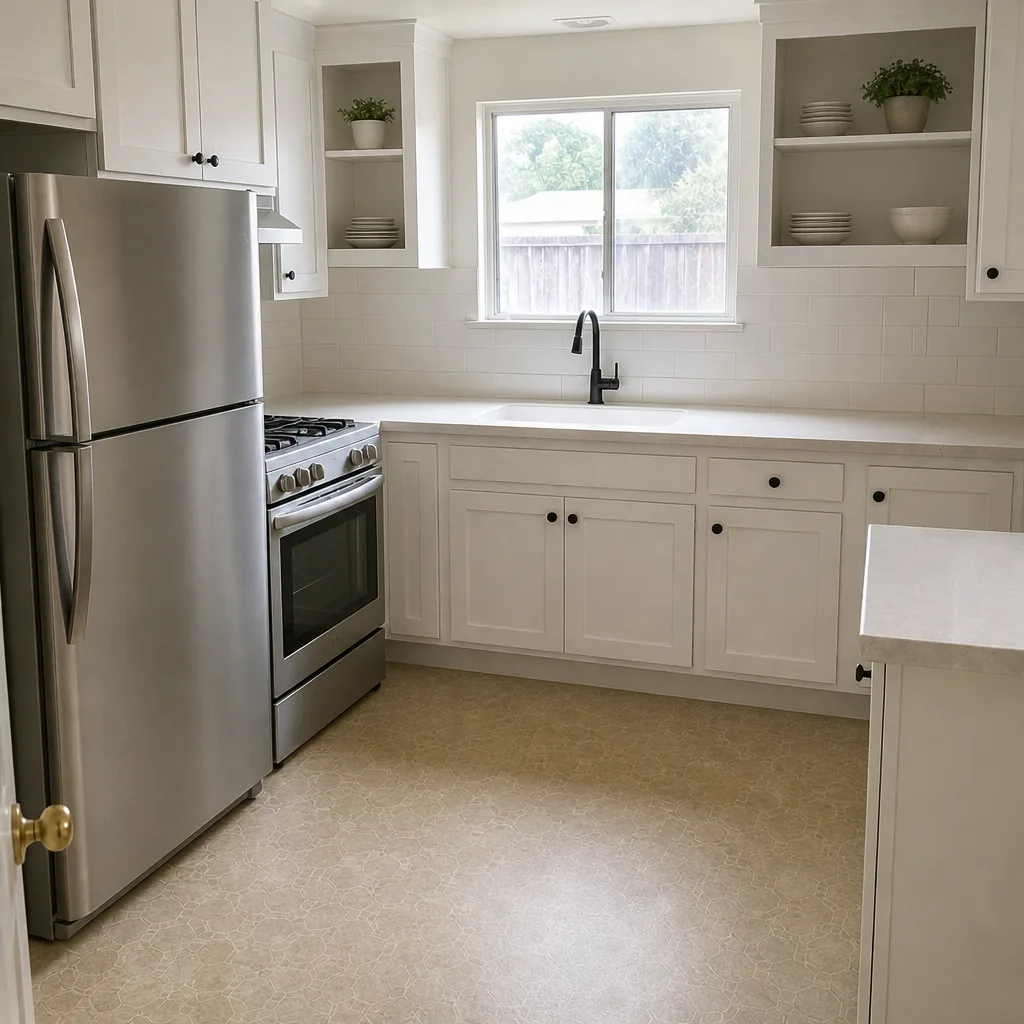 After
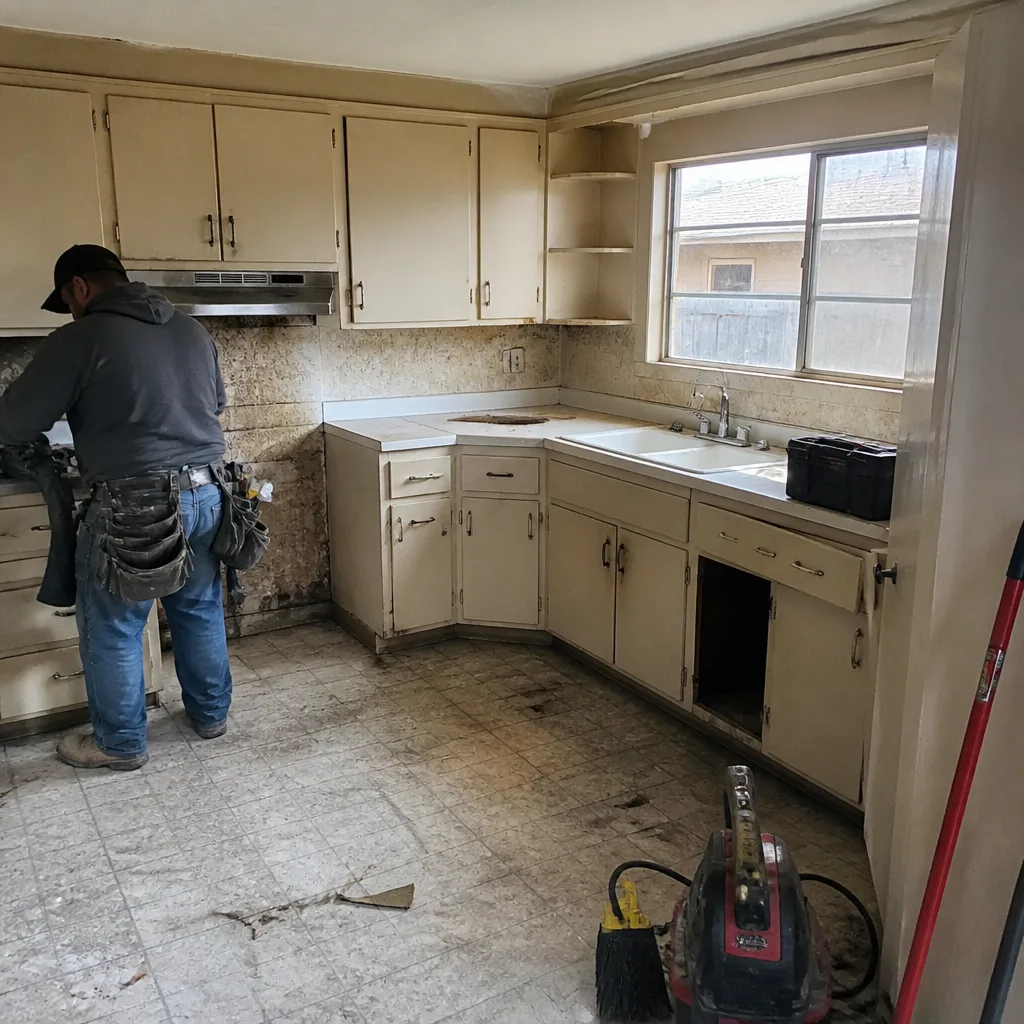 Before
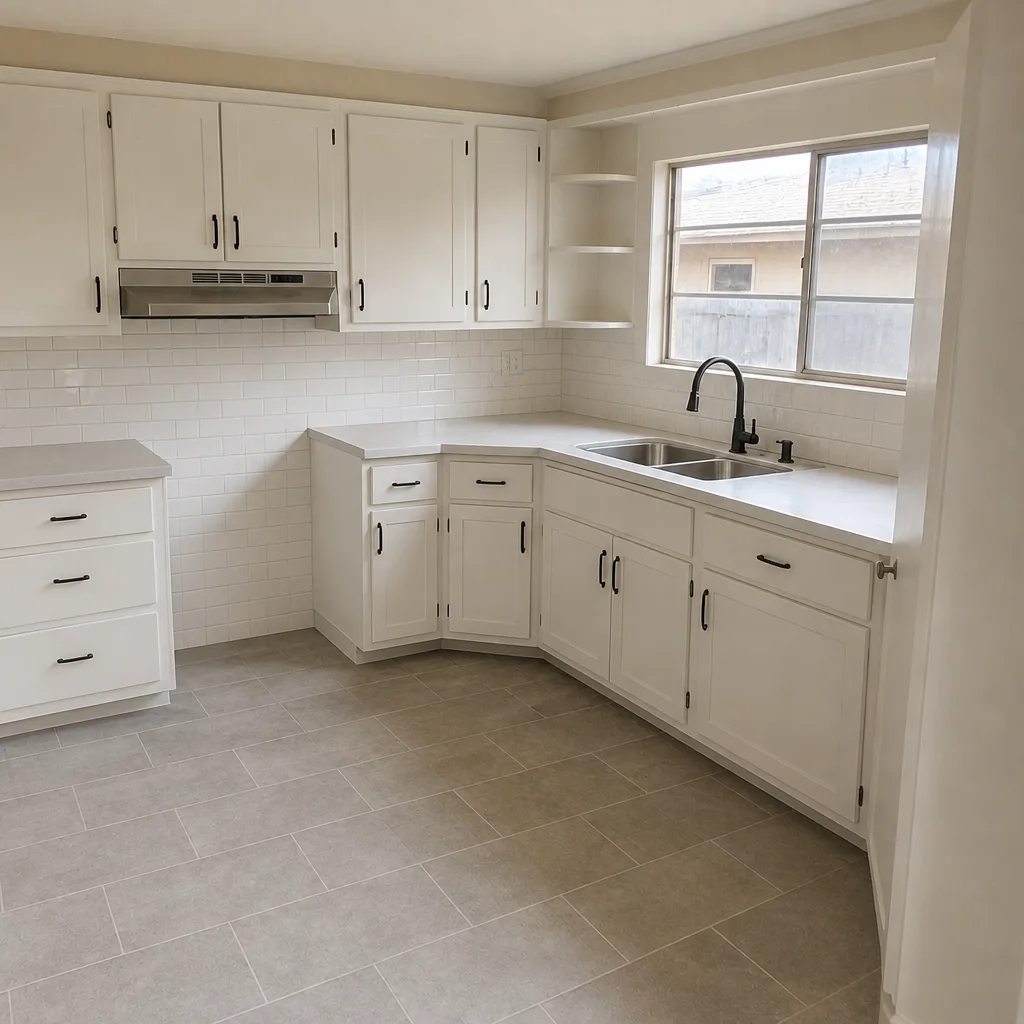 After
Common Mistakes to Avoid
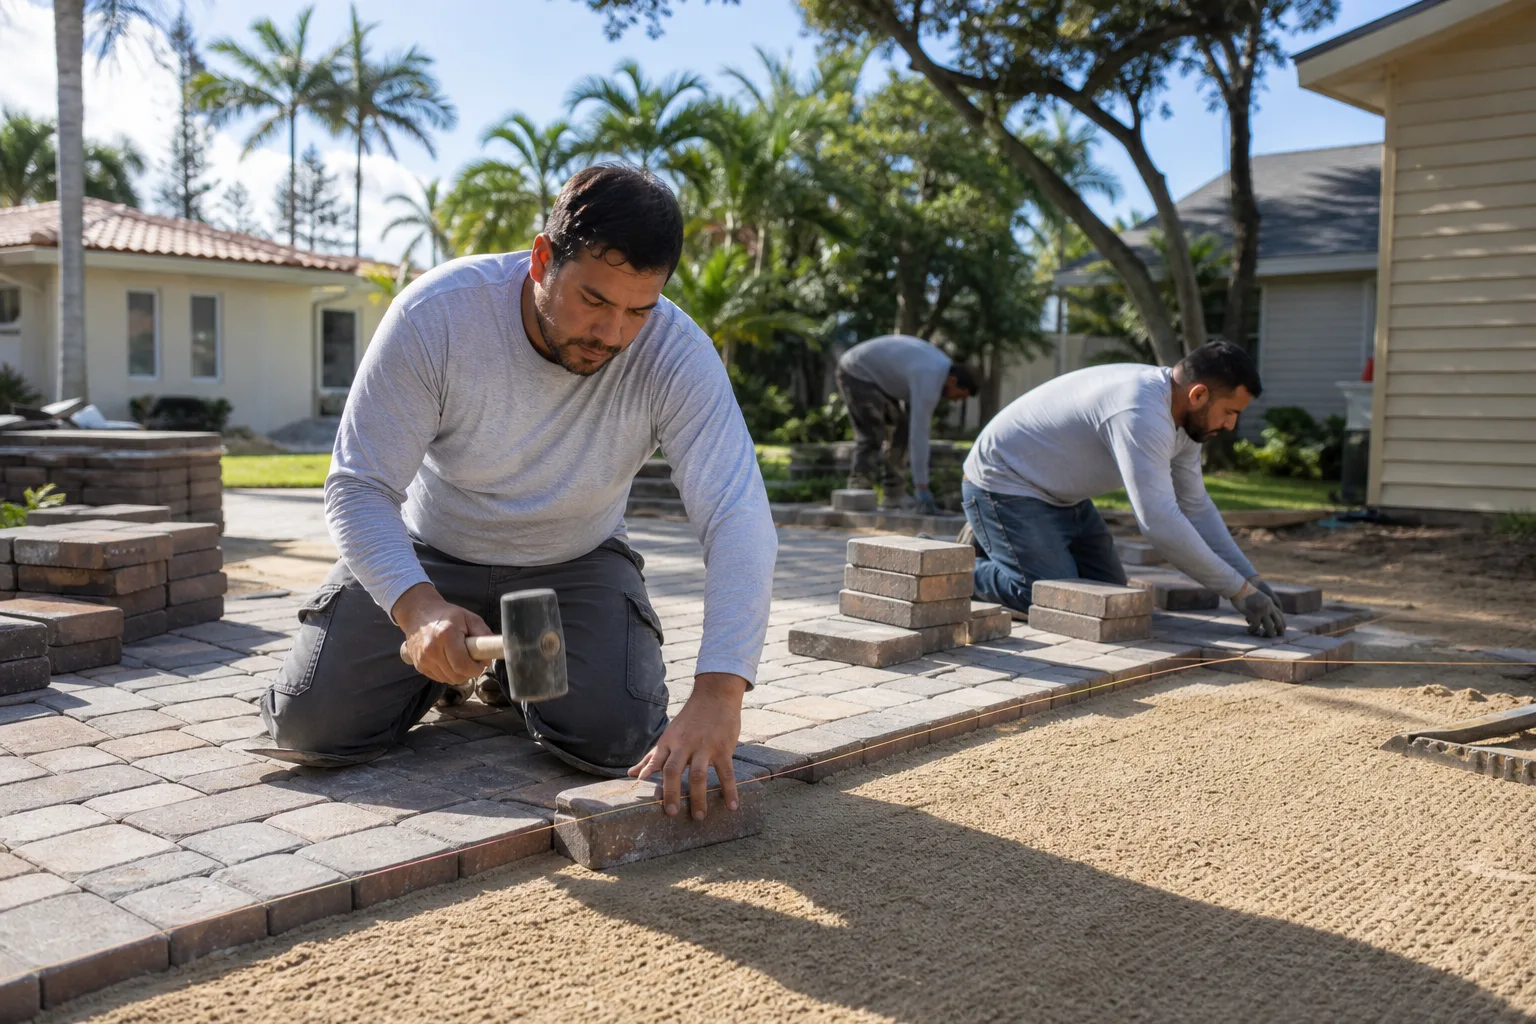
- Treating efflorescence as structural. White film on the first-year pavers gets a lot of homeowners into unnecessary replacement quotes. Brush it off, watch for it returning in one concentrated spot, and otherwise leave it alone.
- Ignoring a small dip in a vehicle track. The one warning sign most often dismissed is the one that grows. A 1/4-inch depression is a watchable measurement; 1/2 inch is a sign that the base has failed.
- Re-sanding without fixing the cause. If joint sand washes out in 3 months again, the problem is water, not sand. Fix the water path first.
- Removing a tree without a permit in Hayward. Street trees and certain protected species require city approval before removal. Look that up before a crew shows up with a saw.
- Redirecting a downspout onto the driveway. It feels like a cheap fix and it concentrates water onto a paver section that was never designed for it. It’s also the most common way a drainage problem gets worse after the fact.
- Changing landscaping near the driveway without documenting it. A photo of the change is what may save you the warranty claim later.
- Calling for a full replacement when the tier says repair. Get a written scope and a written price. Ask what tier each problem is in. A contractor who can’t answer that question in plain terms is selling a replacement, not giving an assessment.
When to Call a Professional
Call for a written assessment when you’re seeing any Tier 3 symptom: settlement deeper than 1/2 inch, standing water still present 4 hours after rain, or base material visible through the joints. Also call if your own measurements changed by more than 1/8 inch over 6 months, if you see radial cracking starting from a central heave, or if water is running toward the house. Any of those are worth a professional look within the week.
Call sooner if the driveway is under 2 years old and showing symptoms – that’s when the warranty matters and the earlier the documented record exists the better.
Our technicians have up to 19 years of experience reading these patterns, and every driveway visit includes a documented photo record as standard, plus a written scope and flat price before any work starts. Under the Haven Standard, no change proceeds without a signed change order, so the number on the page is the number you pay.
Rowan Construction Group Hayward offers free estimates in Hayward. Call (866) 863-1729 to schedule yours. Bring your photos and measurements and we’ll walk them line by line with you.
Frequently Asked Questions
Most targeted paver repairs in Hayward run $350 to $2,000 depending on what’s being fixed – resetting pavers is at the low end, base repair at the high end – while full driveway replacement starts around $10,000 for a two-car driveway. Re-sanding joints is $150 to $400 and is the cheapest prevention available. Call (866) 863-1729 for a written estimate – it’s free and it’ll tell you exactly which tier your driveway is in.
Almost always no – it’s cosmetic calcium hydroxide migrating to the surface during the first 1 to 2 years of cure and it fades with weathering. Brush it off and monitor. The exception is efflorescence returning in one concentrated low spot: that’s a sign water is moving through the base, and it’s worth a professional look. Call (866) 863-1729 if you’re unsure.
Settlement over 3/8 inch under a 6-foot level starts to indicate base failure rather than paver shift, and over 1/2 inch is the urgent threshold. Measure it once, record the number, and remeasure in 6 months. If it’s grown, call (866) 863-1729 for a written assessment.
Radial (starburst) cracking radiating from one central high point indicates tree root heave, usually from a shallow-rooted tree like liquid amber. Linear, parallel cracking indicates soil settlement instead. The two need different repairs, so knowing which pattern you have is what makes the quote accurate. Call (866) 863-1729 and we’ll help you identify which one you’re seeing.
You can, and it’s one of the few driveway maintenance tasks that doesn’t need a contractor. The key is applying joint sand (not play sand), filling slightly above the joint line, and watering it in per the manufacturer’s instruction. It’s the fastest way to keep a paver driveway out of Tier 2. If you’re already seeing Tier 2 or Tier 3 symptoms, call (866) 863-1729 instead – re-sanding won’t fix base movement.
Late spring through early fall is the practical window in Hayward – drier conditions let base repair compact and cure correctly, and paver sealing needs dry weather. A Tier 3 problem found in November is usually still worth fixing ahead of the rainy season. Call (866) 863-1729 to schedule before the wet months.
The Bottom Line
The most expensive driveway repairs happen because a homeowner acted on the wrong signal. Efflorescence, which looks alarming, is cosmetic. A shallow dip in a vehicle track, which doesn’t look like anything, is the structural warning. Learn the three tiers, measure settlement with a 6-foot level and a tape measure, check slope with a 4-foot level, and photograph anything you’re concerned about. That’s the whole discipline. The driveway that gets a $200 re-sand and an annual slope check is the driveway that doesn’t become a $10,000 replacement. If you want a second opinion on a competitor’s quote, we’ll review it line by line for free – and yes, we’ll tell you if it’s a fair price.
Contact
When you’re ready for a written assessment of your Hayward driveway, call (866) 863-1729. Every estimate is free, every price is in writing before work starts, and every visit includes a documented photo record. Start with the Rowan Construction Group Hayward home page for an overview of how we work, or call us directly and we’ll schedule a driveway assessment within the week.
Written by the team at Rowan Construction Group Hayward.