Last updated November 18, 2026








Free written scope consultation - allowances, timeline, and change-order rules on paper before a single trade is scheduled
Bathroom Remodeling Troubleshooting: Common Problems and How to Fix Them
Grout cracking at a tiled shower floor within 12 months of installation is almost never a grout problem. It’s a deflection problem in the substrate beneath the tile, and patching only the grout will crack again within another 12 months. The diagnostic is under the tile, not on it. In Hayward, where the housing stock swings from 1920s bungalows off Foothill Boulevard to newer build-outs in the Hayward Hills, we’ve watched the same three failures repeat: waterproofing, ventilation, and drain slope. Each produces a recognizable symptom pattern, and that pattern tells you whether the error is fixable without tearing out tile. This guide walks through each one with tests you can run yourself and clear lines on when the fix needs a licensed contractor.
Quick Answer
Most bathroom remodeling problems come down to one of three failure points: a breached waterproofing membrane, an underperforming exhaust fan, or a drain installed with the wrong slope. Diagnose first by location and symptom, because a crack at a shower pan means something very different from mold at a drywall perimeter or a slow drain with no visible blockage. Surface cosmetic repairs hold in only two cases: grout recoloring and single-tile replacement where the substrate is sound. If water has reached the substrate, the repair scope expands and a licensed contractor should be involved.
Styles & brands we work with
- Kitchen remodeling
- Bathroom remodeling
- Home additions & ADU
- Roofing
- Windows & doors
- Driveway & pavers
- Fence
Table of Contents
- Moisture and Mold: Diagnose by Location
- Drain and Slope Troubleshooting
- Ventilation Failure Diagnosis
- Finish Plumbing Symptom Guide
- Tile and Grout Failure: Root-Cause Matrix
- What You Can Fix vs. What Needs a Pro
- Common Mistakes to Avoid
- When to Call a Professional
Moisture and Mold: Diagnose by Location
Mold doesn’t spread randomly. Where it grows in a bathroom tells you exactly which system failed. That’s the single most useful diagnostic tool a homeowner has before calling anyone, because the repair scope for grout-line mold and the repair scope for ceiling mold are not in the same universe of cost.
Mold at grout lines and tile joints. Cause: grout porosity. Standard cement grout is not waterproof. It’s a sponge that absorbs moisture from splash and steam and holds it just below the tile edge. Scope: narrow. Clean, dry, then regrout or apply a penetrating sealer every 2-3 years. Cost in Hayward: roughly $300-$600 for a professional reseal of a standard tub-and-shower surround.
Mold at a drywall perimeter (walls beyond the tile). Cause: waterproofing failure inside the wet zone. Water has escaped past the membrane, joint, or backer board and wicked into drywall, where it feeds mold at the paper face. Scope: significant. This one usually requires opening the wall to confirm the extent of moisture migration. Budget $1,800-$4,500 to open, remediate, and rebuild a localized wall section with proper waterproofing.
Mold on the ceiling. Cause: ventilation failure. Ceiling mold in a bathroom almost always means steam saturating the room because the exhaust fan isn’t moving enough air, or its duct is kinked. Repair is mechanical, not tile work. Budget $250-$900 to correct the fan or duct run.
One reliable rule of thumb in our experience: if mold appears on the ceiling, the wet zone below is usually fine. If mold appears on the wall beyond the tile, the wet zone is compromised. If mold appears only on grout lines, the tile job is structurally sound.
Drain and Slope Troubleshooting
A shower that puddles after every use has a slope problem, and you can confirm that with a 4-foot level in about 90 seconds. Set the level directly on the shower floor, one end pointing at the drain. The standard is a minimum of 1/4 inch of fall per foot toward the drain. If the level shows a flat floor or an uphill run at any point in that span, the mud-bed or pre-slope was installed wrong and the correct fix depends on which of two failure types you’re seeing.
How to run the test
- Set the 4-foot level on the floor at four compass points around the drain (north, south, east, west).
- Read the bubble for each orientation and note pitch direction and amount.
- Compare the four readings. Consistent pitch toward the drain is good; a flat reading or pitch away from the drain means it needs correction.
- Look at puddle position after 24 hours – flat tiles puddle in the center of the surrounding ring, a bad pitch runs water to a corner.
When the test suggests a mud-bed error. A traditional mud-bed (dry pack) shower with visible flat or uphill slope usually needs the tile and mud poured out to be corrected. That’s a full teardown of the shower floor, typically $1,500-$3,500 in Hayward, because you can’t slope a hardened mud bed from above.
When the test suggests a linear-drain or surface-correction case. Some linear drains have a very shallow pitch requirement and can be corrected with a surface correction compound if the deviation is under 1/8 inch. If the tile is porcelain and set with a bonded mortar, a licensed tile setter can sometimes level within tolerance without removing the pan.
If you’re considering a shower rebuild as part of a larger bathroom project, the scope for waterproofing and slope is the same whether you’re redoing a tiled shower in a Hayward Commonwealth bungalow or a newer unit closer to the shoreline. The Rowan Construction Group Hayward home page outlines the full scope approach.
Ventilation Failure Diagnosis
A fan that’s code-compliant on paper can still fail the room. That’s the most common ventilation error we see in Hayward bathrooms on both sides of the hills, and it’s almost never the fan itself: it’s the duct. A properly rated fan with a kinked, undersized, or overlong duct run performs as if it’s absent.
Tissue-paper draw test
- Turn the fan on and let it run for one minute.
- Hold a single-ply tissue or square of toilet paper flat against the grille.
- If it holds against the grille without slipping, the fan is drawing air. If it falls, the airflow is below the threshold for a functional fan.
- Repeat with the fan at the highest setting if you have a multi-speed.
CFM requirements. Most jurisdictions, including Hayward, base bathroom fan sizing on HUD and ASHRAE guidance: roughly 50 CFM for a standard bathroom (up to 50 sq ft), and 1 CFM per square foot of floor area for larger baths. A 100 sq ft bath needs a 100 CFM fan. You can confirm your fan’s rated CFM on the label inside the housing.
Why a rated fan underperforms. The duct is the usual culprit. Four-inch flexible duct bent or kinked will drop airflow by 30% or more. A 25-foot run of 4-inch flex duct can lose half the rated CFM. A 4-inch fan on a duct that should be 6-inch is a common install shortcut. And duct terminating in the attic rather than outside creates a moisture problem of its own. If your fan label says 110 CFM but the paper test fails, you’ll almost certainly find one of these three issues behind the grille.
The cost to correct a kinked or improperly-run duct in Hayward runs roughly $300-$800 for a licensed contractor, depending on attic access and run length. If correction requires re-running the duct through a soffit across a finished ceiling, budget $600-$1,200.
Finish Plumbing Symptom Guide
Three finish-plumbing symptoms cover most of what homeowners call us about, and each traces to a specific cause with a specific fix.
Knocking pipes
That jackhammer sound when a faucet or shower valve shuts off is water hammer, caused by the momentum of moving water stopping abruptly against a valve. It’s corrected by installing water-hammer arrestors at the fixture, or (more commonly) at the main line near the water heater. If your home already has arrestors, they’ve likely waterlogged and need replacement. Cost in Hayward: $200-$500 per fixture, or $400-$900 for a whole-house arrestor near the water heater.
Slow drains
Slow drains in a Hayward bathroom split into three failure types with three different repair costs.
- P-trap slope error: the drain under the sink or shower has insufficient fall (less than 1/4 inch per foot), so water pools in the trap arm. Fix: re-pitch the trap arm. Budget $250-$600.
- Partial blockage: hair, soap, or mineral scale, especially common in Hayward’s moderately hard water. Fix: professional snaking or jetting. Budget $150-$400.
- Venting issue: the fixture drains slowly but snaking doesn’t help, because the vent line is blocked or improperly sized. Fix: clear or re-run the vent. Budget $400-$1,200 depending on access.
If snaking twice doesn’t solve the problem, the issue is almost certainly venting, not blockage. Stop snaking and call.
Hot-water delay
Long waits for hot water at a bathroom sink point to one of two causes. A recirculation line error (missing, blocked, or under-sized) is diagnosed by hot water arriving fast at the kitchen but slowly at that bath. A water heater sizing issue is diagnosed by hot water arriving slowly everywhere. The first costs $400-$900 to correct; the second runs $400-$1,200 for a heater upgrade or tune, depending on the fix.
Tile and Grout Failure: Root-Cause Matrix
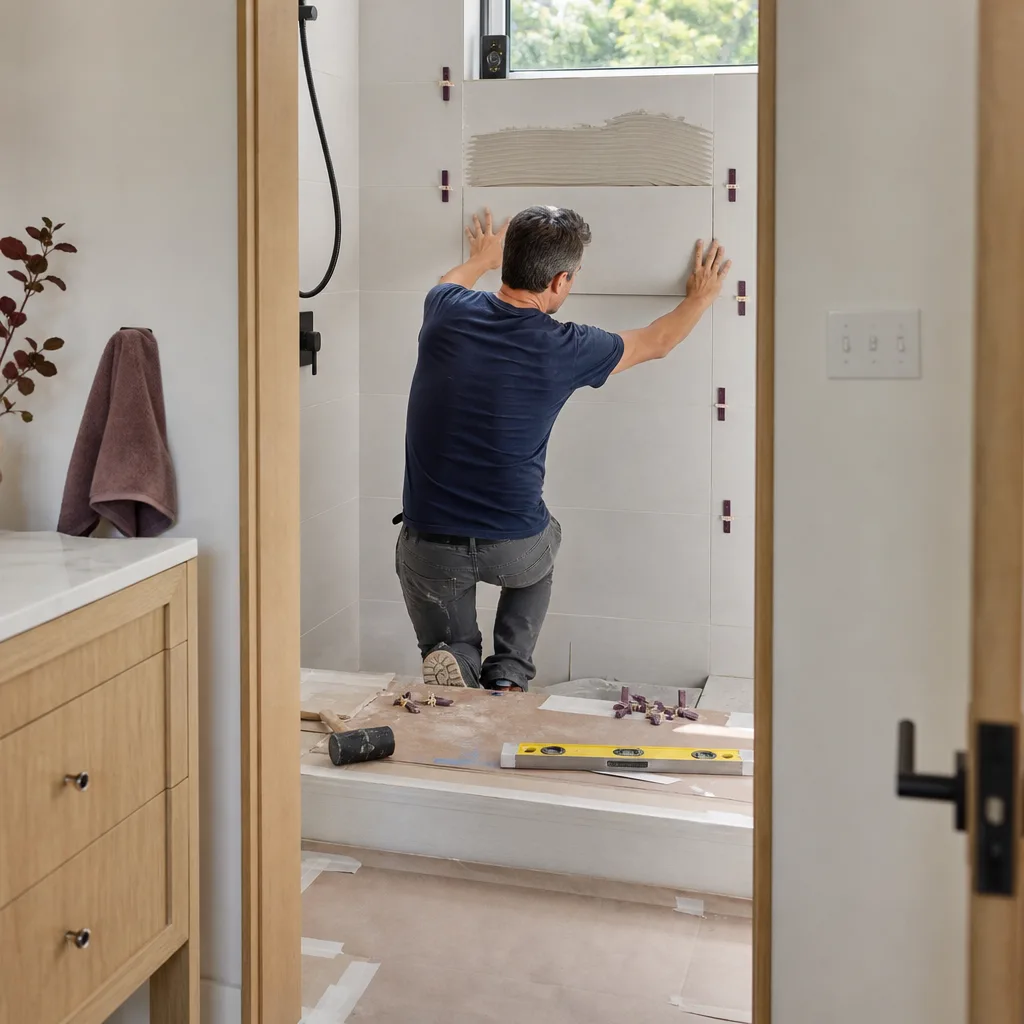
Not every tile failure is a contractor problem. The matrix below classifies the most common failures by root cause and by whether the fix is homeowner-scope, contractor-scope, or requires opening the substrate.
DIY-repairable failures
- Grout darkening or discoloration in a uniform pattern: grout porosity. Reseal.
- Single cracked tile with intact grout lines around it: impact damage. Replace that tile.
- Grout haze or white efflorescence on new tile: install residue. Clean with a sulfamic or grout-haze remover.
Contractor-scope failures
- Grout cracking along the same line within 12 months: deflection. The substrate flexes beneath the tile. Substrate must be stiffened or replaced under the tile.
- Loose or hollow tiles: thinset bond failure. Tile and substrate setting bed need inspection and re-bonding.
- Tiles popping at the shower floor only: moisture in the setting bed. Requires removing tile and inspecting the waterproofing membrane.
Substrate-compromised failures (open the wall)
- Cracked grout plus soft drywall at the base of the surround: failed waterproofing. Wall must be opened, drywall replaced, and waterproofing redone.
- Grout cracks radiating from the shower pan corners: failed pre-slope or pan liner. Pan must be opened and rebuilt.
- Mold at drywall perimeter plus loose tiles: moisture migration behind the tile. Full wet-zone rebuild.
The general rule we apply is photo evidence before scope. A contractor who won’t document the exact condition of the substrate before quoting doesn’t yet know what the repair actually costs. Under Clause 1 of The Haven Standard, the price is written before anyone starts – and that requires knowing the substrate condition, not guessing at it.
What You Can Fix vs. What Needs a Pro
The instinct after a bathroom problem shows up is to reach for a tube of caulk or a patch kit. Some of those hold. Many don’t. Here’s the honest split.
Safe to handle yourself
- Grout recoloring and resealing (color-matched sealant over clean grout)
- Replacing a single cracked tile where substrate is sound
- Installing a new showerhead or faucet cartridge (on the same valve)
- Cleaning or replacing a moldy shower curtain, bath mat, or towel bar
- Running the tissue-paper draw test
Call a licensed contractor
- Any tile work where the substrate is cracked, soft, or hollow
- Any shower pan repair or full re-slope
- Any waterproofing membrane repair or replacement
- Water hammer arrestor installation, vent work, P-trap re-pitch, or recirculation line correction
- Any exhaust duct work above the ceiling line or in a soffit
- Any repair touching the wet zone in a bathroom on pier-and-beam framing, common in older Hayward homes
If your bathroom problem is part of a larger renovation plan, the scope overlaps with Home Additions & ADU in Hayward – the waterproofing, ventilation, and drain corrections run the same standards in new construction and addition work. And on the exterior, water drainage problems that cascade into the bathroom foundation show up alongside Driveway & Pavers in Hayward and Fence Installation in Hayward work, since lot drainage feeds the soil around the slab.
Common Mistakes to Avoid
- Regrouting over a deflection failure. If the grout is cracking in the same line every six months, the substrate is flexing. Resealing the grout just buys six more months.
- Running the exhaust fan duct into the attic. Common shortcut in Hayward homes with tight attic access. It doesn’t vent the moisture out; it dumps it into the attic, where it becomes a roof framing problem.
- Installing a 4-inch fan on a 6-inch duct line. The fan works harder and moves less air. Match fan CFM to duct diameter and run length.
- Assuming a slow drain means a clog. On a bathroom sink that drains slowly even after snaking, the vent line usually needs looking at. Two snake passes is the limit before you change diagnosis.
- Sealing a shower with silicone across the shower pan-to-wall seam. The seam needs to weep; fully sealing it traps moisture in the mud bed. The correct product is a flexible caulk rated for tile, weeped at the pan, not a full silicone seal.
- Hiring on price alone for anything touching waterproofing. The material cost of a waterproofing membrane is minor. The labor to redo a failed one isn’t. The written scope matters more than the number.
- Skipping the photo record. Any contractor who won’t photo-document substrate condition before quoting is guessing at scope, and the change order later will reflect it.
When to Call a Professional
Call a licensed contractor when the symptom traces to the substrate: grout cracking along the same line, hollow tiles, soft drywall at the shower perimeter, mold beyond the tile line, or a shower floor that fails the 4-foot level test. Call when the plumbing symptom involves water hammer, venting, recirculation, or re-pitching the P-trap. Call when the ventilation problem requires any duct work above the ceiling line. And call before you reseal or regrout if you aren’t certain the underlying system is sound – a diagnostic visit is far cheaper than a redo.
Rowan Construction Group Hayward offers free estimates in Hayward – call (866) 863-1729. Every visit includes a documented photo record as standard, and the written price is delivered before any work begins. If you already have a contractor’s quote, we’ll review it line by line at no charge through our Free Second Opinion offer.
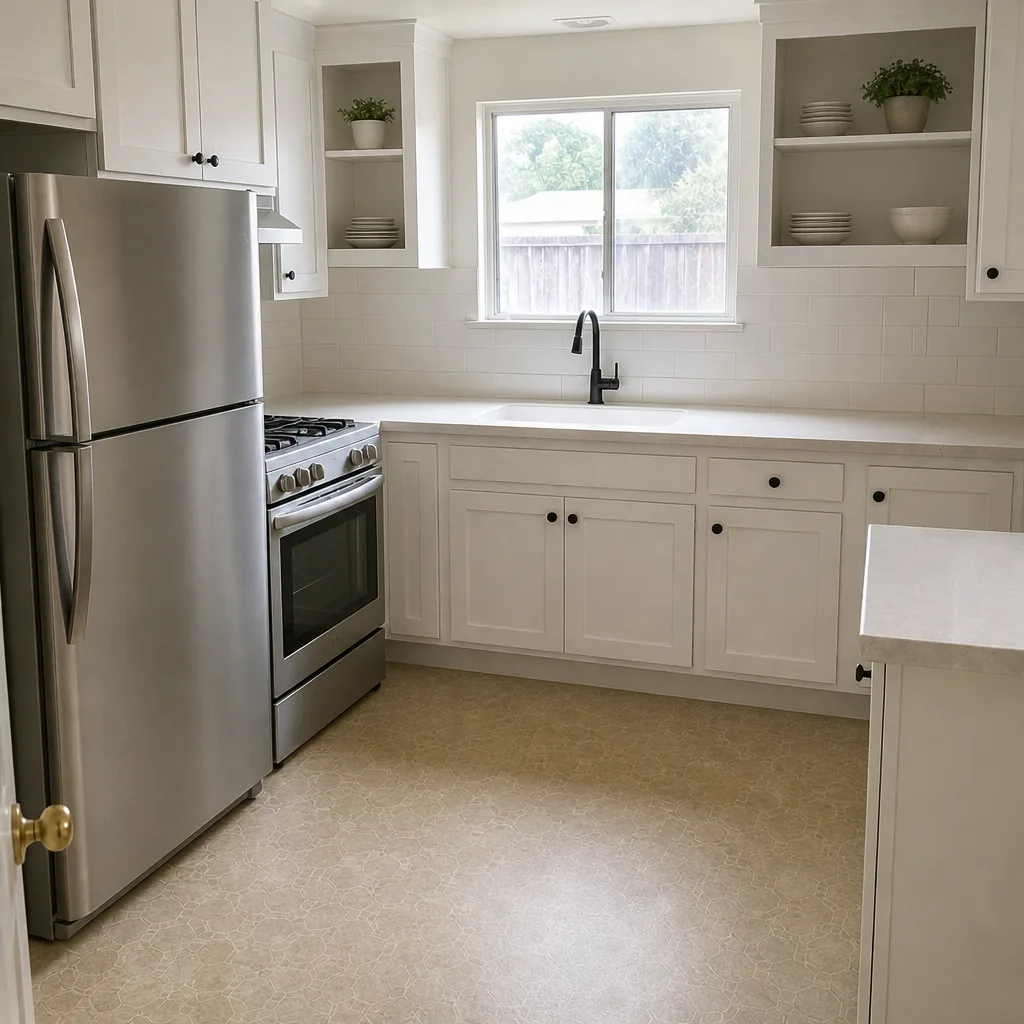
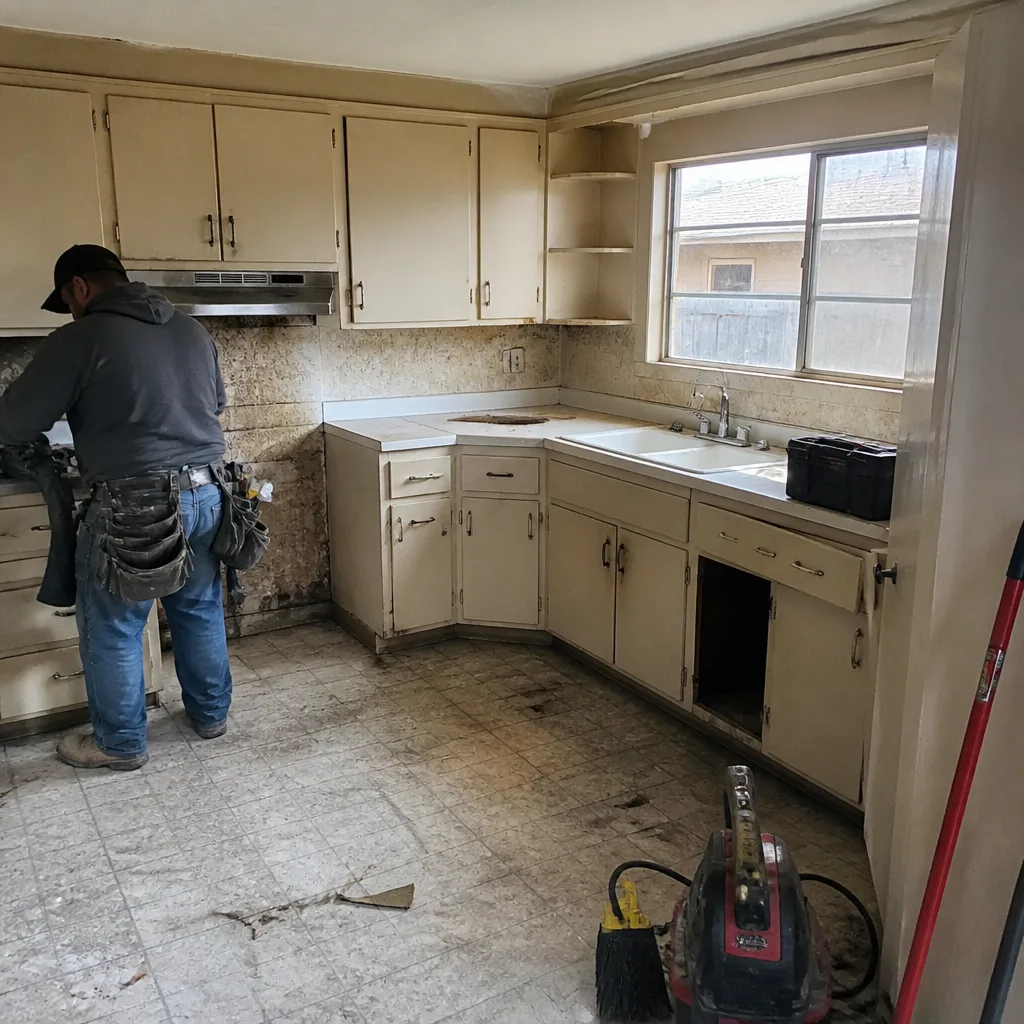
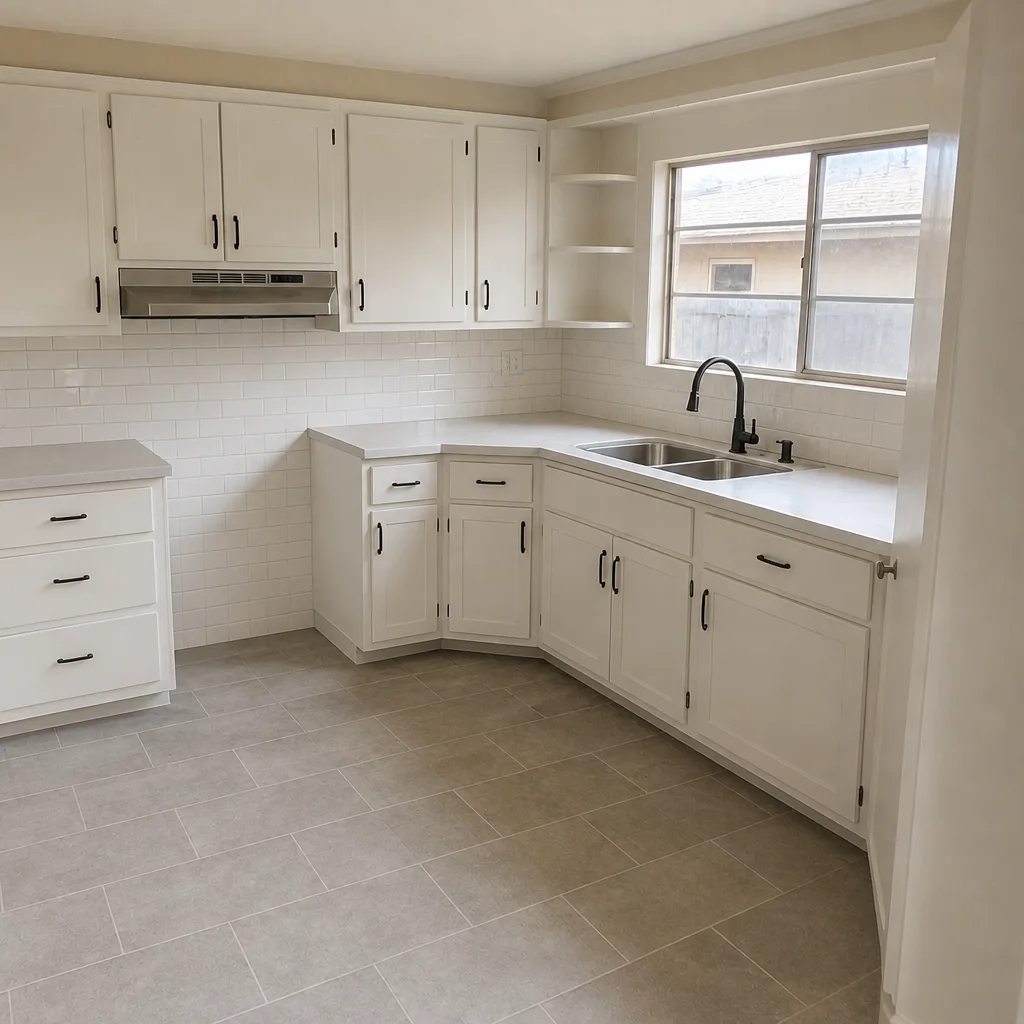
See the difference
 Before
 After
 Before
 After
 Before
 After
Frequently Asked Questions
Because it’s a deflection problem, not a grout problem. The substrate is flexing under the tile and the grout is following that movement. Regrouting will crack again within about 12 months. The fix is at the substrate level, and in our experience, that means stiffening the framing or replacing the backer board under the tile.
Run the tissue-paper draw test: hold a single-ply tissue against the grille while the fan is on. If it doesn’t hold, the fan isn’t moving enough air. Hayward sizing follows the standard 50 CFM minimum for baths up to 50 sq ft and roughly 1 CFM per sq ft above that. A failing paper test on a rated fan almost always traces to a kinked or under-sized duct.
One-quarter inch of fall per foot toward the drain. Anything flatter puddles; anything pitched away from the drain runs water into a corner. Test it with a 4-foot level set on the shower floor with one end pointing at the drain. A shower pan that fails this test needs a re-slope, and how much tile comes out depends on whether the mud-bed is dry pack or a linear drain install.
Localized waterproofing repair on a Hayward bathroom typically runs $1,800-$4,500, depending on whether the drywall perimeter is involved. Full shower pan rebuild runs $1,500-$3,500. A ventilation correction (fan or duct) is $250-$1,200. Call (866) 863-1729 for an exact quote – estimates are free.
Yes, if the grout failure is discoloration or simple wear and the substrate is sound. No, if the grout is cracking in the same line, if any tile is hollow, or if drywall at the shower perimeter feels soft. Recoloring and resealing grout is a homeowner task; anything touching the substrate needs licensed eyes on it.
Because that fixture’s recirculation line is the problem – missing, blocked, or under-sized. If hot water is slow everywhere in the house, the water heater itself is undersized. A one-bath-only delay is a recirculation line issue and is corrected with line work, not a new heater. Expect $400-$900 in Hayward for the correction.
The Bottom Line
Bathroom failures read as random, but they cluster at three points. Waterproofing, ventilation, and drain slope account for the overwhelming share of what goes wrong in a bathroom, and each leaves a signature symptom you can read before calling anyone. Cracked grout on a shower floor is a substrate problem. Ceiling mold is a ventilation problem. Mold beyond the tile line is a waterproofing problem. Diagnose by location and symptom first. Repair only what the diagnosis supports. And when the fix reaches the substrate, get a written scope and a photo-documented condition report before the price is quoted, because that’s what the price depends on. The team at Rowan Construction Group Hayward applies that discipline to every bathroom we touch.
Call (866) 863-1729 to schedule your free estimate in Hayward. We’ll bring the diagnostics, document what we find in photos, and deliver the written price before any work starts. The 365-Day Done Right Promise backs it: if it’s not done right, we make it right.
Written by the team at Rowan Construction Group Hayward.