Last updated November 18, 2026


Free written scope consultation - allowances, timeline, and change-order rules on paper before a single trade is scheduled
DIY vs Professional Windows & Doors: What’s Safe to Do Yourself
Installing a pre-hung exterior door into an existing rough opening is a reasonable DIY project for a methodical homeowner with a few hundred dollars in tools. Installing it in a way that passes a Hayward building inspection – with correct flashing, threshold sealing, and a fire-rated assembly where the code requires one – is a different and more specific task that most video tutorials skip entirely. The gap between those two jobs is where money gets lost. This guide breaks window and door work down task by task, sorts each one by whether it needs a permit and how much skill it takes, and shows you where the real savings are and where a weekend project turns into a re-flash bill. If you’re weighing DIY against hiring out in Hayward, the honest answer sits in the details below.
Quick Answer
Weatherstripping, hardware swaps, and interior casing are safe, permit-free DIY work that most homeowners can finish in a day. Insert window replacement and pre-hung door swaps sit in a middle zone where a careful DIYer can succeed if they get the flashing right. Full-frame window replacement and any header modification are professional work – they need permits, structural judgment, and waterproofing that has to pass inspection. In Hayward, a failed flashing detail can hide inside the wall for years before it shows.
Styles & brands we work with
- Kitchen remodeling
- Bathroom remodeling
- Home additions & ADU
- Roofing
- Windows & doors
- Driveway & pavers
- Fence
Table of Contents
- The Task Breakdown: What’s DIY, What’s Not
- Which Window and Door Jobs Need a Permit in Hayward?
- The Flashing Detail: The Most Consequential DIY Failure
- Title 24 Compliance and Product Selection
- Pre-Hung Doors and Header Work
- What DIY Actually Saves You, By Task
- What Professional Installation Documentation Should Include
- Common Mistakes to Avoid
The Task Breakdown: What’s DIY, What’s Not
Not every window job is a window job. The trade draws a hard line between surface work that touches the trim and structural work that touches the wall. Sort your project by which side of that line it falls on before you buy a single tool.
Safe for most homeowners (no permit)
- Weatherstripping replacement. Peel-and-stick or kerf-in gaskets on doors and operable windows. Cheap, reversible, and the fastest fix for a draft.
- Hardware swaps. Handles, locksets, hinges, sash lifts, and door closers on existing openings. Match the backset and the hole pattern and you’re done.
- Interior casing and trim. Painting, caulking, and re-casing inside the room. No envelope impact, no inspection.
- Threshold sweeps and door bottoms. Stopping air and water at the sill without removing the frame.
Middle zone (skill-dependent, sometimes permitted)
- Insert (pocket) window replacement. A new sash and frame set into the existing window frame. No framing changes, but flashing and sealing still decide whether it stays dry.
- Pre-hung door into an existing rough opening. Same size opening, same swing, new unit. Reasonable for a methodical DIYer, risky for a rushed one.
Professional work (permit and inspection required)
- Full-frame window replacement. The entire frame and nailing fin come out. This opens the wall, exposes the water-resistive barrier (WRB – the house wrap or building paper that sheds water behind the siding), and requires new flashing and inspection.
- Header modification. Cutting or resizing a structural header over a window or door opening. This is load-bearing work. Get it wrong and the wall sags.
- New openings. Cutting a window or door where there wasn’t one means framing, header, flashing, and permit.
In Hayward’s older neighborhoods, the framing behind the trim is often the surprise. Homes built in the mid-century boom around the Tennyson and Jackson Triangle areas sometimes carry original single-pane aluminum units set into shallow walls, and pulling one out reveals sheathing that needs attention before anything new goes in. That’s not a reason to avoid the work – it’s a reason to know which side of the line you’re on before you start.
Which Window and Door Jobs Need a Permit in Hayward?
California treats window replacement as a permit-required alteration when you’re replacing the whole unit, and Hayward follows the state code on this. The permit isn’t bureaucracy for its own sake – it’s how the inspection that checks flashing, sealing, and Title 24 compliance gets triggered. Here’s the honest map.
- Insert replacement windows: often exempt when the frame stays and only the sash is swapped. Confirm with the city before you rely on that.
- Full-frame replacement: permit required. The inspection covers the flashing and the assembly.
- Exterior door replacement (same size opening): permit typically required, especially where a fire-rated door is mandated.
- New openings or resized openings: permit and structural review required.
- Header changes: permit required, and a professional should do the work.
- Weatherstripping, hardware, interior casing: no permit.
One detail that catches Hayward homeowners specifically: attached garages and the door between the garage and the house often require a fire-rated assembly under California code. Swapping that door for a standard exterior door because it was cheaper at the store will fail inspection – the rating is part of the requirement. The same applies to doors along certain property lines where fire separation matters. Check the rating before you buy, not after you’ve hung the door.
If you want a crew that pulls the permit and passes the inspection as part of the job, that’s the standard we hold on our window and door work out of our Hayward home base. A permitted job with a passed inspection is worth more at resale than a job that was never looked at.
The Flashing Detail: The Most Consequential DIY Failure
Flashing is the metal or membrane that directs water out of the wall assembly, and where it meets the WRB is where window installations succeed or fail. Get the installation square and level but botch the flashing, and the window looks perfect for two or three years while water quietly works into the wall cavity. By the time you see a stain on the interior drywall or soft sheathing around the frame, the damage is already structural. This is the single most expensive mistake in the whole category.
The correct sequence, in plain terms, is what an inspector is checking:
- The WRB goes on the wall first, lapped so water sheds downward and outward.
- Sill flashing goes in first, with the ends turned up at the corners to form a pan.
- The window unit sets into the opening and gets shimmed plumb and level.
- Side flashing integrates with the WRB, lapped over the sill flashing at the bottom.
- Head flashing caps the top, lapped over the side flashing and tucked under the WRB above.
- Tape and sealant finish the joints, and the whole assembly sheds water down and away.
Hayward’s climate makes this detail matter more than the map suggests. The city sits in a rain-shadowed pocket of the East Bay, which means most years are dry – and then an atmospheric river arrives and dumps a season’s worth of water in a few days. A window flashed for a gentle drizzle will not survive that. The failure mode is also slow: the wall stays wet inside the cavity because there’s nowhere for the water to go, and the damage spreads behind siding and insulation before anyone notices. Siding brand matters less here than the sequence – a James Hardie panel installed over bad flashing will still let water in.
Re-flashing a single window that was installed without proper WRB integration typically runs $800 to $2,500 per opening once you count opening the wall, replacing damaged sheathing, and reinstalling. That number often exceeds what a homeowner saved by doing the install themselves. It is the clearest case in this guide where DIY savings evaporate on the back end.
Title 24 Compliance and Product Selection
California’s Title 24 energy code sets minimum performance standards for windows and doors, including U-factor (how fast heat moves through the glass) and SHGC (solar heat gain). A permit-required window replacement has to meet the current minimums, which means the product you choose is part of the work – not a shopping decision made after the permit is pulled. Pick the wrong unit and installation quality won’t save you. The final inspection will fail on the product, not the flashing.
For Hayward specifically, the climate zone and the sun exposure of the wall matter. A south- or west-facing wall picks up a lot of afternoon heat on a clear East Bay day, and a window with a high SHGC will turn that room into an oven by 4 p.m. A unit with the right U-factor but the wrong SHGC can pass one part of the code and miss the other. The specs are printed on the window label and in the manufacturer’s documentation, and the inspector reads them. Match the product to the code requirement before you order, and keep the label and the spec sheet – they’re part of your permit record.
This is also where brand sourcing earns its keep. A quote built around units from a manufacturer with clear code-compliance documentation is easier to inspect and easier to defend at resale than a bargain unit with a thin spec sheet. When we write a window quote for a Hayward home, the product spec is in the written scope so the homeowner knows exactly what’s being installed and why it meets the code. That’s how the work should be priced – a number you can compare, not a number you have to trust.
Pre-Hung Doors and Header Work
A pre-hung exterior door is the medium-difficulty DIY job in this guide, and a header change is the one you should not touch. The distinction is structural load versus finish work.
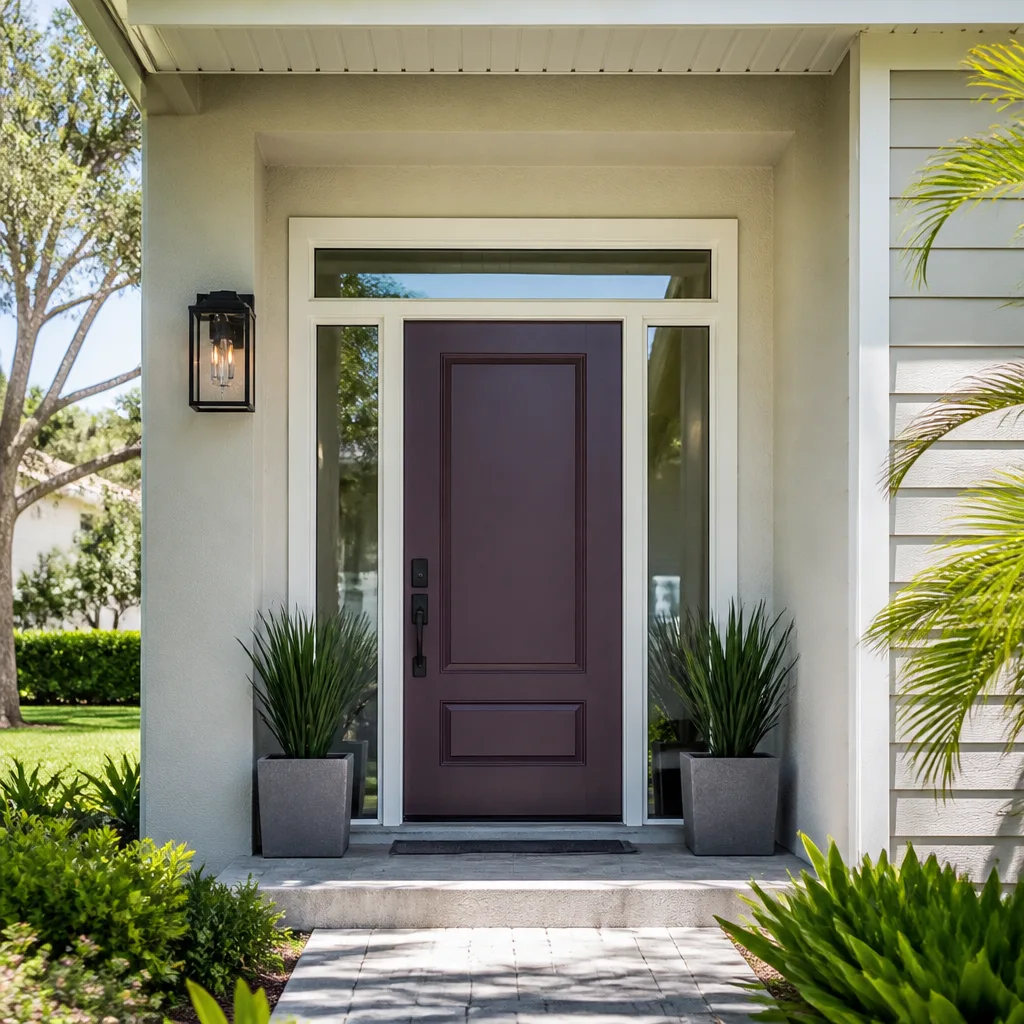
Pre-hung door into an existing rough opening. You remove the old unit, check the opening is square and the right size, set the new unit plumb, shim the hinges and strike side, seal the threshold, and flash the exterior. Get the flashing and the threshold right and the door will keep water out. Get it wrong and you’ve got a wet wall and a sticking door. A methodical homeowner with a level, a shim kit, and patience can do this. Budget a full day, and plan for the opening to be out of square in an older Hayward home – it usually is.
Header modification. The header is the beam over the opening that carries the weight of the wall above. Cutting or resizing it means load-bearing work, and it requires a permit, structural judgment, and an inspection. A DIY mistake here can show up as a sagging wall, cracked drywall, or a door that won’t close a year later. This is professional work. So is cutting a new opening where there wasn’t one – see our home additions and ADU work for how openings get framed correctly as part of a larger build.
The same flashing logic from windows applies to exterior doors. The threshold and the head are where water gets in, and the sealing detail is the difference between a door that lasts and one that rots the subfloor at the sill. If you’re also replacing the fence line alongside the house or considering pavers on the approach, that’s separate exterior work with its own scope – our fence installation and driveway and paver work in Hayward pages cover those projects.
What DIY Actually Saves You, By Task
The savings question deserves a straight answer with numbers, because “you’ll save a ton” is not useful. Here’s the rough landscape for Hayward-area work, and where each dollar of savings comes with a risk attached.
- Weatherstripping and hardware: $30 to $150 in materials, an hour or two of your time. Real savings, near-zero risk. Do this yourself.
- Interior casing and paint: a few hundred dollars saved versus hiring out, no permit, low risk if you’re careful with the trim.
- Insert window replacement: a few hundred dollars per window saved versus a pro install, with the flashing and sealing as the risk point. Worth it if you’re confident in the detail.
- Pre-hung door swap: a few hundred dollars saved, with threshold sealing and flashing as the risk. Worth it for a careful DIYer.
- Full-frame window replacement: savings get eaten fast by permit handling, inspection, and the re-flash risk if the flashing fails.
- Header modification or new opening: not a savings opportunity. It’s a structural job, and the downside cost dwarfs any DIY saving.
Now the downside. A window installed without proper WRB integration costs $800 to $2,500 per opening to re-flash once the damage surfaces. A header mistake can cost far more and take longer to show. And a permit-required job done without a permit can complicate a future sale – the buyer’s inspection will ask, and the answer “we did it ourselves” without a record is not a good one. The math on DIY only works when the risk-adjusted savings are real. For weatherstripping, they always are. For full-frame replacement, they usually aren’t.
If you’re holding a written estimate from another contractor and want a straight read on whether the DIY path makes sense for your job, we’ll review it line by line at no charge. That’s the Free Second Opinion, and it’s a standing offer, not a sales tactic. Bring the quote and we’ll tell you what’s in it and what isn’t.
What Professional Installation Documentation Should Include
A professional installation is only as good as the paper trail behind it. When you hire out window or door work, you should walk away with a documented record, and you should know what that record looks like before the crew arrives. Here’s what to expect, and what to ask for if it isn’t offered.
- Permit records. The pulled permit and the passed inspection are the proof that the work met code. Keep both.
- Manufacturer installation compliance. Window and door warranties are typically conditioned on the unit being installed to the manufacturer’s published instructions. A compliant installation means the warranty holds if the unit itself fails.
- Waterproofing inspection photos. A photo record of the flashing and WRB before the siding goes back on. This is the evidence that the most consequential detail was done right, and it’s the thing you can show a future buyer or an insurance adjuster.
- A written scope and a flat written price. The price is agreed before any work starts, and no change proceeds without a signed change order. That discipline is Clause 1 of The Haven Standard, and it’s why projects finish within a few percent of the number the homeowner agreed to.
- A written warranty and the 365-Day Done Right Promise. If it isn’t done right, it gets made right. That’s printed on the page, backed by a terms page, not an asterisk.
The photo record matters more for windows than for almost any other trade. Interior work hides behind drywall; exterior window work hides behind siding and stucco. The flashing detail is buried by design. A documented photo of it, taken before the wall closes up, is the difference between a homeowner who knows the job was done right and one who hopes it was. We include that record on every visit as a standard deliverable, not an upgrade.
Common Mistakes to Avoid
- Installing a window over the WRB instead of integrating with it. The flashing has to lap into the water-resistive barrier in the right sequence. Skip that and water gets behind the wall. It’s the most expensive DIY mistake in this entire category.
- Buying the unit before checking the permit and Title 24 requirements. A bargain window that misses the U-factor or SHGC minimum fails inspection no matter how well you installed it. Check the spec first.
- Skipping the permit to “save time.” A permit-required window or door job done without one complicates the sale of the house and leaves no inspection record. The time saved is borrowed against your resale.
- Replacing a fire-rated garage-to-house door with a standard exterior door. The rating is a code requirement in Hayward, and the cheaper door will fail inspection.
- Assuming the rough opening is square. In older Hayward homes, it rarely is. Measure the opening on both diagonals before you order a pre-hung door, and budget time for shimming.
- Cutting a header without structural judgment. A load-bearing mistake shows up later as a sagging wall or a door that won’t close. This is professional work, not a weekend project.
- Trusting a video tutorial that skips the flashing sequence. Most tutorials start at the window unit and stop at the trim. The part that decides whether the job lasts is the part they don’t show.
See the difference
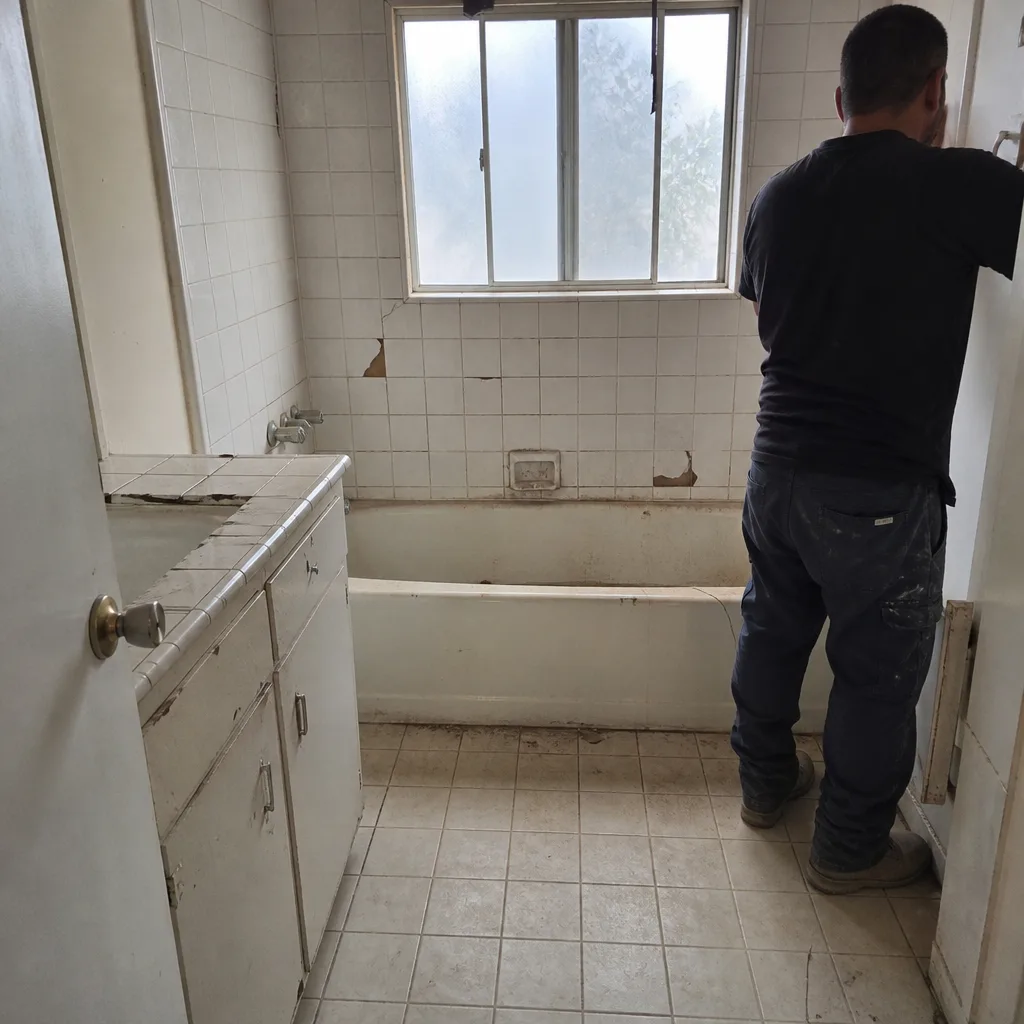 Before
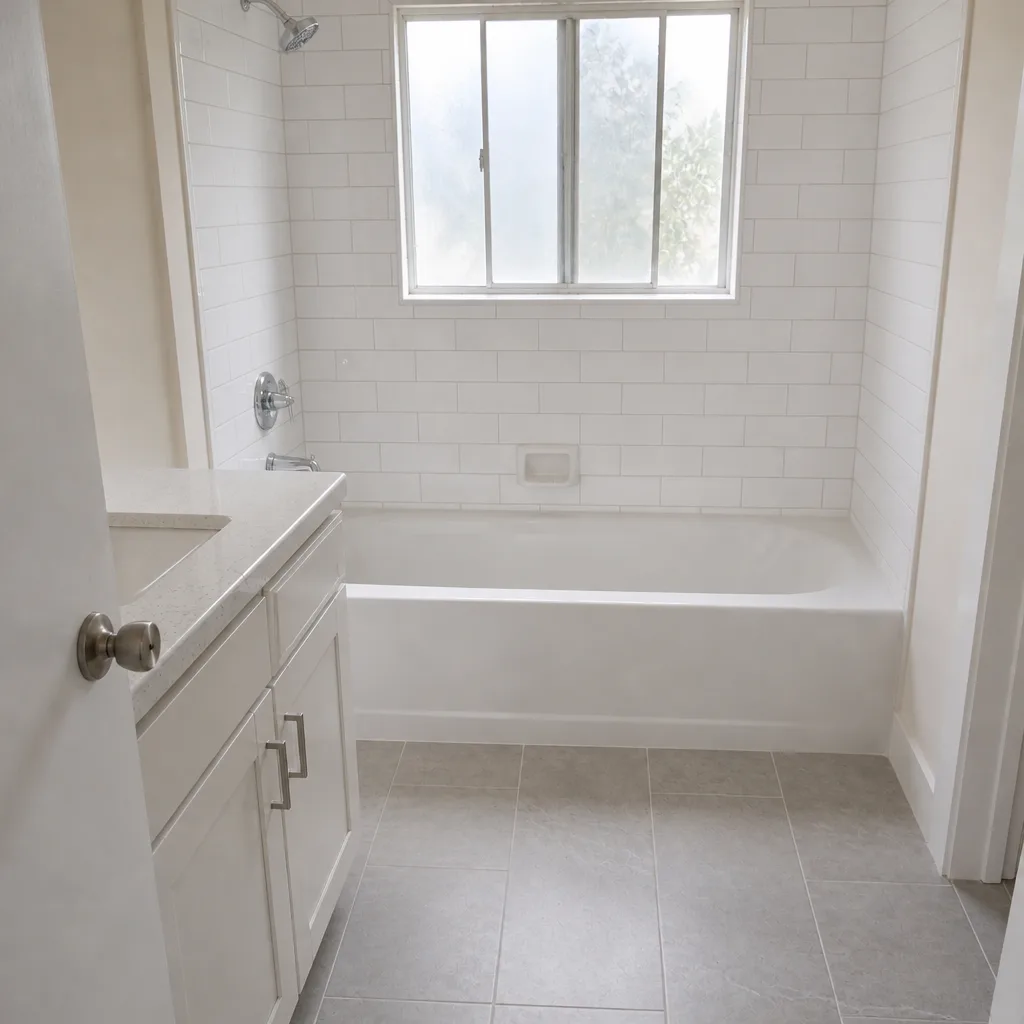 After
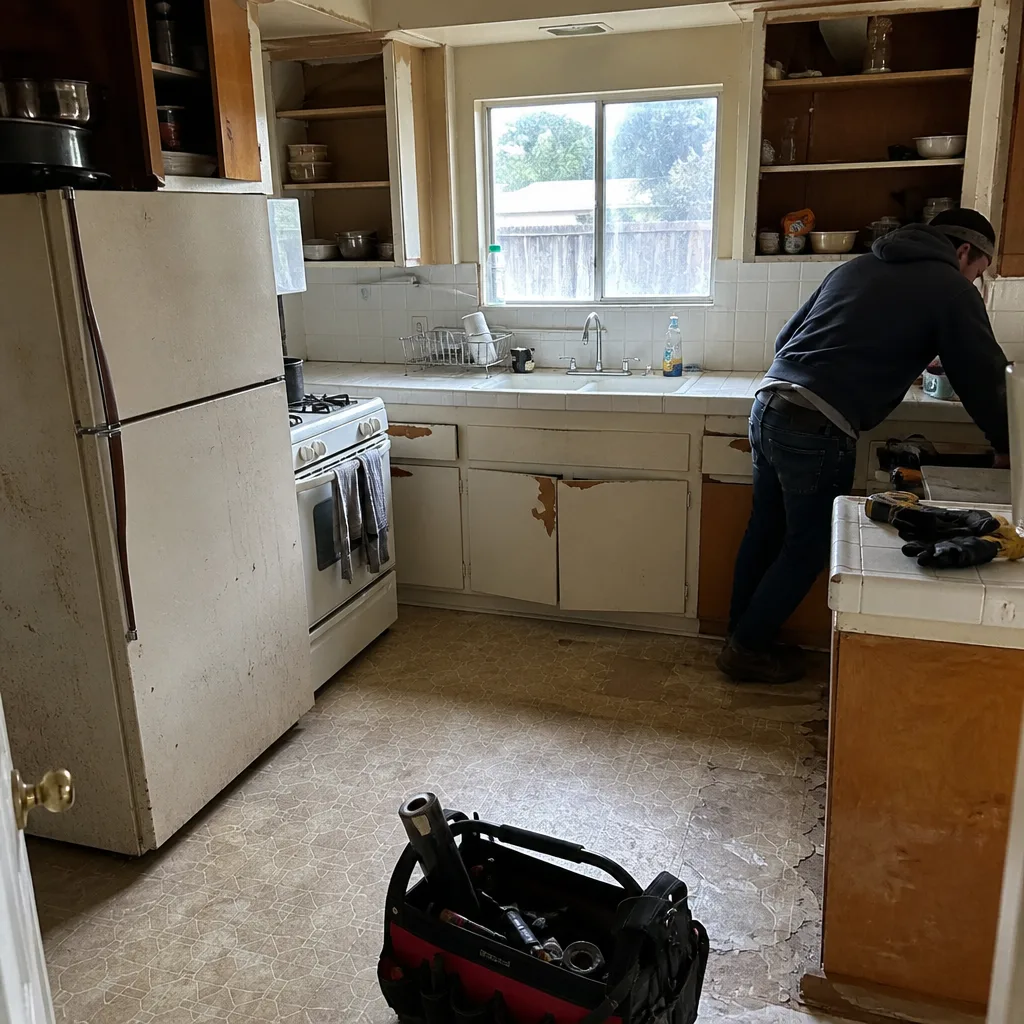 Before
 After
 Before
 After
When to Call a Professional
Call a professional when the job involves a full-frame window replacement, a header change, a new opening, or a fire-rated door where the code requires one. Call when the flashing detail is more than you want to own, or when the wall behind the trim is a question mark. Call when the product selection needs to hit Title 24 and you’d rather not read spec sheets. For insert windows and pre-hung doors, the call is a judgment call – a careful DIYer can succeed if the flashing is right. Rowan Construction Group Hayward offers free estimates in Hayward – call (866) 863-1729 and we’ll put the price in writing before anyone picks up a tool. Background-checked, uniformed technicians, a live person on the phone, and a documented photo record on every visit. If it isn’t done right within 365 days, we make it right.
Frequently Asked Questions
It depends on the type of replacement. Insert windows and pre-hung door swaps are reasonable for a careful homeowner, but full-frame window replacement should be done by a professional because it involves permit-required flashing, WRB integration, and inspection. The safety question isn’t just about injury – it’s about whether the installation keeps water out of the wall for the next twenty years.
Re-flashing a single window installed without proper WRB integration typically costs $800 to $2,500 per opening, once you count opening the wall, replacing damaged sheathing, and reinstalling. That figure often exceeds what the homeowner saved by doing the install. Call (866) 863-1729 for a free estimate on the repair – estimates are free.
Full-frame window replacement requires a permit in Hayward, and so does exterior door replacement and any header work. Insert replacement windows are sometimes exempt when the frame stays in place, but confirm with the city before relying on that. The permit is what triggers the inspection that checks flashing and Title 24 compliance.
No – the written price is agreed before any work begins, and no change proceeds without a signed change order under Clause 1 of The Haven Standard. That discipline is why projects finish within a few percent of the agreed cost. If a change is ever needed, you sign off on it first, in writing.
Title 24 is California’s energy code, and it sets minimum performance standards for windows, including U-factor and solar heat gain. A permit-required window replacement has to meet the current minimums, so the product you choose is part of the work. The wrong unit fails final inspection regardless of how well it was installed.
Yes – we pull the permit and the inspection is part of the job, not an extra. You get the permit record and the passed inspection as part of your documentation. Call (866) 863-1729 for a free estimate and we’ll walk you through what your specific job requires.
The Bottom Line
The line between DIY and professional window and door work is precise, and it lands on the flashing detail. Weatherstripping, hardware, and interior casing are yours to do – no permit, no risk, real savings. Insert windows and pre-hung doors are a judgment call where the flashing and threshold sealing decide the outcome. Full-frame replacement, header work, and new openings are professional work that needs permits, structural judgment, and inspection. In Hayward’s rain-shadowed climate, a bad flashing detail can stay hidden until an atmospheric river finds it. The cheapest path is the one that gets the detail right the first time. Call (866) 863-1729 for a free estimate and a written price before any work starts.
Written by the team at Rowan Construction Group Hayward.