Last updated November 18, 2026







Free written scope consultation - allowances, timeline, and change-order rules on paper before a single trade is scheduled
Home Additions & ADU Troubleshooting: Common Problems and How to Fix Them
Here’s the counterintuitive part: most ADU and home addition problems in Hayward aren’t random failures. They trace back to four or five specific shortcuts made during construction, and each shortcut produces a recognizable symptom. A crack running diagonally from a window corner means something categorically different than a horizontal crack at a foundation wall’s mid-height. One is usually a settling tell; the other is a lateral pressure warning. In this guide, we’ll show you how to read those symptoms, separate cosmetic from structural, and know whether you’re looking at a warranty issue, a missed inspection, or something you own. We’ve walked hundreds of Hayward properties where the answer was hiding in the pattern, not the panic.
Quick Answer
Diagnose home addition and ADU problems by matching the symptom to the shortcut that caused it: diagonal cracks typically mean differential settling, horizontal foundation cracks signal lateral soil pressure, water intrusion usually traces to tie-in or flashing errors, and electrical or HVAC failures often stem from undersized panels or skipped load calculations. Most issues fall into one of three categories – warranty repair, missed permit inspection, or owner maintenance – and identifying which applies determines how you fix it and who pays. The pattern matters more than the symptom alone.
Styles & brands we work with
- Kitchen remodeling
- Bathroom remodeling
- Home additions & ADU
- Roofing
- Windows & doors
- Driveway & pavers
- Fence
Table of Contents
- Crack Identification: Reading the Shape Before You Repair
- Water Intrusion: Tracing the Entry Point
- Electrical and Plumbing Symptom Diagnosis
- HVAC Failures in Additions: Why the Unit Isn’t Always the Problem
- Warranty Call, Inspection Failure, or Owner Responsibility?
- Documentation Every Homeowner Should Hold
- Common Mistakes to Avoid
Crack Identification: Reading the Shape Before You Repair
Cracks in a Hayward addition are diagnostic, not decorative. The shape, location, and width tell you whether you’re looking at normal curing movement, soil settling, or active structural stress. Before you spend a dollar on patching, identify the pattern.
Diagonal Cracks
These run at roughly 45 degrees, often starting at a window or door corner and extending toward the ceiling or floor. In our experience, diagonal cracks usually indicate differential settling – one part of the foundation is moving relative to another. On a Hayward addition built on expansive clay soils (common in the flats near the bay), seasonal moisture swings can produce this movement in the first two to three years. Hairline diagonal cracks under 1/16 inch are typically cosmetic. Wider than 1/8 inch, or actively growing, warrants an engineer’s evaluation.
Horizontal Cracks
A horizontal crack at mid-height on a foundation wall is a different animal. It usually signals lateral pressure – soil pushing against the wall, often from poor drainage or a hydrostatic load on the exterior face. Hayward’s winter rains concentrate that pressure. Any horizontal foundation crack, regardless of width, should be evaluated by a structural engineer before you caulk it and move on.
Vertical Cracks
Vertical cracks in a foundation wall are the most benign of the three. They typically reflect normal concrete shrinkage during curing and rarely indicate structural distress unless they’re wider than 1/4 inch or offset (one side higher than the other). Vertical drywall cracks above door headers can indicate framing movement – often a truss uplift issue rather than a foundation problem.
- Diagonal, hairline: Usually settling or curing. Monitor width every 90 days.
- Diagonal, over 1/8″, growing: Engineer evaluation recommended.
- Horizontal, any width, foundation wall: Engineer evaluation required.
- Vertical, under 1/4″, no offset: Usually cosmetic. Patch and monitor.
- Any crack with offset or displacement: Structural concern – call an engineer.
If you’re planning an addition and want the foundation built to avoid these patterns from day one, our Home Additions & ADU in Hayward page explains how we sequence site prep and drainage before pouring.
Water Intrusion: Tracing the Entry Point
Water in an addition almost never enters where it shows up. Staining on a ceiling can originate from a roof tie-in fifteen feet away; moisture at a baseboard can climb in from the slab edge. Trace the entry point, then correct the specific material failure.
Roof-to-Existing-Structure Tie-In Failures
Where a new addition roof meets the original house, the intersection is the highest-risk water entry on the entire structure. The most common failure: the original shingles were not properly cut back, and the new underlayment and flashing were lapped in the wrong direction, allowing water to wick backward under the new roof. The fix is a proper step flashing and counter-flashing detail, integrated with the existing shingle courses. We use GAF and Owens Corning shingle systems because the manufacturer’s published flashing details are documented and inspectable – important when you need to prove the work was done to spec.
Window Flashing Errors
Water staining below a new window, or bubbling paint on the interior sill, usually points to flashing that was omitted, reversed, or installed without a back dam. The correction requires removing the window trim, installing self-adhered membrane flashing, and re-detailing the sill pan. It’s a two-day job, not a cosmetic touch-up.
Slab-Edge Moisture Wicking
Moisture at the base of drywall in a slab-on-grade addition often comes from capillary action at the slab edge, where a capillary break was skipped. If the exterior soil sits above the slab and there’s no drainage plane, water wicks inward. The fix combines exterior grading, a proper drainage channel, and a vapor barrier correction at the interior base.
- Identify the interior moisture location and mark the extent on the wall.
- Trace upward and outward to the probable exterior entry point.
- Check roof tie-in, window heads and sills, and slab grade.
- Correct the material layer that failed – flashing, underlayment, or drainage plane.
- Document with photos and monitor through one full rainy season.
Electrical and Plumbing Symptom Diagnosis
Electrical and plumbing issues in an ADU often present as symptoms that homeowners misdiagnose. Here’s how to read them.
Tripping Breakers on ADU Subpanels
A breaker that trips repeatedly on an ADU subpanel is usually not a defective breaker. It usually signals one of two things: an undersized subpanel for the connected load, or a load calculation that was never done. The original house panel often has just enough capacity for the main dwelling; adding a full ADU with its own range, dryer, and heat pump can push a 100-amp feed past its limit. The correction may be a panel upgrade, a load management device, or a dedicated feed – an electrician needs to run the numbers.
Low Water Pressure in Added Fixtures
Weak pressure at an ADU shower while the main house is fine usually traces to pipe sizing – a 1/2-inch branch feeding too many fixtures, or a long run from the meter without a pressure-reducing valve adjustment. It’s a plumbing design error, not a fixture defect.
Drain Gurgling: Venting vs. Blockage
Gurgling drains are a venting signature. If a fixture drains slowly and you hear a gurgle, the trap is being siphoned because the vent is missing, undersized, or improperly tied. If the drain backs up with no gurgle and the problem is isolated to one fixture, it’s more likely a blockage. The distinction matters: a blockage is a snake-and-clear job; a venting error requires opening the wall to correct the vent stack.
HVAC Failures in Additions: Why the Unit Isn’t Always the Problem
A mini-split that cools poorly in a new Hayward addition is more often an installation error than a unit defect. Here’s why, and how to tell the difference.
Manual J Shortfalls
Equipment sizing belongs to a Manual J load calculation – a room-by-room analysis of heat gain and loss. When an addition gets a unit sized on square footage alone, or on the contractor’s rule of thumb, it’s often undersized for Hayward’s inland heat, where summer afternoons regularly run 10 to 15 degrees warmer than the bayside. The symptom: the unit runs continuously, never reaches setpoint, and cools the corridor more than the room.
Duct Leakage Signatures
If the room cools unevenly, or a supply vent blows weakly while a return in another room pulls hard, duct leakage is likely. Ducts run through an unconditioned attic lose a measurable fraction of their cooling to the attic itself. A duct blaster test quantifies the leak; the fix is sealing and re-insulating the runs.
Installation Errors vs. Equipment Defect
Refrigerant line lengths beyond the manufacturer’s spec, improperly flared fittings, and inadequate condensate drainage are the three most common mini-split install errors we see. All three produce symptoms a homeowner reads as “the unit is broken.” A qualified HVAC technician can test refrigerant charge and line pressures to tell you which side of that line you’re on.
Warranty Call, Inspection Failure, or Owner Responsibility?
Before you pay for a repair, determine which category the problem falls into. The path forward – and who bears the cost – depends on it.
- Check your contract and warranty terms first. A written scope and a written warranty are your baseline. If the failure is in the work the contractor performed, it’s a warranty call.
- Review the permit inspection record. If a problem traces to work that passed a city inspection but was later found defective, the failure sits between the contractor and the inspecting jurisdiction. Document the inspection date, the inspector’s sign-off, and the defect.
- Confirm whether the item was in scope. Many “failures” turn out to be items the original contract excluded – the drainage swale, the grading, a condensation line. If it wasn’t in the written scope, it’s owner responsibility.
- Request a written diagnosis with photos. A diagnose-first approach means proof of what was found, not a verbal guess. This is exactly why every Rowan visit includes a documented photo record as a standard deliverable.
- File the warranty claim in writing. Include the photo record, the original written price, and the specific contract clause. A contractor who quoted a flat written price and signed change orders will have a paper trail to match against.
Under the 365-Day Done Right Promise, if work we performed isn’t right, we make it right. That’s a standing offer backed by the Haven Standard, and it’s the reason we keep the documentation on every job.
Documentation Every Homeowner Should Hold
Nearly every troubleshooting dispute comes down to what’s on paper. Keep these in one place – a folder, a shared drive, or a binder.
- The written price and scope. A flat written price with an itemized scope is the foundation of any warranty claim. If work was quoted verbally, that’s a red flag on its own.
- Every signed change order. A change order signed before the work proceeds is the record of what changed and what it cost.
- Permit inspection records. Keep the permit number, inspection dates, and inspector sign-offs.
- The photo record. Documented photos of what was found and what was done are worth more than any recollection.
- The written warranty. Get the warranty terms in writing, not on a handshake.
For the construction side of additions – planning, structure, and finishes – our Rowan Construction Group Hayward home page lays out how we deliver a written price before any work starts.
Common Mistakes to Avoid
- Patching a structural crack as if it were cosmetic. Caulking a horizontal foundation crack hides the warning without correcting the lateral pressure that caused it. Get an engineer’s read before you fill anything.
- Calling a roofer for a tie-in leak without confirming the flashing detail. A new shingle layer over a bad flashing detail leaks again in the first rainy season. The material under the shingles is the problem.
- Upsizing a breaker to stop trips. A tripping breaker is telling you the load or the wire is wrong. Upsizing the breaker makes the wire the weak link, and that’s a fire risk.
- Sizing an ADU mini-split by square footage alone. Hayward’s inland heat swings call for a Manual J load calculation, not a rule of thumb. Undersized equipment runs continuously and still misses setpoint.
- Assuming the city inspection caught everything. Inspections are point-in-time and schedule-driven; they can miss defects. If the work was signed off but fails later, document both the sign-off and the failure.
- Accepting verbal side agreements on changes. Any change without a signed change order is a dispute waiting to happen. Insist on the paperwork.
- Ignoring the perimeter drainage after an addition. A finished addition added to a site that never drained well will push water toward the slab edge. Grade and drainage matter as much as the framing.
See the difference
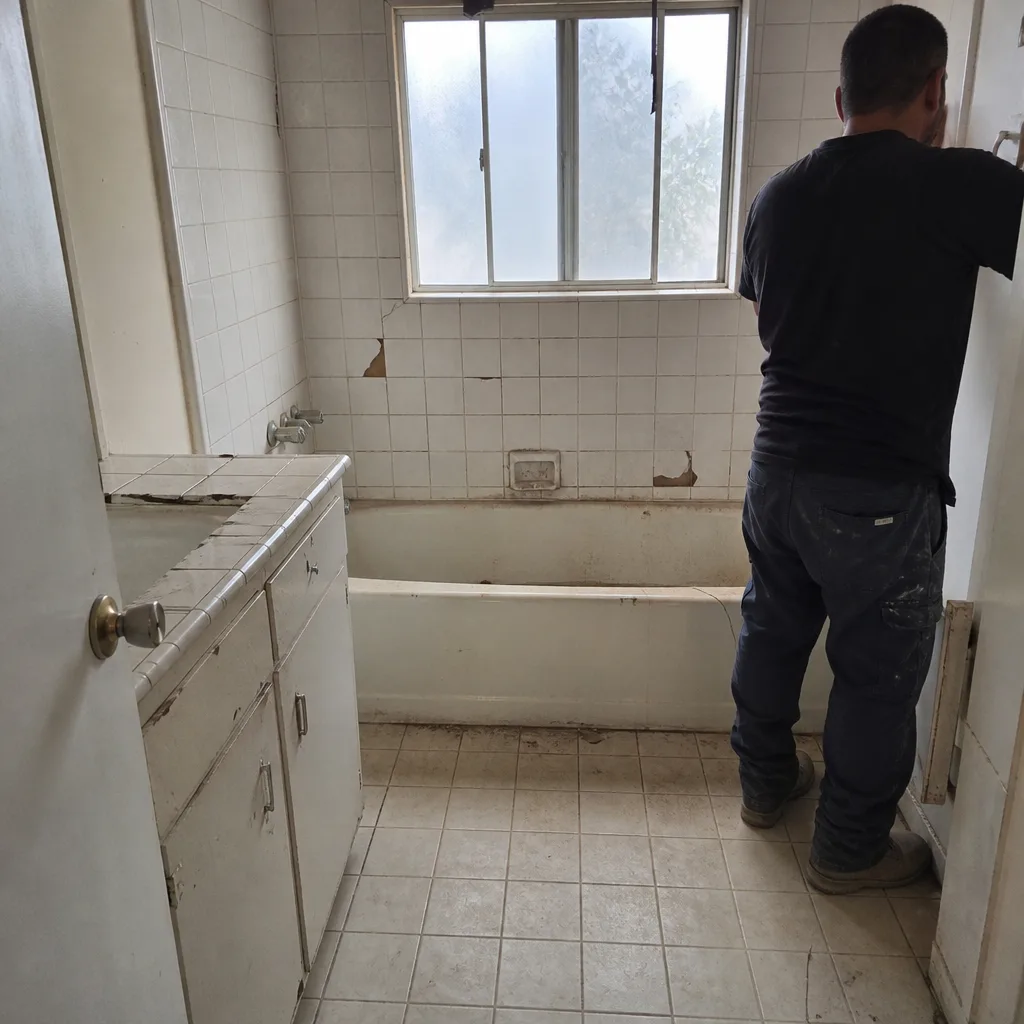 Before
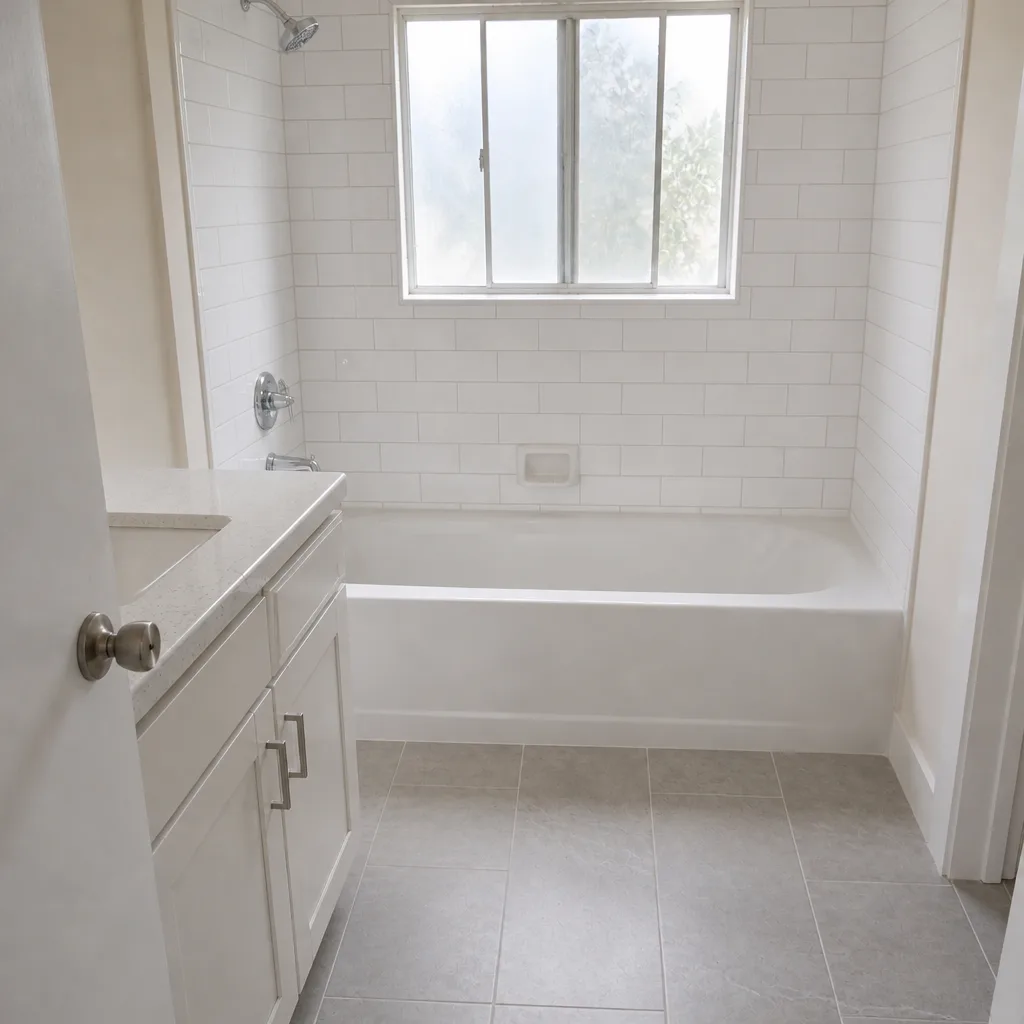 After
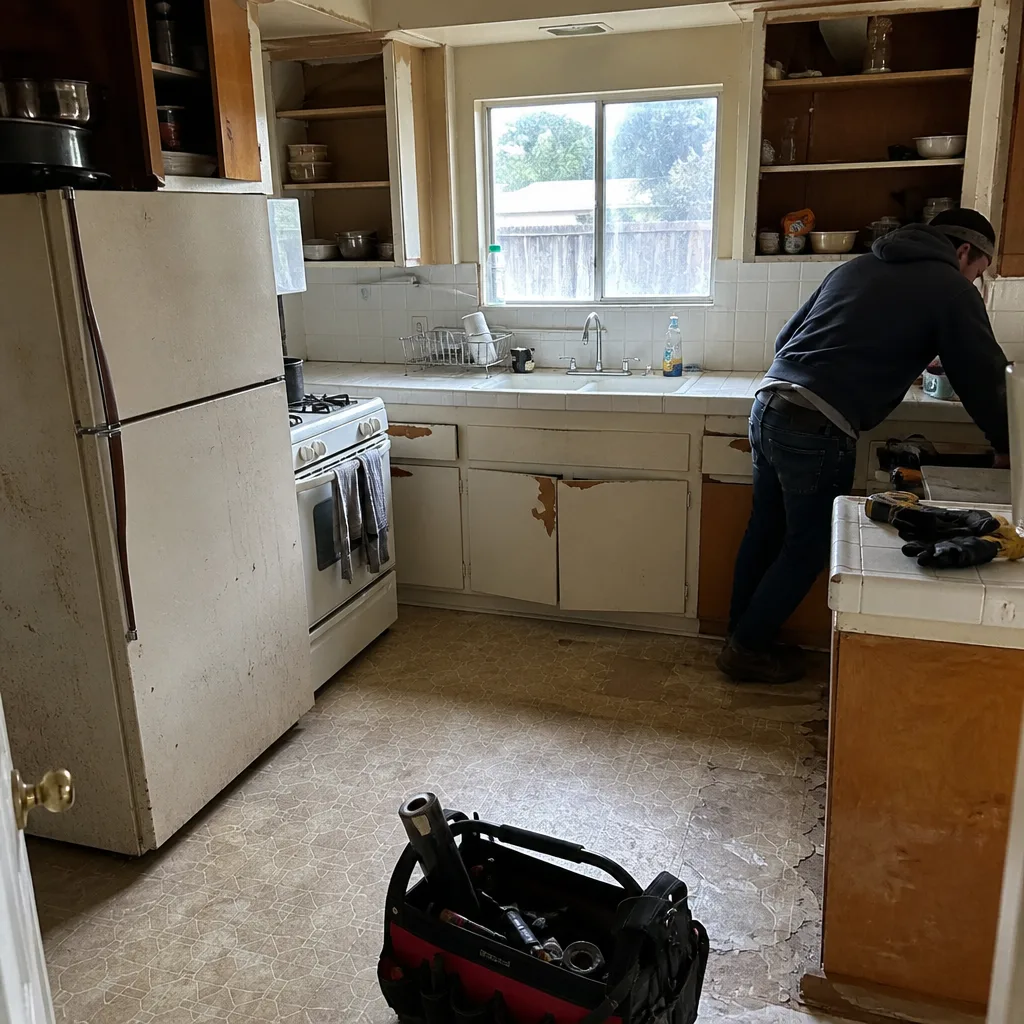 Before
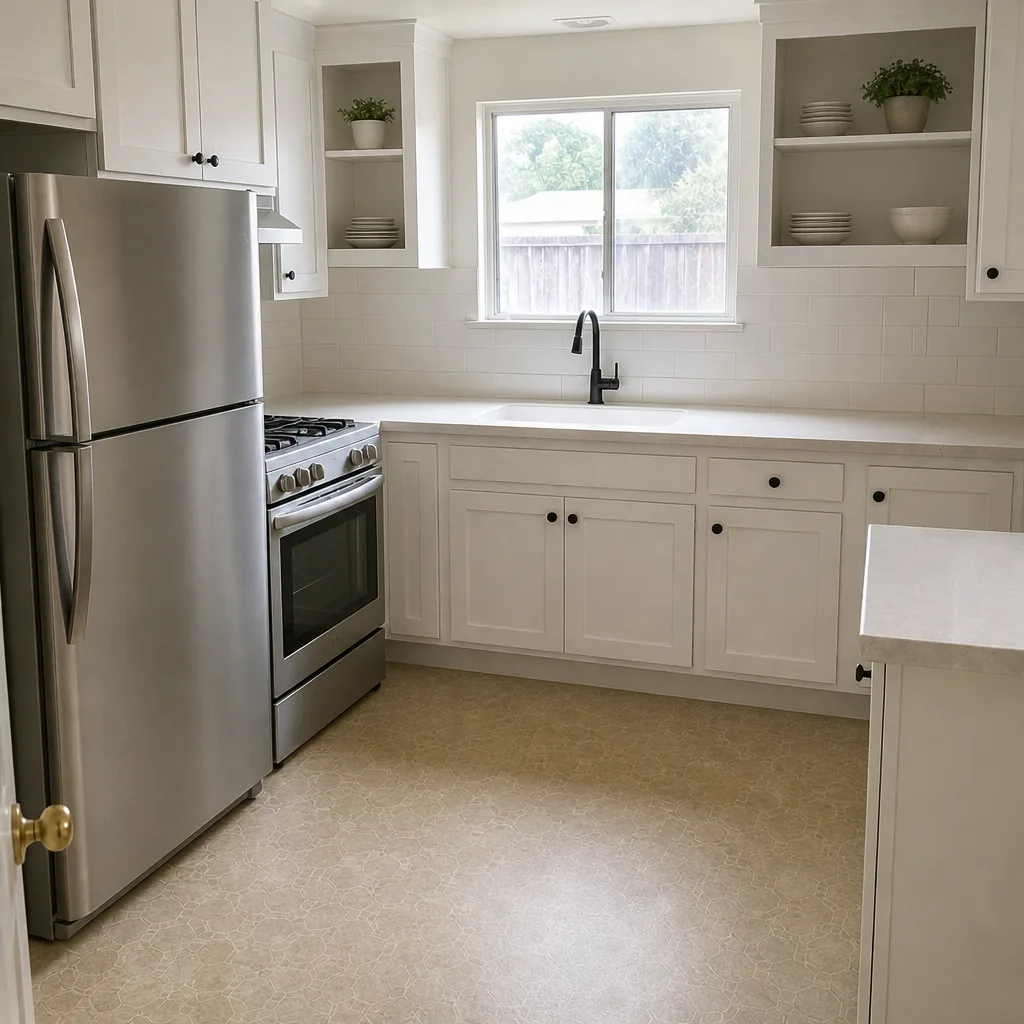 After
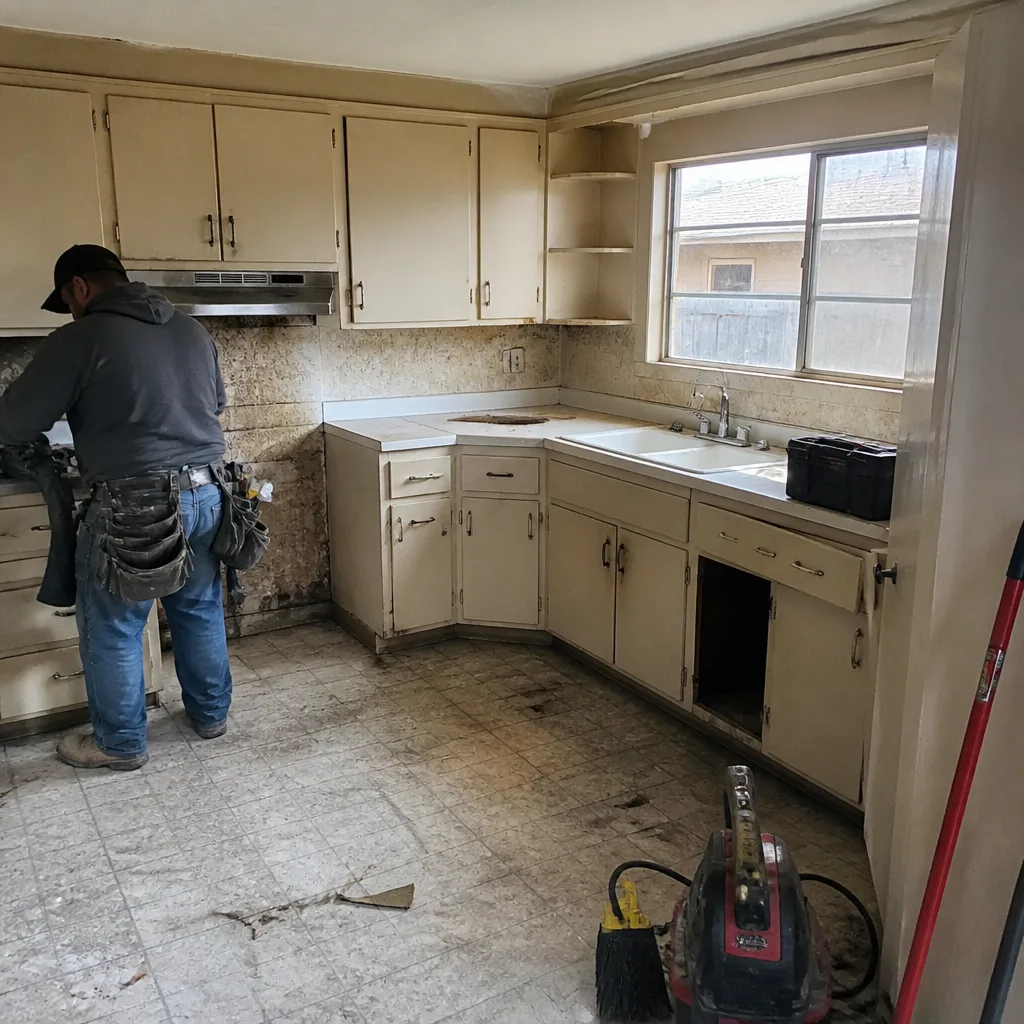 Before
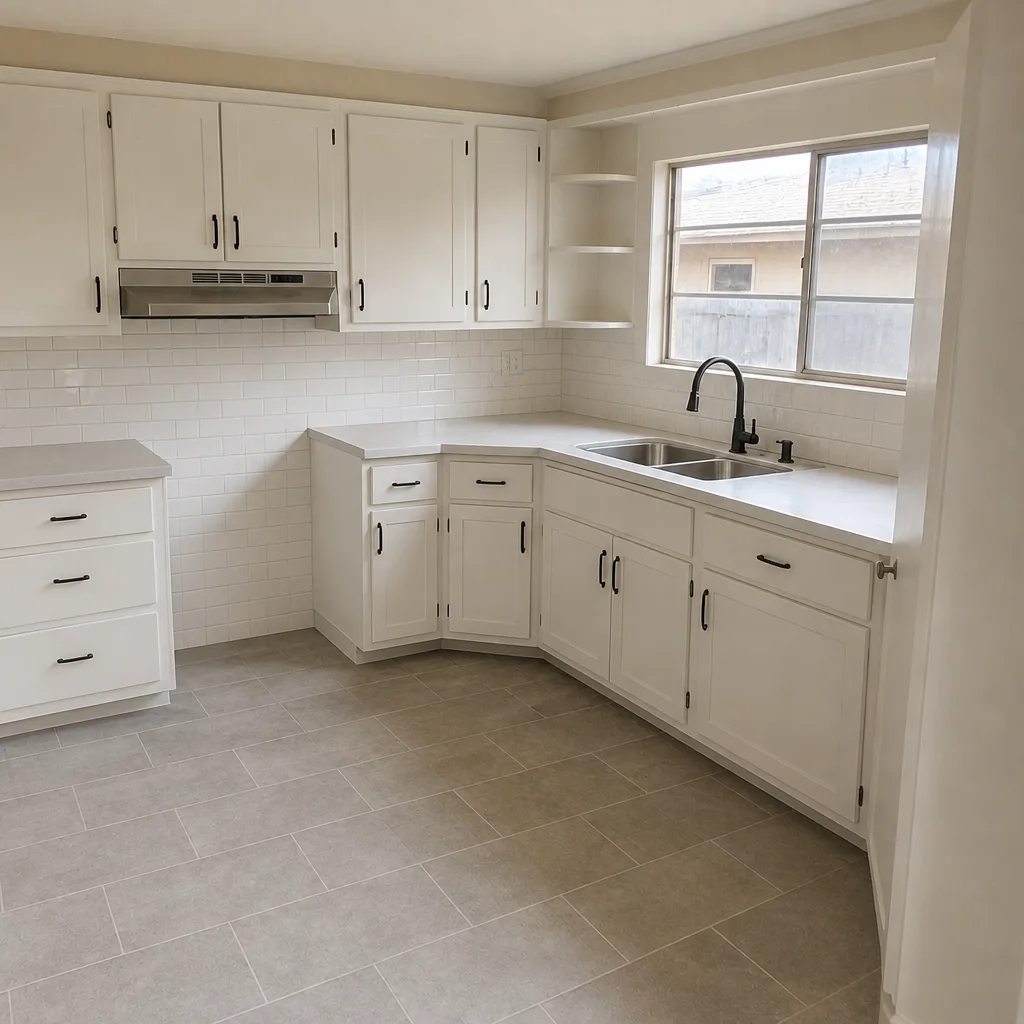 After
When to Call a Professional
Some problems are cosmetic and can wait for a weekend. Others are urgent. Call a licensed professional if the symptom involves: a horizontal crack at a foundation wall, a crack with any displacement or offset, water entering an electrical panel or an exterior wall cavity, repeated breaker trips that you haven’t traced to a specific appliance, a gas appliance that won’t stay lit, or any roof tie-in leak after the first repair. Electrical panels, gas lines, and foundation work carry real risk; don’t take those on yourself. Rowan Construction Group Hayward offers free estimates in Hayward – call (866) 863-1729 to schedule yours, and if you have a competitor’s written estimate, we’ll review it line by line at no charge under our Free Second Opinion offer.
Frequently Asked Questions
The shape and width tell you. Diagonal cracks under 1/16 inch are usually cosmetic settling. Horizontal cracks at a foundation wall, or any crack wider than 1/8 inch or with offset, require a structural engineer’s evaluation. Call (866) 863-1729 for an estimate if you’re unsure.
Usually because the flashing and underlayment were lapped in the wrong direction at the wall intersection, or the existing shingles weren’t cut back to integrate the new roof. The fix is a proper step and counter-flashing detail. Call (866) 863-1729 – estimates are free.
Most repeat trips trace to a subpanel that’s undersized for the connected load, or a load calculation that was never run. It’s rarely a defective breaker. An electrician needs to run the numbers before anything is replaced.
In our experience, it’s an installation error more often than a unit defect – refrigerant line length, flare fittings, or a system sized without a Manual J load calculation. A technician can test charge and pressures to confirm.
Gurgling with slow drainage usually points to a missing, undersized, or improperly tied vent. A blockage typically causes a backup without the gurgle. The fix differs: a blockage is cleared; a venting error requires correcting the vent stack.
Keep the written price and scope, every signed change order, permit inspection records, the photo record from each visit, and the written warranty. These are the records that settle a claim without a dispute.
The Bottom Line

Most addition and ADU problems aren’t mysteries – they’re the downstream effect of a specific construction shortcut, and the symptom points to the cause. Read the crack’s shape before you patch it. Trace water to its entry point before you repair the visible damage. Distinguish a venting error from a blockage, and an undersized panel from a bad breaker. Diagnose first, then fix, then document. And when a problem touches a foundation, an electrical panel, or a gas line, get a licensed professional out to look at it. If you want a written price before anyone picks up a tool, Rowan Construction Group Hayward is one call away at (866) 863-1729.
Written by the team at Rowan Construction Group Hayward.