Last updated November 18, 2026


Free written scope consultation - allowances, timeline, and change-order rules on paper before a single trade is scheduled
Fence Installation Troubleshooting: Common Problems and How to Fix Them
A leaning fence panel gets quoted as a panel replacement at $180 – $350. That number feels manageable, so most homeowners approve it. Then the new panel leans again in two years, because the post behind it was rotted at the soil line the whole time. The panel was never the problem. The post is. We’ve torn out enough failed fences around Hayward to know the pattern holds: the visible damage sits at panel height, but the cause lives at or below grade, where nobody looks until the quote is already signed.
This guide covers six failure patterns, how to trace each one to its post or footing cause, and what a complete repair costs versus a cosmetic patch. If your fence is leaning, bowing, or shedding rails, you’ll finish this page knowing which failure you’re looking at and what a fair quote should include.
Quick Answer
Most fence failures start at the post, not the panel. Probe the post base with a screwdriver: if the tip sinks more than 1/2 inch into the wood at or below the soil line, the post is compromised no matter how solid it looks above ground. A complete repair runs $350 – $600 for a single post replacement and reset, while a cosmetic panel swap at $150 – $320 per 8-foot section usually fails again within 3 – 5 years.
Styles & brands we work with
- Kitchen remodeling
- Bathroom remodeling
- Home additions & ADU
- Roofing
- Windows & doors
- Driveway & pavers
- Fence
Table of Contents
- How to Diagnose a Fence Problem Without Digging
- Six Fence Failure Patterns and What Each One Means
- Why Concrete Collars Fail in Hayward’s Clay Soil
- What Fence Repairs Actually Cost
- What to Document Before Any Repair Starts
- Do You Need a Permit for Fence Work in Hayward?
- Complete Repair vs. Cosmetic Patch: The Real Difference
How to Diagnose a Fence Problem Without Digging
You don’t need a shovel to find out whether a post is failing. A screwdriver and five minutes will tell you most of what a contractor learns on a diagnostic visit. The reason this matters: a post can look perfectly intact above the soil line and be completely gone below it. Wood rot in fence posts starts where moisture collects, and that’s the soil line, not the top of the board.
Walk the fence line and run this check on each post showing any sign of movement:
- Probe the base. Push a screwdriver into the wood at or just below the soil line. If it penetrates more than 1/2 inch with light pressure, the post is compromised. Solid, treated wood resists a screwdriver point.
- Check for movement at the top. Grab the post at head height and push. Any flex beyond a quarter inch means the footing is loose or too shallow.
- Look at the concrete collar. If a concrete pour is visible at grade, check for cracks radiating from the post. A cracked collar lets water in and lets the post move.
- Measure the lean. A phone level app held against the post face gives you a number you can compare over months. Anything past 3 degrees of lean on a 6-foot post is worth a professional look.
- Check the rails and fasteners. Rust streaks, white powder (galvanic corrosion), or screws backing out of rails point to hardware failure rather than post failure.
This five-step check applies to wood, vinyl, and composite posts alike. Vinyl posts don’t rot, but they can crack at the collar or work loose in the same way, and the diagnosis is the same: probe the base, push the top, inspect the footing. In Hayward, we see the soil-line probe fail on older wood posts more often than not, particularly on fences installed before pressure-treated lumber standards tightened.
Six Fence Failure Patterns and What Each One Means
The direction and shape of a failure tells you what caused it. Read the pattern before you read the quote, because the quote should match the pattern. Here are the six we see most often on Hayward fences:
- Leaning toward the neighbor. Post rot or inadequate footing depth. The post has lost its grip on the soil on the load side, usually because the wood is soft below grade.
- Leaning away from the neighbor. Wind load failure on the concrete collar. The collar cracked or the post pulled loose during a wind event, and the whole assembly tipped.
- Bowing panels. Not enough rails for the span. A panel longer than 6 feet with only two rails will bow under its own weight or a dog leaning on it.
- Rail separation from the post. Fastener failure, often from galvanic corrosion. Mixing steel screws with aluminum hardware creates a small electrical reaction that eats the metal from the inside. White powder at the joint is the tell.
- Posts pulling out of the ground. Footing too shallow for the soil type. Standard footing depth is one-third of the post’s above-ground height, and clay soil needs more.
- Sagging gate. Gate post undersized or the hinge side post has no concrete collar at all. A gate post carries more load than a line post and needs a bigger footing.
Each pattern points to a different repair. A rail separation gets re-fastened with the right hardware and lasts. A post pulling out of the ground needs the footing redone, not the rail tightened. Getting the diagnosis right is the whole game, and it’s the step most quick quotes skip. If you want to see how this plays out across a full installation, our page on Fence Installation in Hayward walks through the sequence a proper build follows.
Why Concrete Collars Fail in Hayward’s Clay Soil
Hayward sits on expansive clay that swells when it’s wet and shrinks when it dries. That cycle happens every winter and every summer, and it works on fence footings the way a wedge works. A straight-sided concrete pour, which is what most quick installations use, has no mechanical resistance to that movement. The clay pushes, the collar cracks, water gets in, and the post starts to walk. You’ll see this on fences throughout the flats and in older neighborhoods where the soil never got amended.
The fix is a belled bottom, sometimes called an under-reamed footing. Instead of a straight cylinder of concrete, the base widens below grade, wider at the bottom than at the top. That bell creates a physical shoulder that the clay can’t heave upward, and it improves the post’s resistance to lateral load, which is what keeps a fence straight when wind hits it. On new installs, an auger with an expanding bit cuts the bell in a single pass. On repairs, the old collar has to come out and the hole re-cut.
What this means for a repair quote: if a contractor proposes to reset a post in the existing hole without widening the base, ask how the new collar resists clay heave. If there’s no answer, the reset will fail the same way. We’ve pulled enough straight-sided collars out of Hayward yards to expect the same failure pattern when the bell is missing. The extra concrete and the extra ten minutes per footing are what make a repair last past the next wet winter.
What Fence Repairs Actually Cost
Here are the numbers we quote, in dollars, so you can compare them against whatever estimate you’re holding. Prices vary by material and access, but these ranges cover most residential fence work in the Hayward market.
| Repair | Typical cost | Notes |
|---|---|---|
| Single post replacement and reset | $350 – $600 | Includes pulling the old post, re-cutting the hole, belled concrete collar |
| Rail replacement | $45 – $90 per rail | Includes hardware; galvanic-safe fasteners |
| Panel replacement | $150 – $320 per 8-foot section | Depends on cedar, pressure-treated, vinyl, or composite |
| Gate re-hang and post repair | $400 – $750 | Gate posts carry more load and need a larger footing |
| Full fence replacement | $45 – $80 per linear foot | Material-dependent; see below for material notes |
Material choice swings the linear-foot number. Cedar runs toward the top of that range, pressure-treated pine sits in the middle, and vinyl or composite can land anywhere depending on the line. If your fence surrounds a yard where you’ve used brands like James Hardie siding on the house, matching the finish to the fence’s role matters less than matching the footing depth to the soil, but color and profile should still be a written line item on the quote.
The one number most quotes get wrong: a panel replacement at $150 – $320 that leaves a compromised post in the ground is a two-year fix on a problem that needed a $350 – $600 post replacement and reset. If the probe found soft wood at the base, the panel alone doesn’t solve it. For the full picture of what a complete build runs in this market, our Rowan Construction Group Hayward home page lays out how we price across all seven trades.
What to Document Before Any Repair Starts
A fence repair without a paper trail leaves you exposed on resale. If a buyer’s inspector finds fence work that doesn’t match the permit record, the liability question lands on you. Five minutes of documentation before the crew starts protects the repair.
- Photograph the failure. Wide shot of the fence line, close-up of the failed post base, and a shot of the concrete collar if it’s visible. Date-stamp the photos.
- Measure the lean. A phone level app against the post face gives you a number. Before-and-after numbers show the repair worked.
- Check the permit record. Pull the property’s permit history from the city. If the original fence was installed without a permit, the seller is often the one asked to produce documentation, and the current owner inherits the problem.
- Get the written scope. The quote should list every post being replaced, the footing method, and the material. “Fix the fence” on a quote isn’t documentation.
- Keep the photo record from the crew. Every Rowan visit includes a documented photo record as a standard deliverable, not an add-on, so you have evidence of what was found and what was done.
On resale, an unpermitted fence can be a disclosure item. In Hayward, fence height and setback rules apply, and work that crosses those lines can be flagged by an inspector. Documentation makes that conversation short.
Do You Need a Permit for Fence Work in Hayward?
Repairs generally don’t require a permit. A full fence replacement, or any fence over 6 feet tall, often does. Height limits apply to front-yard and side-yard setbacks differently, and corner lots have sight-line rules that catch homeowners off guard. Before any install, call the city’s building department with the fence’s proposed height and location, and ask for the setback requirement in writing. It’s a fifteen-minute call that saves weeks.
The permit question also matters for repair work when the failure suggests the original installation was never permitted. If the fence footing depth was inadequate to start, a repair is your chance to bring it up to standard. A contractor who checks the record before quoting is doing the job right. If you’re building from scratch, the same rigor applies to additions and structures, which is why we keep a dedicated page on Home Additions & ADU in Hayward covering how permits and inspections flow on larger projects.
Complete Repair vs. Cosmetic Patch: The Real Difference
The distinction is simple to state: a complete repair addresses the cause, and a cosmetic patch addresses the symptom. The panel was never the cause. The post was. So the test for any quote is whether it touches the post and the footing, or stops at the panel line.
A cosmetic patch replaces the bowed panel and re-fastens the rails. It costs less up front, and it looks fine for a season. Then the compromised post shifts, the new panel twists to follow it, and you’re back where you started with a second invoice. In our experience, that cycle repeats until someone replaces the post.
A complete repair pulls the failed post, re-cuts the hole with a belled base, pours a proper collar, and resets the post. Rails and panels go back on afterward, with galvanic-safe fasteners. It costs $350 – $600 for the post and $45 – $90 per rail, plus the panel if that section is beyond re-use. The number is bigger. The repair holds.
Here’s the other piece: pricing should be written before anyone starts. Under Clause 1 of the Haven Standard, the written price comes before the work, every time, on every trade. No work proceeds on a change until the change order is signed. That discipline is why projects finish within a few percent of the number the customer agreed to. If you’re holding a competitor’s written estimate, we’ll review it line by line at no charge.
Common Mistakes to Avoid
- Replacing the panel without checking the post. The panel is the visible symptom. The probe is the test. Do it before you sign anything.
- Resetting a post in the existing collar. A straight-sided collar in Hayward clay cracks and heaves. A belled base is what resists it.
- Mixing steel screws with aluminum rails or brackets. Galvanic corrosion eats the joint from the inside. Use matched, corrosion-rated hardware.
- Ignoring a sagging gate post. A gate post carries more load than a line post. Skipping its footing means a recurring sag you’ll fix twice.
- Skipping the permit check on a full replacement. An unpermitted fence can become a disclosure item on resale, and it shifts liability to the current owner.
- Accepting a verbal price. Fence repairs that start on a verbal number tend to grow. A written scope and written price are the only protection you have.
- Failing to photograph the failure. Before-and-after photos are how you prove the repair was done. Take them before the crew arrives.
See the difference
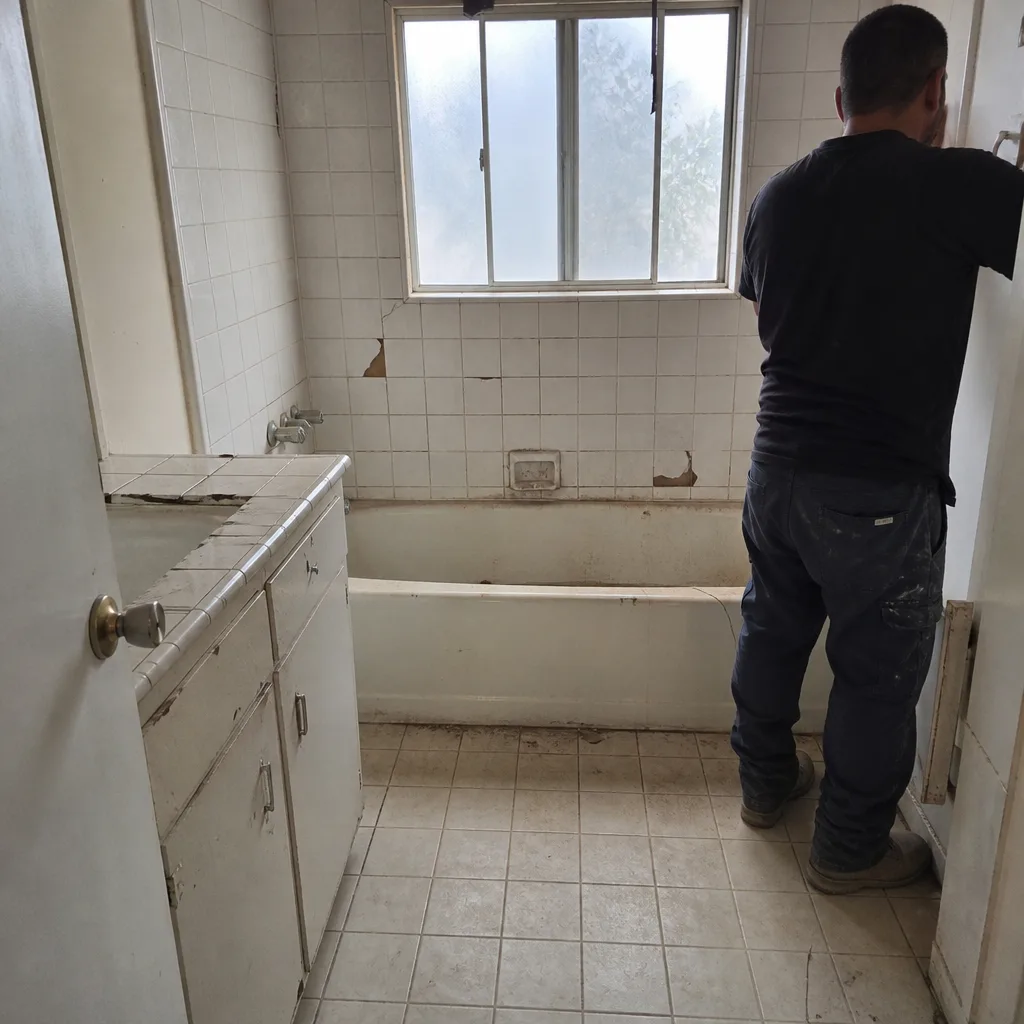 Before
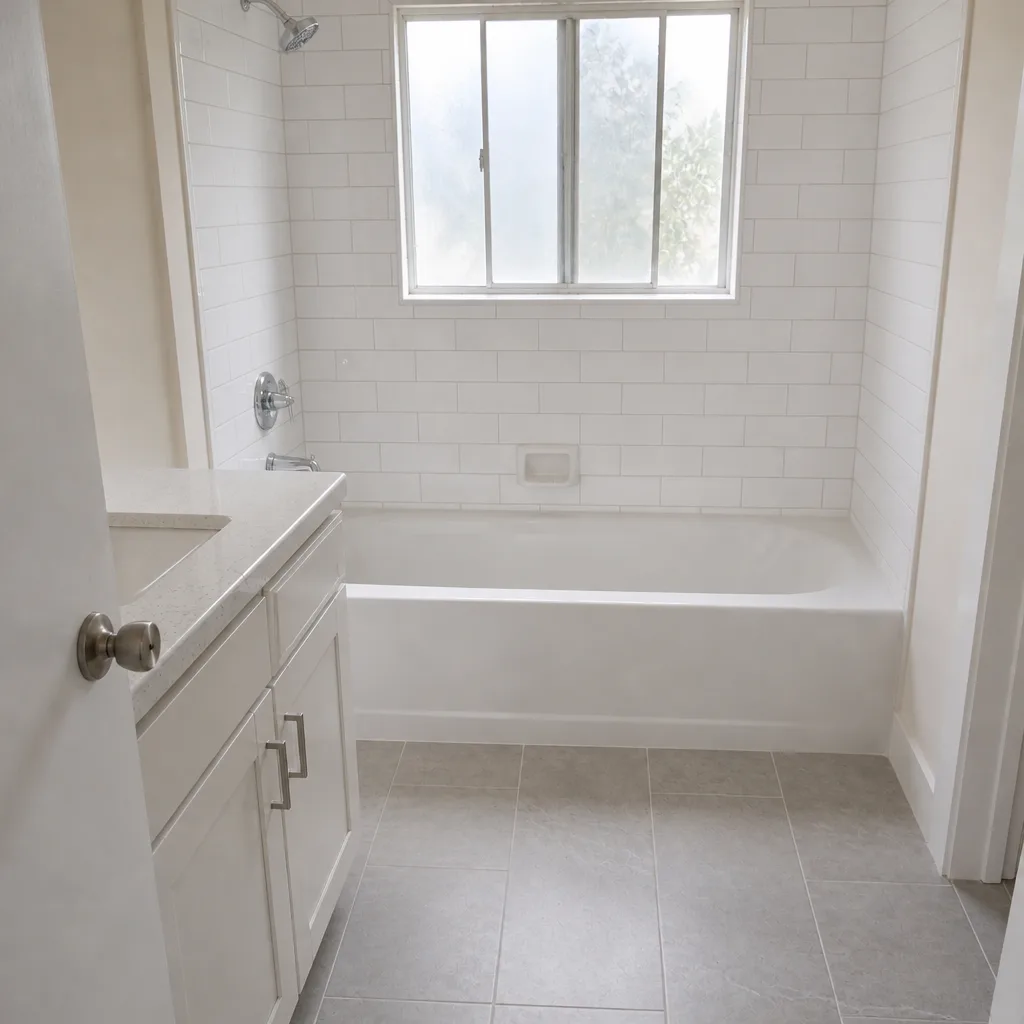 After
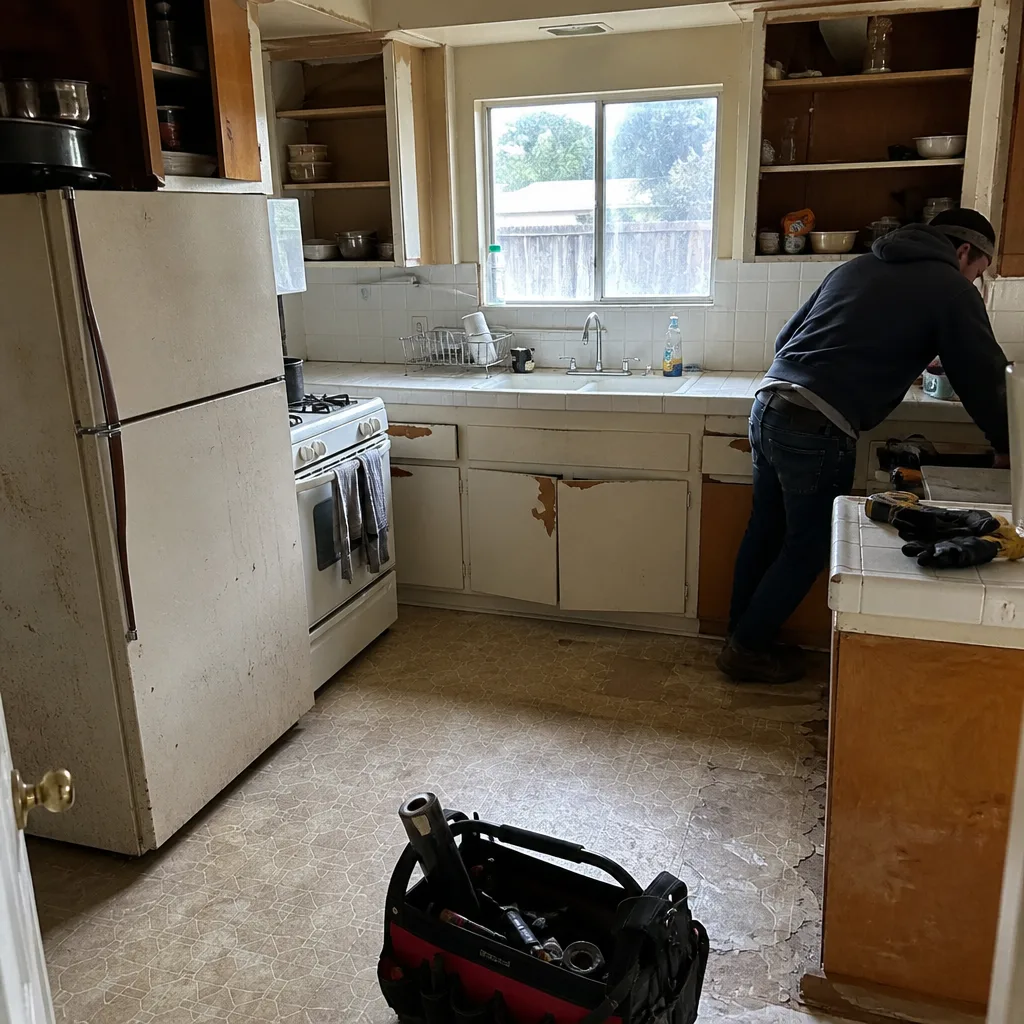 Before
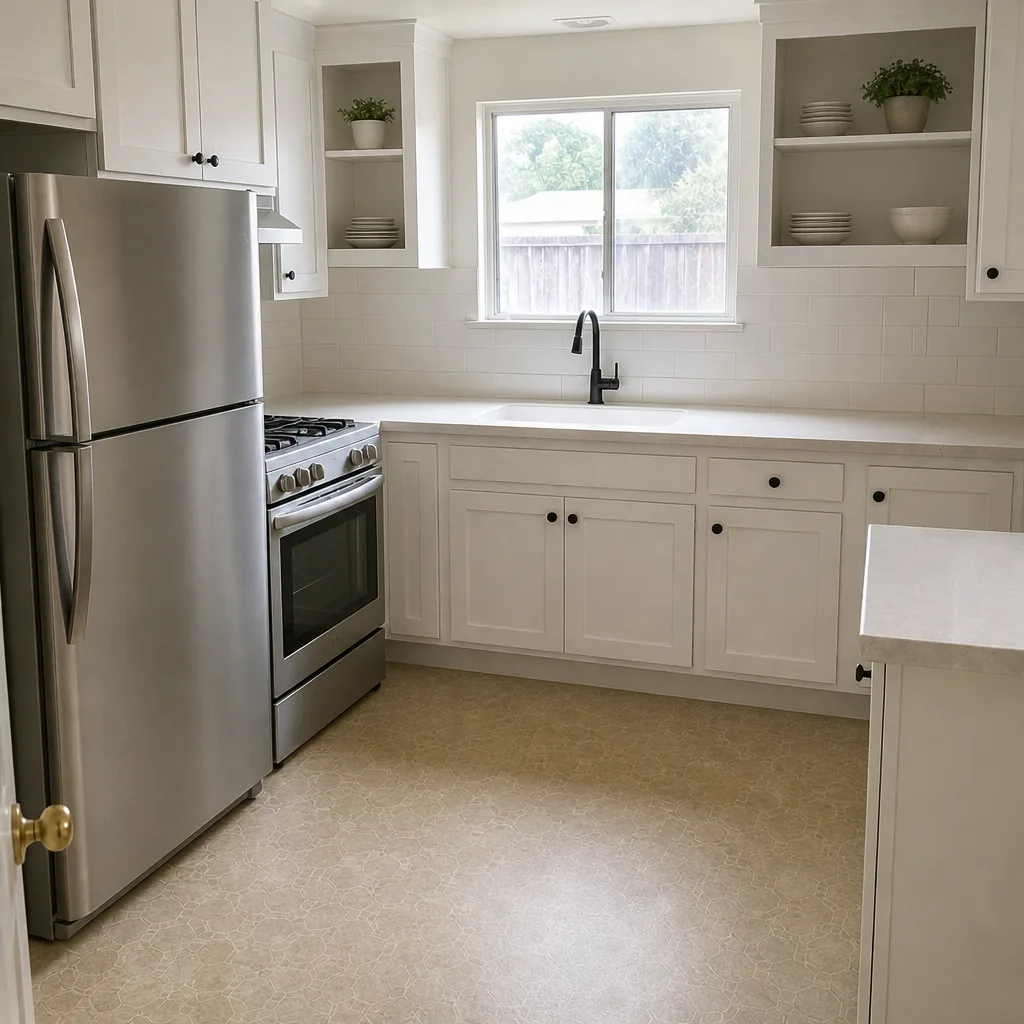 After
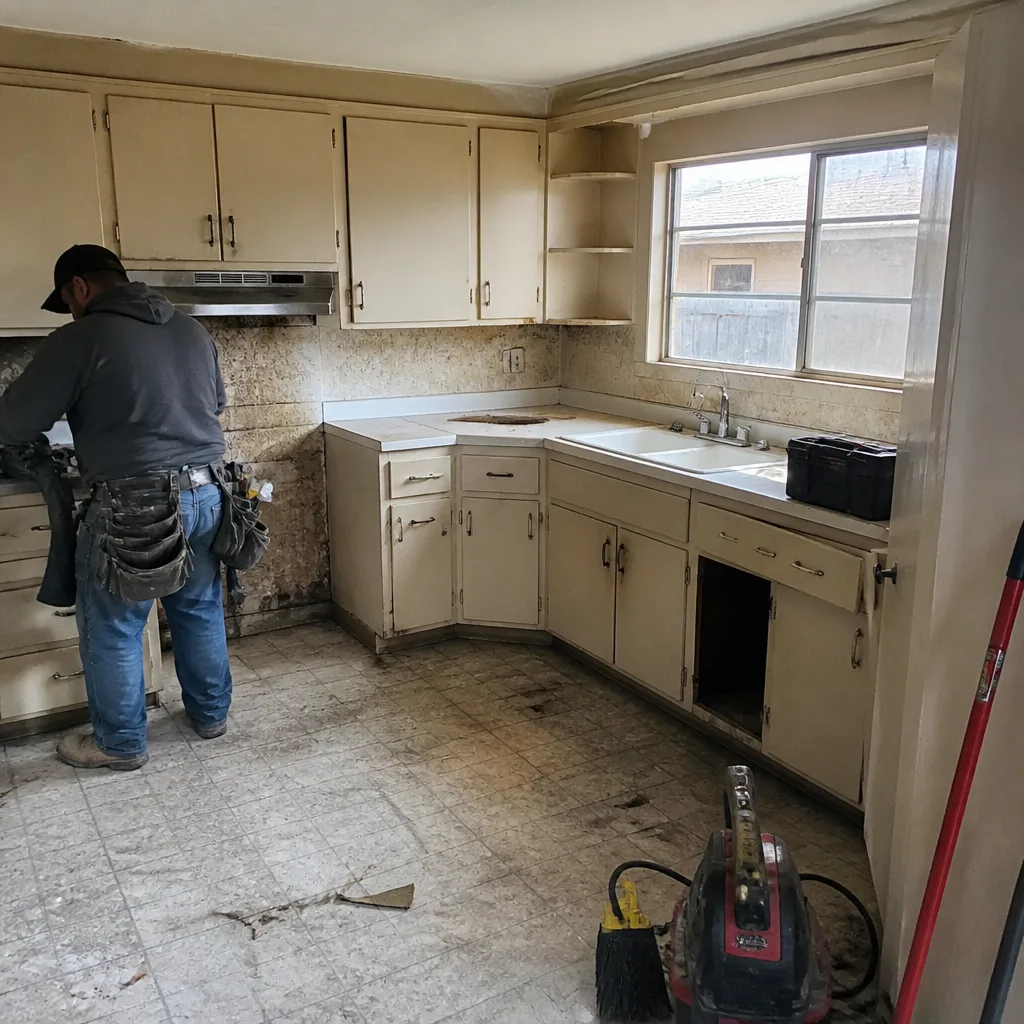 Before
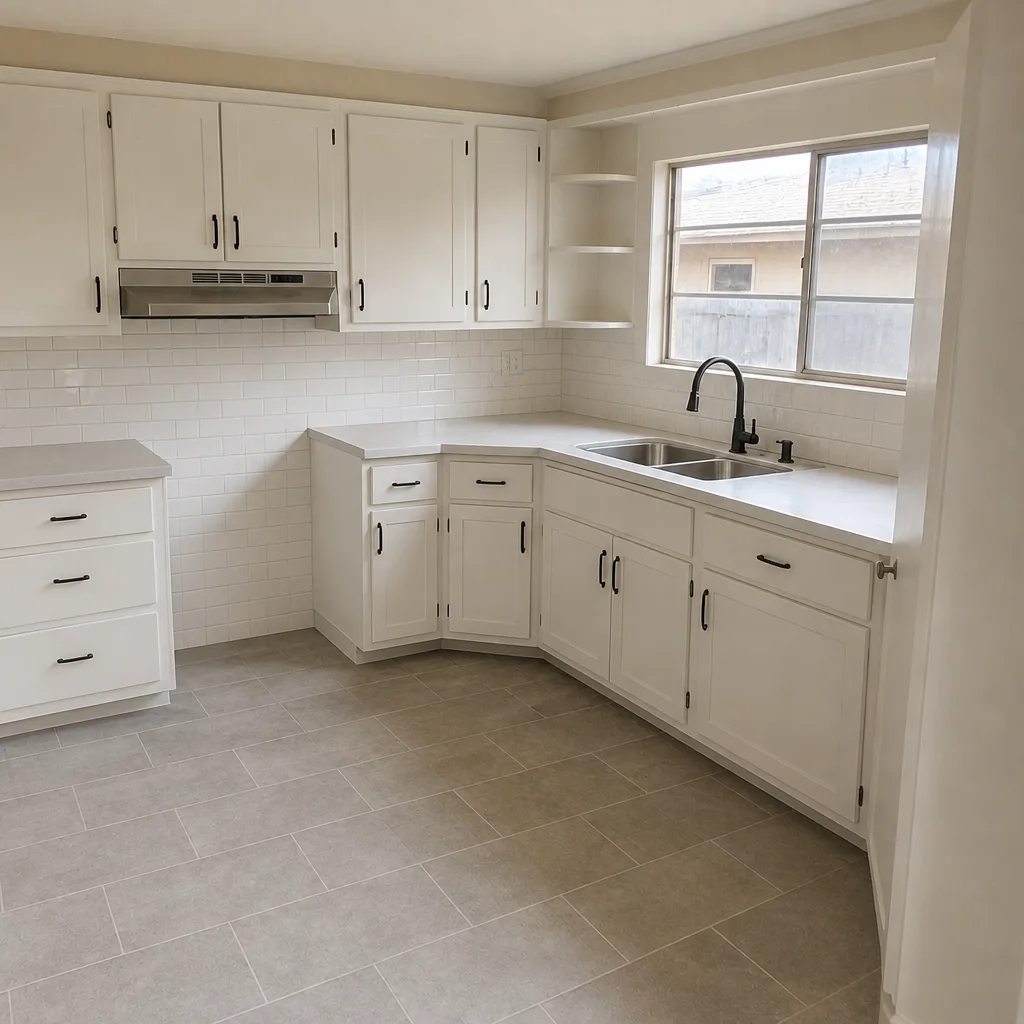 After
When to Call a Professional
Some fence work is a home project. Post replacement and footing reset generally aren’t. The reasons are practical: pulling a set post without damaging adjacent panels takes the right tools, cutting a belled footing requires an auger with an expanding bit, and getting the collar poured at the right depth and mix is where most weekend repairs fail. Add a gate post, a fence on a slope, or a fence that borders a neighbor’s property, and the variables stack up.
Call a professional when the failure is at the post, when the fence sits on Hayward clay and the existing collar is straight-sided, when the gate sags, or when you don’t know whether the original install was permitted. Rowan Construction Group Hayward offers free estimates in Hayward – call (866) 863-1729. Our technicians have up to 19 years of experience, and every written quote includes a written scope, a written warranty, and a photo record on the visit.
Frequently Asked Questions
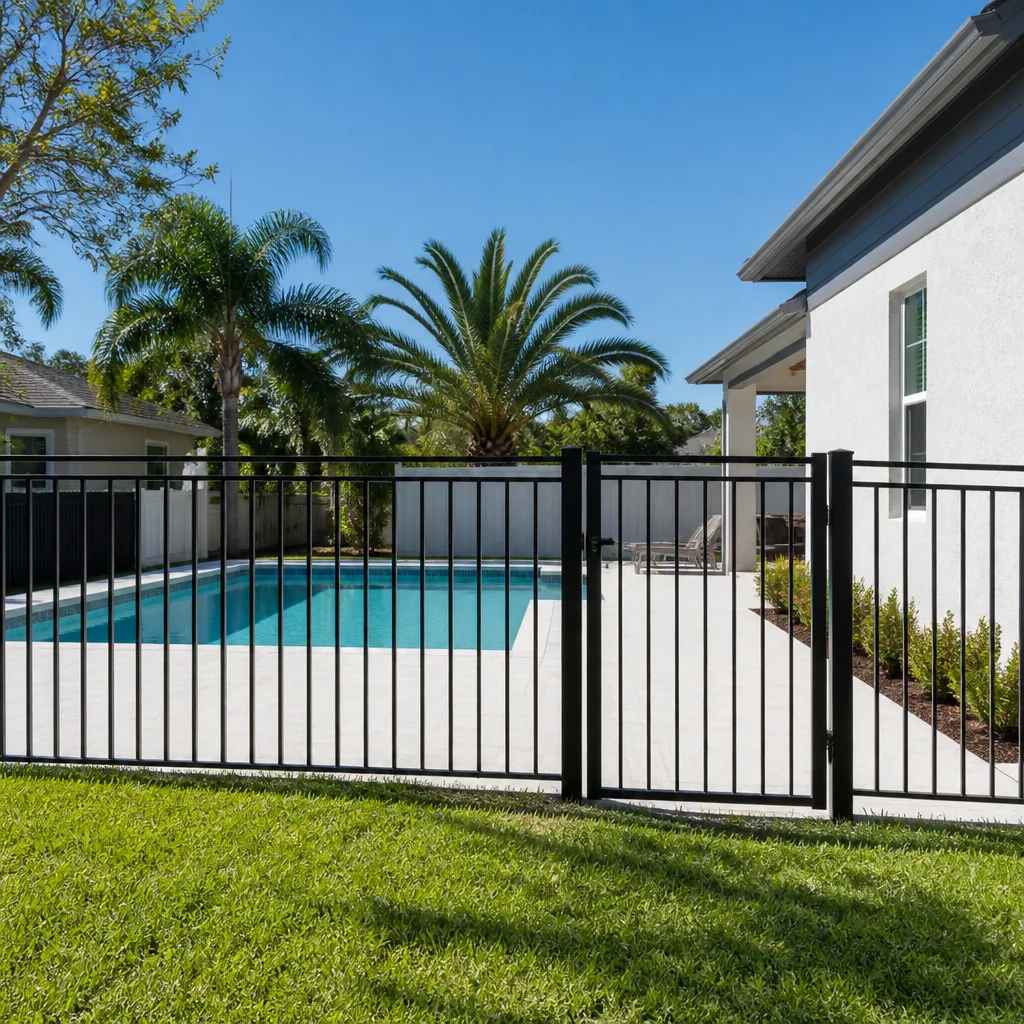
Usually, yes. A post leaning toward the neighbor typically means rot below grade or a footing too shallow, and a post leaning away from the neighbor usually means the concrete collar cracked under wind load. Probe the base with a screwdriver: if the tip sinks more than 1/2 inch at or below the soil line, the post is the cause. Call (866) 863-1729 for a free estimate if the probe comes back soft.
Probe the wood. If the post itself is sound and only the footing has moved, a reset with a proper collar handles it. If the wood is soft below grade, the post needs replacing, not resetting. In Hayward clay, resetting a straight-sided collar in the existing hole tends to fail again, so a belled base is part of the job either way.
Replacing a panel is a reasonable DIY task if the posts are sound. If the panel bowed because there aren’t enough rails for the span, or because the post it hangs from is compromised, swapping the panel alone fails again within a couple of years. A contractor’s written estimate at $150 – $320 per 8-foot section tells you whether the repair is genuinely cosmetic or structural.
Hayward’s expansive clay swells with winter rain and shrinks in summer, and that cycle works on straight-sided concrete collars until they crack. Water gets in, the post moves, and the fence loosens. A belled footing, wider at the base than the top, resists the heave. If the fence loosens every year, the footing is the thing to fix.
Single post replacement and reset runs $350 – $600. Rail replacement is $45 – $90 per rail with hardware. Panel replacement runs $150 – $320 per 8-foot section, material-dependent. A full replacement is $45 – $80 per linear foot. Call (866) 863-1729 for an exact quote on your fence, and estimates are free.
Repairs generally don’t require a permit. A full replacement, or any fence over 6 feet tall, often does, and setback rules apply differently to front, side, and corner lots. Call the city’s building department with the proposed height and location before any install. If the original fence was unpermitted, the record question lands on you on resale.
The Bottom Line
Fence failures almost always originate at the post, not the panel, and the direction of the lean tells you which failure you’re looking at. Probe the base with a screwdriver, measure the lean, and read the collar. Hayward’s clay needs a belled footing, not a straight pour, or the repair repeats with the next wet winter. A complete post replacement and reset costs $350 – $600 and holds; a cosmetic panel swap costs less and fails in 3 – 5 years. Get the price in writing before anyone starts, photograph the failure, and check the permit record. That’s the whole job.
If your fence is leaning, bowing, or shedding rails, call (866) 863-1729 for a free estimate. Rowan Construction Group Hayward puts the written price in writing before work starts, reviews any competitor’s estimate line by line at no charge, and backs the repair with the 365-Day Done Right Promise. When you’re ready to landscape the rest of the yard, our team also handles Driveway & Pavers in Hayward and kitchen, bath, roofing, window, and addition work across all seven trades. Estimates are free.
Written by the team at Rowan Construction Group Hayward.