Last updated November 18, 2026


Free written scope consultation - allowances, timeline, and change-order rules on paper before a single trade is scheduled
Home Additions & ADU Maintenance Schedule: What to Do and When
The leading cause of warranty disputes on additions isn’t workmanship. It’s deferred maintenance that voided material warranties the homeowner never knew existed. James Hardie, for example, ties its siding warranty to documented repainting intervals, and most homeowners never receive that paperwork at handover. A home addition or ADU has a different maintenance profile than the house it’s attached to: newer materials, fresher penetrations, and soil that was disturbed around its perimeter. That combination creates a first-five-year inspection sequence standard homeowner guides don’t cover. This guide lays out what to do, when, and what each professional visit should cost in Hayward.
Quick Answer
An addition or ADU needs three things standard home maintenance skips: a year-one caulk-and-grading check at the tie-in joint where it meets the existing structure, a flashing and valley inspection before each rainy season for the first three years, and a documented record of every material warranty (siding, windows, underlayment) with the maintenance each warranty requires. Everything else – gutters, filters, tankless descaling, Title 24 fan verification – follows a set monthly schedule over years one through five.
Styles & brands we work with
- Kitchen remodeling
- Bathroom remodeling
- Home additions & ADU
- Roofing
- Windows & doors
- Driveway & pavers
- Fence
Table of Contents
- Why an Addition Ages Differently Than the Original House
- Year One: The Settlement List
- Material Warranties and the Paperwork That Keeps Them Valid
- Roof-to-Wall Flashing and Valley Inspections
- ADU Mechanical Service: Tankless, Mini-Split, and Title 24 Ventilation
- The Month-by-Month Schedule, Years One Through Five
- What Professional Inspections Cost
- Records, Permits, and Your Paper Trail
Why an Addition Ages Differently Than the Original House
An addition is a new building bolted to an old one. That single fact drives most of its maintenance needs. The new foundation settles at its own rate, independent of the original footing. The wall where the two structures meet – the tie-in joint – is a seam that will move in the first year as framing dries and lumber shrinks. And the roof-to-wall intersection where the addition’s roofline meets the existing house is the single highest-risk detail on the whole assembly, because it collects water from two directions.
Hayward’s climate sharpens the point. We get a wet season that dumps most of the year’s rain between November and March, then five or six dry months with almost none. That swing drives soil movement, causes caulk to flex and crack, and means the first three rainy seasons after a build are the real test of any flashing detail. A dry-season inspection proves nothing. The wet season finds the problems.
Newer materials also carry different obligations than old ones. A fiber-cement or engineered-wood siding on the addition may have a 30-year warranty, but that warranty typically requires specific paint upkeep on a schedule. Windows from Pella or Andersen have finish and seal requirements. Underlayments on the new roof have manufacturer terms tied to inspection. None of it survives without records.
Year One: The Settlement List
The first twelve months are the busiest. Expect movement, because settlement is normal, not a defect. The work is catching it before it becomes a water path.
- Re-caulk the tie-in joint at month 10 to 12. Where the addition meets the existing house, use a paintable, exterior-grade elastomeric sealant that can handle expansion and contraction. Inspect the joint from the ground first, then from a ladder only if you’re comfortable on one; the joint is best checked at the same time a visit is already scheduled. Watch for hairline gaps of a sixteenth of an inch or more – those are the ones that let water in.
- Check grading around the new foundation perimeter at month 6 and month 12. Soil disturbed during construction settles and pulls away from the footing. The ground should slope away from the wall at roughly 6 inches of fall over the first 10 feet. A low spot holding water against the new stem wall is the most common call we get after a first Hayward winter.
- Have the subpanel connection torque re-inspected once, at month 6. Conductor terminations on a new subpanel can loosen slightly as the panel warms and cools through its first seasonal cycle. This is a licensed electrician task – not a homeowner job – and it takes minutes. Loose terminations are a fire risk, full stop. Don’t open the panel yourself.
- Verify drainage and downspouts. New gutters should carry water to a point at least 5 feet from the foundation. During the first storm, walk the perimeter and watch where it actually goes.
In Hayward, the flat-to-low-slope roofs common on ADUs and rear additions make this first-year checklist worth more than a visual glance. Water on a low-slope roof tile or membrane tends to pool before it finds a seam.
Material Warranties and the Paperwork That Keeps Them Valid
Here is what most homeowners never hear: the manufacturer’s warranty on the products inside an ADU is a contract, and maintenance is the consideration on your side of it. Skip the maintenance and the warranty can be voided without anyone telling you.
Here’s a rundown of the products typically installed in a Hayward ADU and what each warranty requires:
- James Hardie fiber-cement siding: requires repainting on a documented interval (the term the warranty uses is “in accordance with the finish manufacturer’s recommendations,” which in practice is every roughly 5 to 8 years depending on sun exposure). Keep the dated receipts and photos.
- LP SmartSide siding: requires the factory finish be maintained and calls for prompt repair of any cracking or delamination.
- Pella or Andersen windows: the factory finish on vinyl or clad units carries its own terms; inspect weatherstripping and exterior seals annually and log it.
- Roofing underlayment: warranties on the membrane under a low-slope roof depend on the roof being inspected and any ponding addressed. Standing water can void coverage.
- Boral or similar trim and cladding products: the finish carries its own upkeep terms.
The practical fix is simple: make a warranty file at handover. Keep every installation manual, the finished-grades photo record, and a log of maintenance dates. Under The Haven Standard, every Rowan project delivers a documented photo record on every visit, which gives you a dated trail from the start. When you call for a warranty claim, the contractor or manufacturer will ask for it, and a file answers in two minutes what otherwise takes weeks.
Roof-to-Wall Flashing and Valley Inspections
The intersection where the addition’s roof meets the original house is the highest-risk detail on the entire build, and it deserves inspection before every rainy season for the first three years. Here’s why: that tie-in collects water off two roof planes, the flashing that protects it was installed into disturbed framing, and the first three wet seasons are when any weakness in the detail shows up.
A 15-minute visual inspection covers a lot, and most of it can be done from the ground or from a window that looks out onto the new roof:
- Look for staining or dark streaks running down the wall or ceiling below the tie-in flashing.
- Check the flashing’s top edge – it should sit tucked up under the existing wall covering, not face-nailed flat against it.
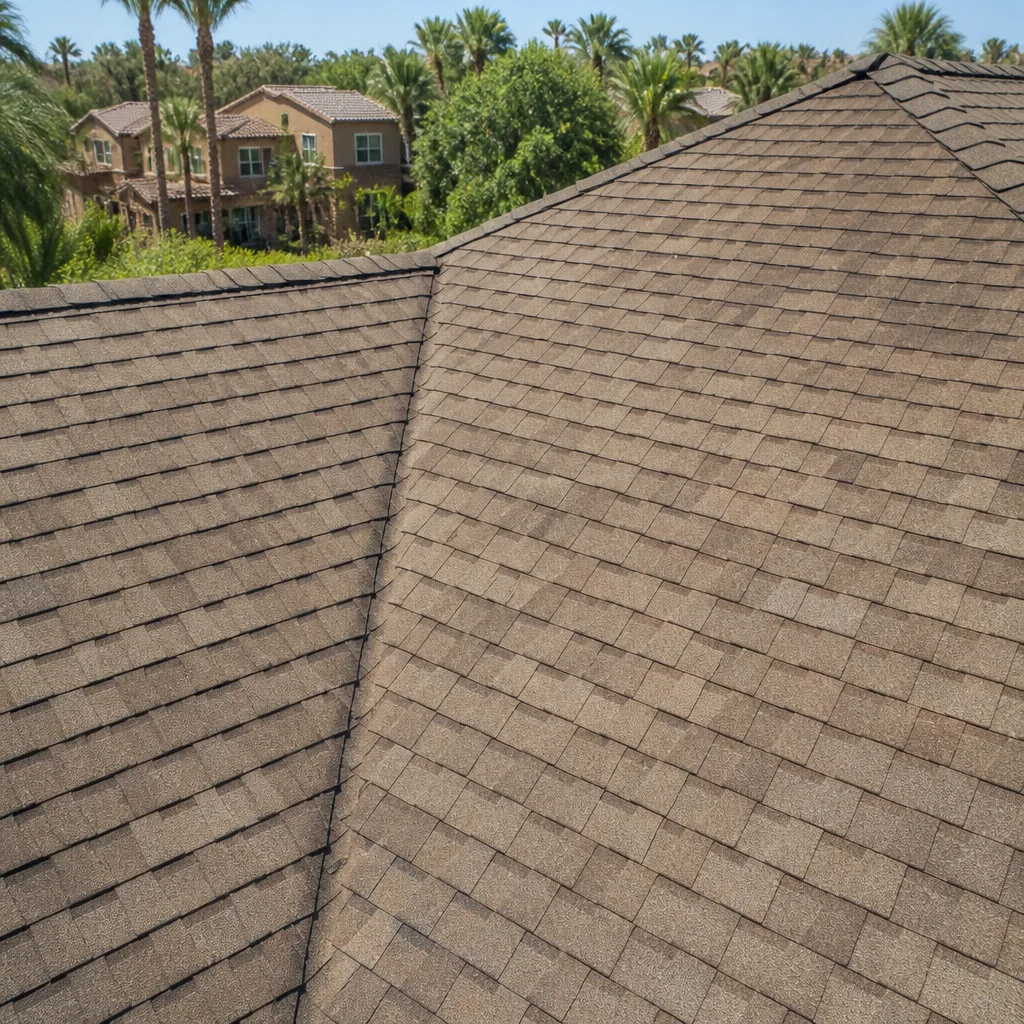
- Look at the valley where two roof planes meet – any sign of standing water, debris buildup, or granule loss concentrated there.
- Check the sealant lines at the roof-to-wall transition for cracks.
- From inside, check the ceiling and upper wall of the addition for any brown rings, bubbling paint, or soft drywall after heavy rain.
What a 15-minute check won’t tell you is whether the flashing was lapped correctly under the courses above it. If you see anything suspicious – a water stain, a soft spot, a gap in the sealant – the next step is a professional on the roof. Walking a roof, especially a steep one or one with recent flashing, is not a homeowner job. Call it in.
ADU Mechanical Service: Tankless, Mini-Split, and Title 24 Ventilation
An ADU’s mechanical equipment is smaller and newer than the main house’s, and it usually runs harder per square foot because the unit is occupied. Three service items matter most.
Tankless water heater descaling. Hayward water carries enough mineral content that tankless coils scale up. Descaling with a vinegar flush is recommended roughly once a year depending on hardness and usage; a hard-water household in a busy ADU may need it twice. Skipping it shortens the heater’s life and voids the manufacturer’s warranty on many brands.
Mini-split filter and coil cleaning. Clean or replace the indoor filter every 1 to 3 months during cooling season, and have a technician clean the coils and check refrigerant annually. A clogged filter drops efficiency and strains the compressor. This is the most common cause of a mini-split dying early.
Ventilation fan verification for Title 24. California’s Title 24 energy code requires mechanical ventilation in tight, new construction – which is what an ADU is. The bathroom and kitchen exhaust fans need to actually move their rated airflow; a fan that’s clogged, blocked, or undersized fails the intent of the code even if it passed inspection. A technician should verify airflow at least once a year, and certainly any time you notice condensation on interior windows.
Our technicians have up to 19 years of experience across these trades, and the pattern is consistent: the mechanical failures we see at year three almost always trace back to a skipped service year one or two.
The Month-by-Month Schedule, Years One Through Five
Print this and keep it with your warranty file. It’s organized by when each task comes due, and it’s the same schedule we recommend for every ADU we build in Hayward.
Every year (all five years):
- Clean gutters and downspouts – twice a year, ideally October (before the rains) and March.
- Inspect roof-to-wall flashing and valleys – annually, especially the first three years.
- Descale the tankless water heater – annually.
- Change mini-split filters – every 1 to 3 months; technician coil clean once a year.
- Verify ventilation fan airflow – annually.
- Look at the tie-in sealant lines – once a year, re-caulk as needed.
- Check grading around the foundation – once a year, add soil if it’s pulled away.
Year-specific tasks:
- Year 1: Re-caulk tie-in joint (month 10-12). Subpanel torque re-check (month 6). Verify drainage during first storm. Inspect grading twice.
- Year 2: Confirm the caulk is holding after first winter. Check exterior paint on siding for any chalking or cracking – worth a professional paint inspection if the finish looks rough.
- Year 3: Final “first three rainy seasons” flashing inspection. Re-check window seals and weatherstripping.
- Year 4: Assess exterior finish aging against the warranty schedule. Log the condition with photos.
- Year 5: Half-decade: have a professional do a full envelope inspection (roof, siding, windows, flashing), document everything, and plan repainting if the finish is past halfway through its service life.
What Professional Inspections Cost
Ranges for Hayward-area professional service visits, so you can budget. These are typical; get a written quote before work starts.
- Roof/flashing inspection: $150-$350 per visit.
- Subpanel torque re-check and inspection: $100-$250.
- Tankless water heater descaling: $150-$300.
- Mini-split coil cleaning and service: $150-$325.
- Ventilation fan airflow verification: $75-$175.
- Full building envelope inspection (year 5): $350-$700.
- Tie-in caulk and sealant work: $50-$150 in materials, or $200-$400 with labor.
A well-run annual maintenance visit combining a few of these items typically runs $400-$700 and catches the small things before they become a flashing repair or a rotted subfloor. For where these fit into a bigger project, see our Home Additions & ADU in Hayward page.
Records, Permits, and Your Paper Trail
Keep three things and your warranty and resale both get easier. First, the permit record – the signed-off permits for the addition and the ADU, which matter at resale. Second, all manufacturer documentation and the maintenance log. Third, a photo record of every inspection and repair.
We keep a documented photo record on every visit as a standard deliverable, not an add-on. It means the next person who inspects the roof, or the next owner if you sell, can see exactly what was found and what was done. Our work is backed by the 365-Day Done Right Promise, and a written price is delivered before any work starts – so when maintenance turns up something the warranty should cover, the record is there.
Common Mistakes to Avoid
- Skipping the tie-in caulk in year one. New joints move as lumber dries; caulk that was perfect at handover cracks by month 10. Missing it in a Hayward wet season is how water gets into the wall.
- Never reading the siding warranty. James Hardie and LP SmartSide both tie coverage to upkeep, and homeowners who never received the paperwork don’t know repainting is a requirement.
- Waiting until the roof leaks to look at the flashing. The first three rainy seasons are when a new roof-to-wall gets tested. Inspect before each wet season, not after the stain appears.
- Deferring tankless descaling. Skipped annual flushes are the top reason tanks fail early and void their warranty, especially on Hayward’s mineral-heavy water.
- Treating the ADU mini-split like a set-and-forget appliance. Clogged filters kill compressors; a monthly filter check is the cheapest insurance there is.
- Losing the permit and warranty file. A resale, an insurance claim, or a warranty call all hinge on paperwork. Make the file at handover, not after the problem.
- Ignoring grading around the new foundation. Disturbed soil settles, water pools against the stem wall, and the repair bill for that one low spot is bigger than five years of preventive checks.
See the difference
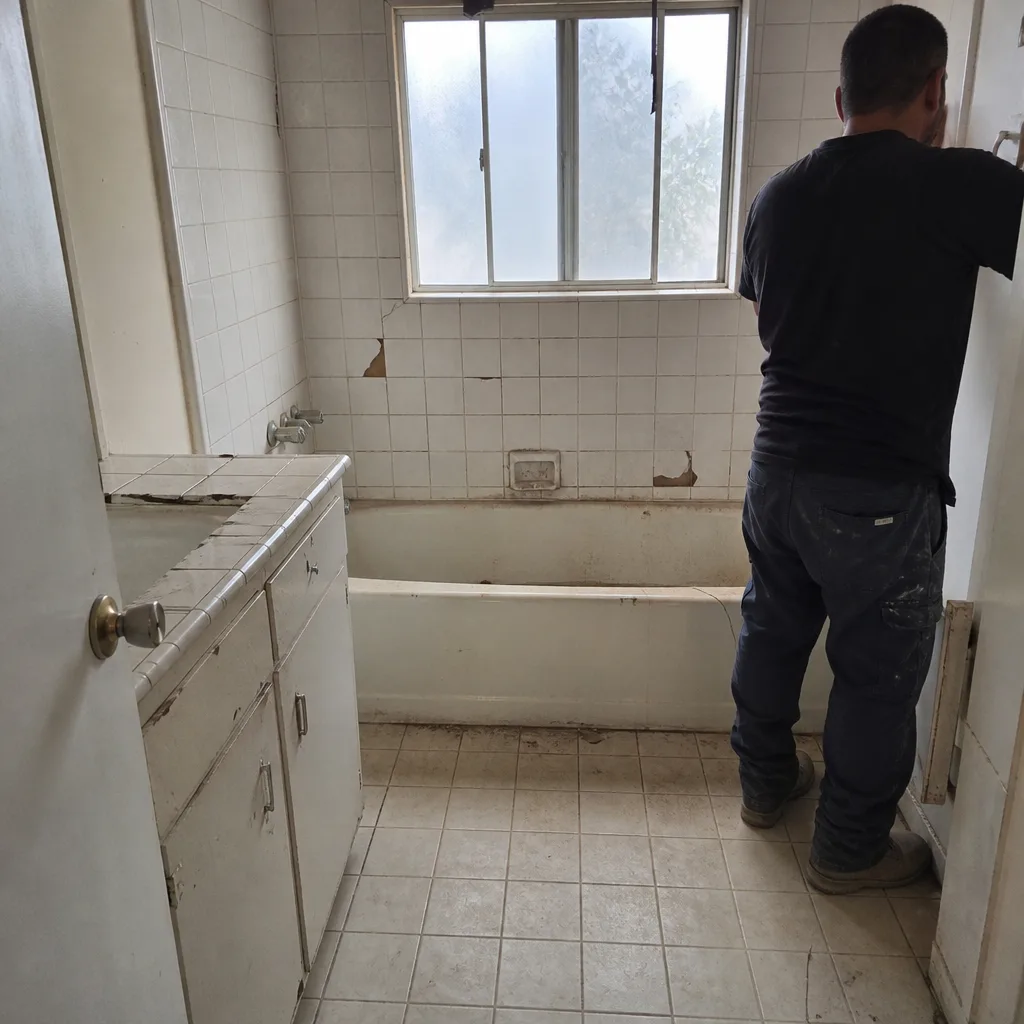 Before
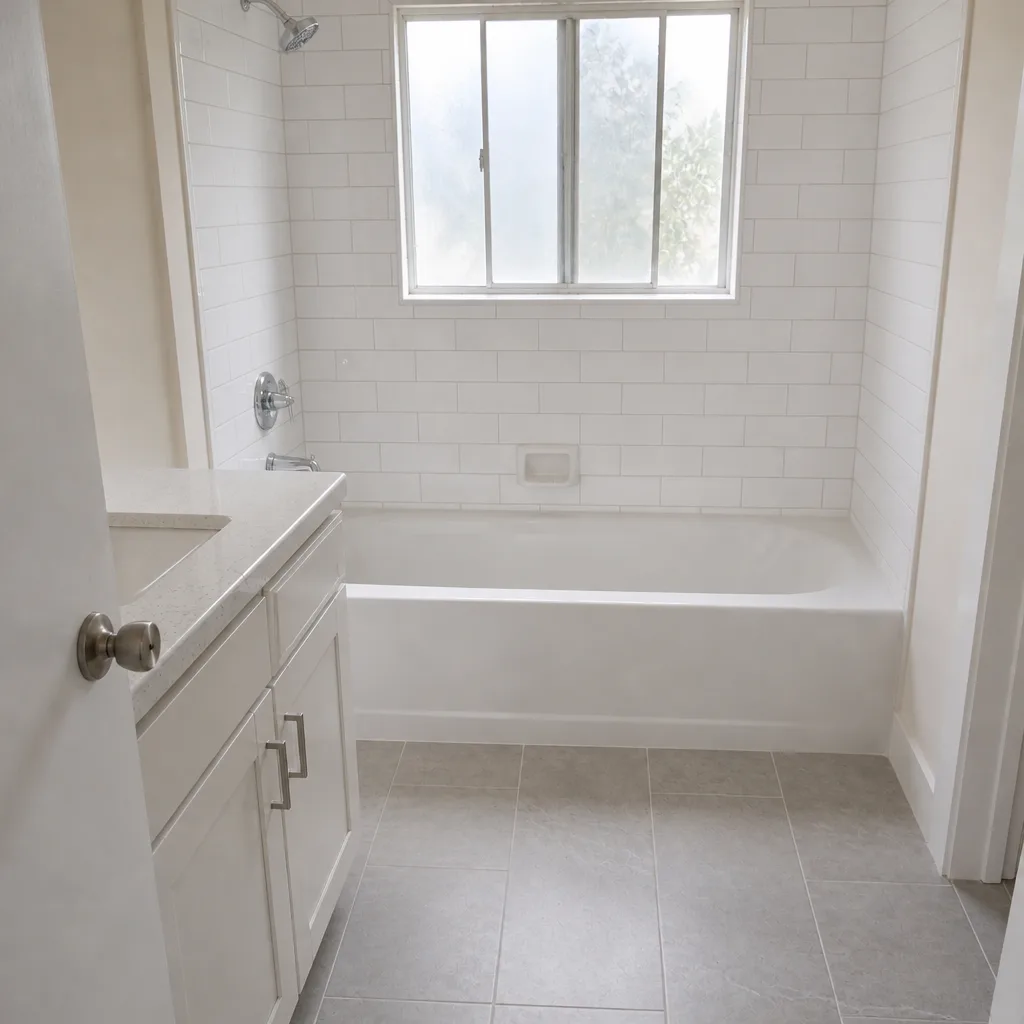 After
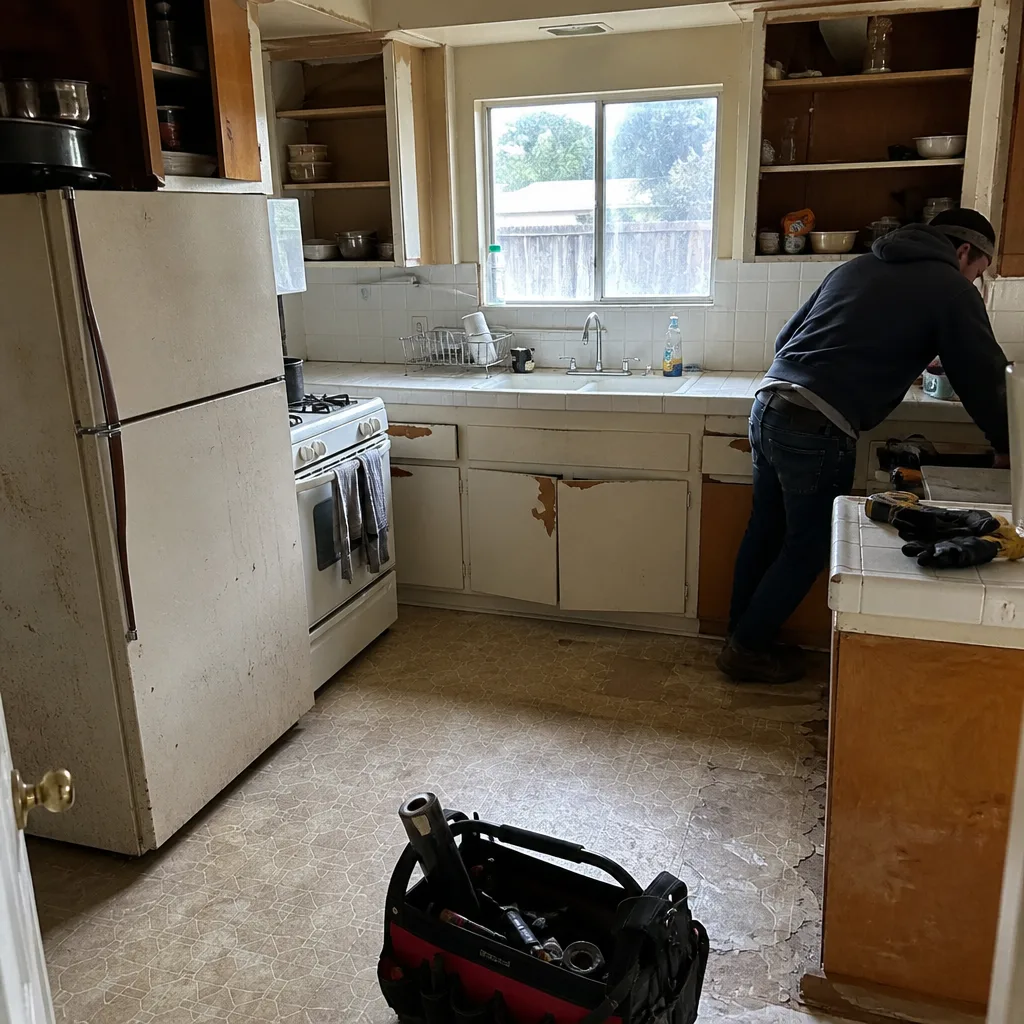 Before
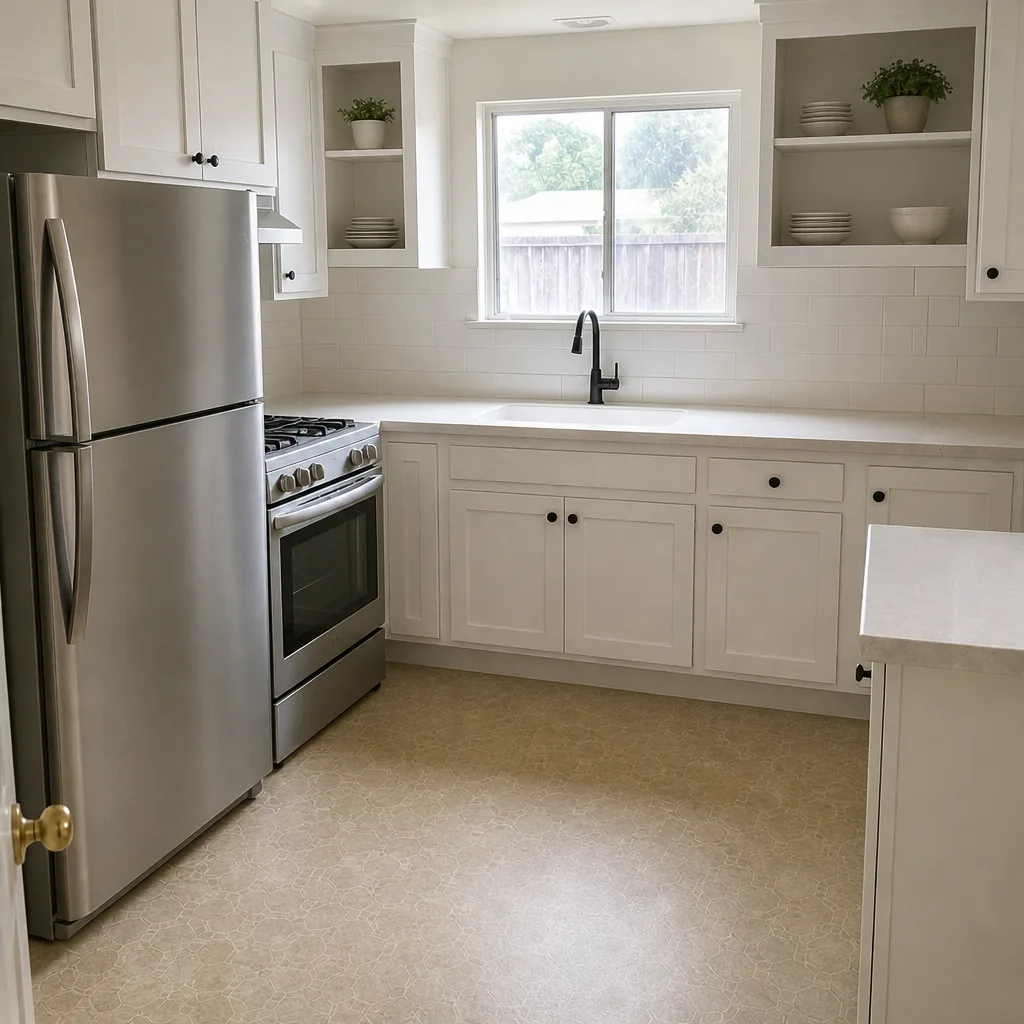 After
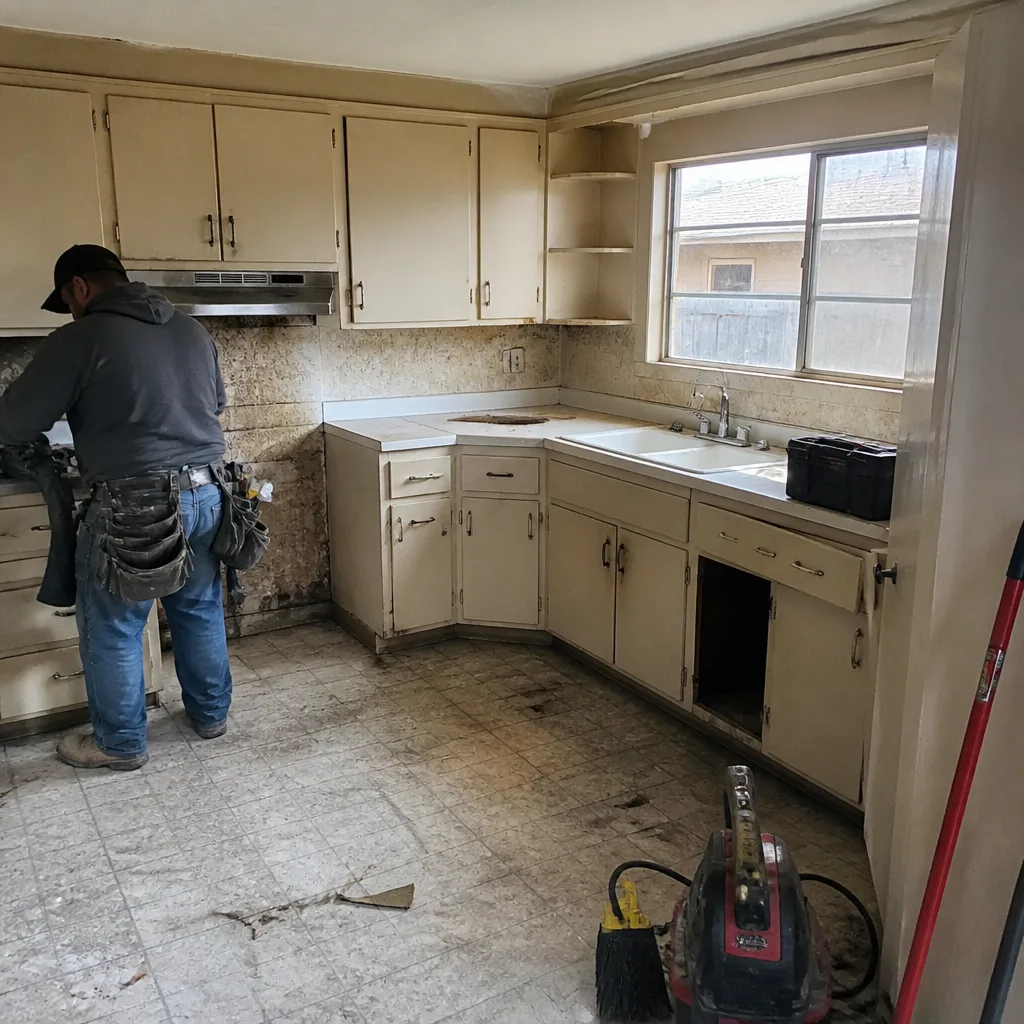 Before
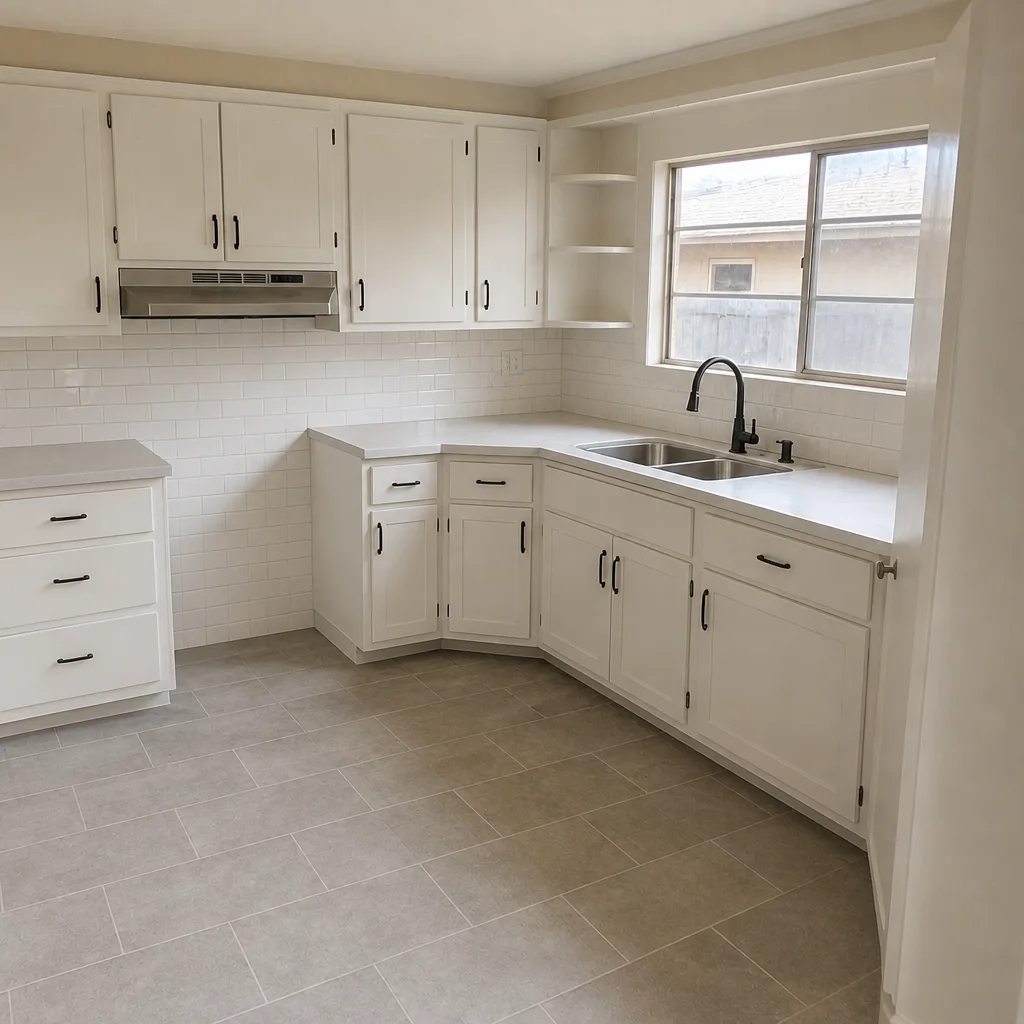 After
When to Call a Professional
Some tasks are check-and-observe. Others need a licensed trade. Call a professional when: you see water staining on a ceiling or wall near the tie-in; the subpanel needs any work at all (torque checks and terminations are electrician work); the roof needs walking, especially a steep addition roof or one with fresh flashing; a tankless heater or mini-split is acting up; or the ventilation fan airflow is in question for Title 24. If your warranty file is incomplete, that’s also worth a call – a documented visit rebuilds the record and costs far less than a failed claim. Rowan Construction Group Hayward offers free estimates in Hayward for any addition or ADU maintenance scope – call (866) 863-1729.
Frequently Asked Questions

At least annually, with extra attention in the first three years. Schedule a tie-in and grading check in year one, a flashing inspection before each rainy season for the first three years, and a full building envelope inspection at the five-year mark. Year one is the busiest because settlement and material drying are most active then.
Descale the coils annually with a vinegar flush, or twice a year if the unit is heavily used or the water is hard. Hayward water carries enough mineral content that skipped descaling shortens the heater’s life and can void the manufacturer’s warranty. Call (866) 863-1729 for a free estimate on a maintenance visit.
Yes, in many cases. James Hardie, LP SmartSide, and clad window manufacturers tie their coverage to documented upkeep such as repainting on schedule and prompt repair of any cracking. Without a dated maintenance record, a claim can be denied. Build the file at handover and log every service date.
Because it collects water from two roof planes, the flashing was installed into freshly disturbed framing, and new details meet their first real test in the first three wet seasons. A 15-minute visual check before each rainy season catches stains, cracked sealant, and debris buildup before they turn into a leak. If you spot a problem, have a professional inspect the roof – walking it isn’t a do-it-yourself job.
A combined visit covering a flashing inspection, filter change, and a couple of mechanical checks typically runs $400-$700. Individual items range from $75 for a fan airflow check to $350 for a roof inspection. Call for an exact quote before work starts – estimates are free.
California Title 24 requires mechanical ventilation in tight new construction, and the fans must actually deliver their rated airflow. An annual airflow verification keeps the unit in compliance and catches clogged or undersized fans before condensation problems show up in the unit.
The Bottom Line
An addition or ADU stays dry and keeps its warranties if you treat the first five years as a defined sequence: year-one caulking and grading, roofing flashing checks before each wet season for three years, and documented upkeep on every material and mechanical system. Keep the warranties, the permits, and a photo log. The professional costs are modest and the avoided repairs are large. For any additions, ADU work, or related projects around Hayward – including Driveway & Pavers in Hayward and Fence Installation in Hayward – the team at Rowan Construction Group Hayward home is worth a call.
Talk to Us
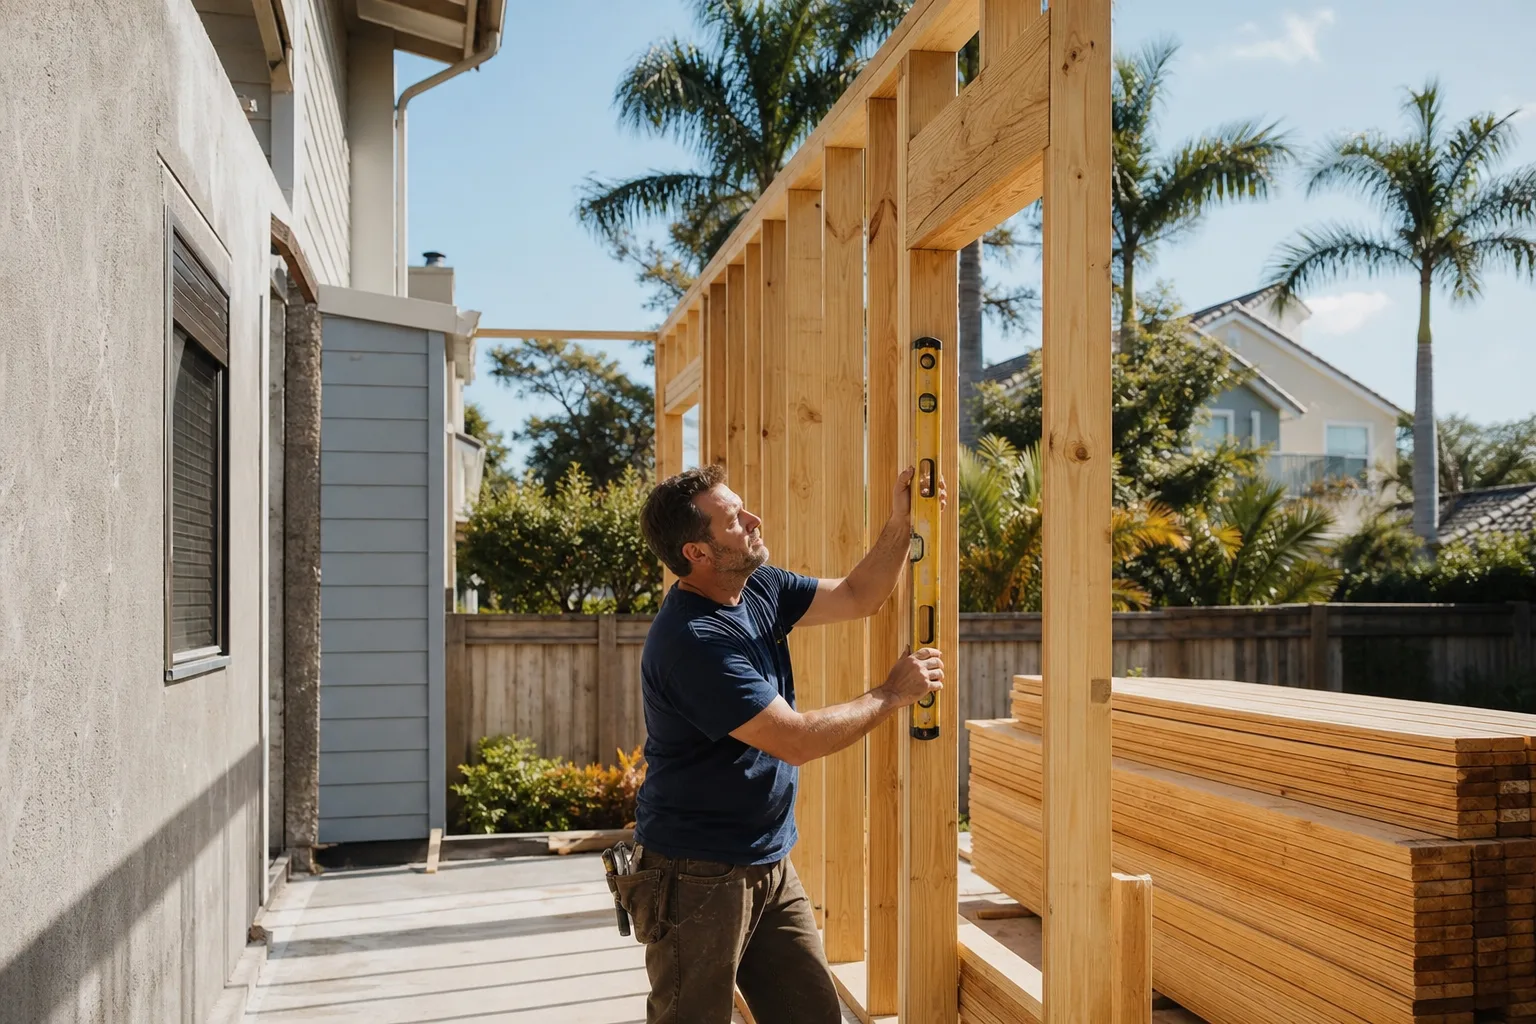
Maintenance is cheaper than repair, and paperwork is what keeps a warranty alive. If you’ve just wrapped an ADU or addition in Hayward and aren’t sure where your maintenance file stands, or you’re planning a new build, call Rowan Construction Group Hayward at (866) 863-1729 for a free estimate. Every quote is a written flat price with a written scope before anyone picks up a tool. Licensed and insured, background-checked technicians, and a live person answering the phone 24/7.
Written by the team at Rowan Construction Group Hayward.