Last updated November 18, 2026
Free written scope consultation - allowances, timeline, and change-order rules on paper before a single trade is scheduled
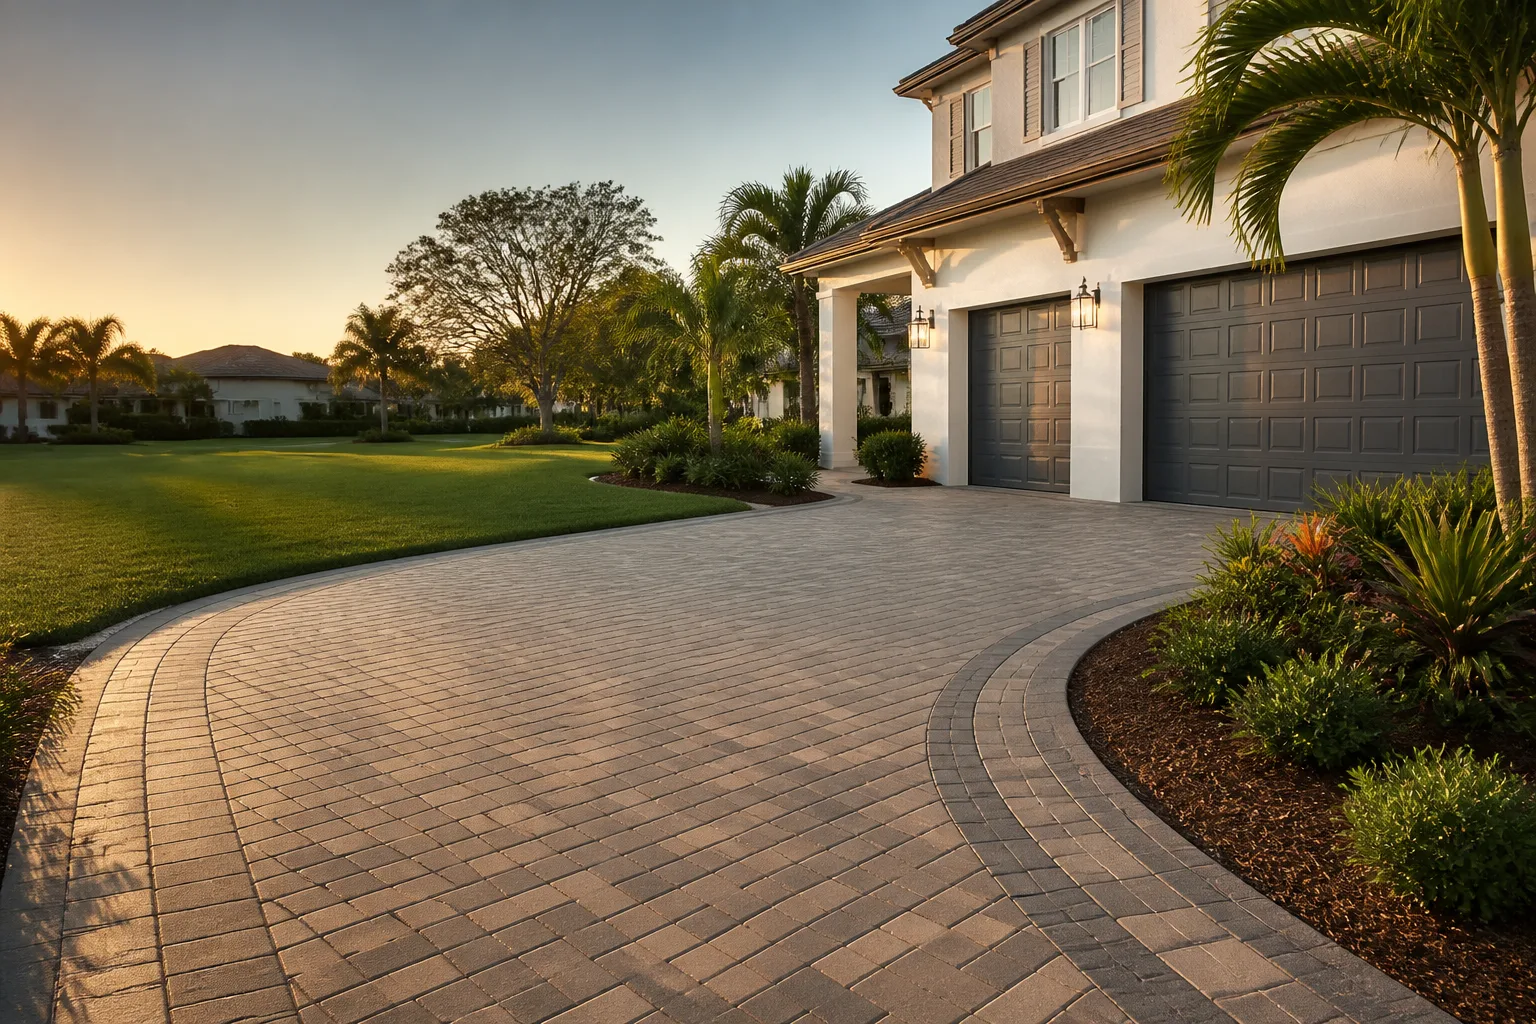
Driveway & Pavers Maintenance Schedule: What to Do and When
Polymeric joint sand – the material that locks paver joints together and blocks weed roots from taking hold – has an active service life of five to eight years in the Bay Area’s wet-dry cycle. Almost no homeowner knows this. So the sand fails quietly, weeds establish themselves in the gaps, and the base begins to wash out long before anyone thinks to call a contractor. Here’s the part that stings: a paver driveway kept on a documented annual schedule runs about $0.15 to $0.30 per square foot per year to maintain. One that gets ignored until it fails costs $18 to $28 per square foot to rebuild. In Hayward, where clay-heavy soil and roughly 20 inches of winter rain do the base no favors, that gap is the whole ballgame. This guide publishes the exact month-by-month schedule, the product names worth buying, and the cost thresholds that tell you when to stop DIYing and call someone.
Quick Answer
Maintain a driveway paver surface with four seasonal actions: a spring joint inspection and weed clear, a summer sealer application, a fall edge restraint check before the rain arrives, and a winter drainage verification after it. Budget roughly $0.15 to $0.30 per square foot per year in materials for a surface in good condition. Replace polymeric sand when a 2 oz water test absorbs in under 10 seconds, and call a professional the moment you see rutting, rocking pavers, or a failed edge restraint.
Styles & brands we work with
- Kitchen remodeling
- Bathroom remodeling
- Home additions & ADU
- Roofing
- Windows & doors
- Driveway & pavers
- Fence
Table of Contents
- Why Pavers Need a Schedule at All
- The Four-Season Maintenance Calendar
- How to Test Whether Polymeric Sand Needs Replacement
- Choosing the Right Sealer for Hayward Conditions
- DIY vs. Professional: The Cost Triggers
- Keeping a Maintenance Record (for Resale and Warranty)
- Common Mistakes to Avoid
- Frequently Asked Questions
Why Pavers Need a Schedule at All
Pavers aren’t a poured slab. They’re thousands of individual units held in place by two things: the compacted base beneath them and the joint sand between them. Both degrade on a clock, and the clock runs faster in Hayward than most homeowners expect. The wet-dry cycle is the culprit. Winter rain saturates the joints; summer sun bakes them dry. That expansion and contraction loosens the polymeric binder year after year, and once a joint opens, water gets under the surface and starts working on the base.
Clay soil, which underlies large parts of Hayward, makes this worse. Water that reaches the base layer drains slowly through clay, so a small joint failure in February can become a washout pocket by April. We’ve seen driveways in the Hayward hills where a two-inch void had formed under three pavers, invisible from above, because the joint sand had been gone for two seasons without anyone noticing.
The maintenance math is unforgiving. Annual material cost for a 600 sq ft driveway runs about $90 to $180 – a bag of polymeric sand and a sealer applicator’s worth of product. A rebuild of that same 600 sq ft runs $10,800 to $16,800 at current Hayward pricing. The schedule isn’t a nice-to-have; it’s the difference between a surface that lasts 30 years and one that needs replacing in 12.
The Four-Season Maintenance Calendar
This is the core of the guide. Four actions, one per season, each with a clear task list. Print it, tape it inside a garage cabinet, and log the date each time you do one.
Spring (March – April): Joint Inspection and Weed Clear
- Walk the whole surface and look for joint sand sitting low in the gaps. A joint that’s more than a quarter inch below the paver surface needs topping up.
- Pull weeds by hand or with a joint knife. Don’t spray broadleaf herbicide on pavers – it stains concrete units and kills nothing down in the root zone.
- Clear any debris from the drainage path at the driveway’s low corner. Hayward’s spring rains (typically 1.5 to 2 inches in March) will test that path within days.
- Photograph the whole surface from one standing spot. Same angle every year. The record is the documentation.
Summer (June – August): Sealer Application
- Apply sealer only when the surface is completely dry and the forecast shows 48 hours of no rain. In Hayward that window usually opens in late June and holds through August.
- Use a penetrating silane-siloxane sealer (Techniseal and Surebond HP are both standard) at roughly $0.08 to $0.14 per square foot in materials. This is the number to budget.
- Apply in two thin coats, not one thick one, with a low-pressure sprayer and a roller backup. Thick coats trap moisture and cause the exact spalling the sealer was supposed to prevent.
Fall (October – November): Edge Restraint Check
- Inspect every edge restraint – the aluminum or plastic channel that pins the outer course of pavers. Look for popped spikes, cracks in the channel, or pavers that have shifted outward by more than a quarter inch.
- Re-seat any loose paver by hand. Don’t walk on it hoping it settles. Under the first big rain, a loose edge paver becomes a displaced edge paver, and the base starts migrating.
- Top up joints with fresh polymeric sand before the rain season if any gaps are visible. This is the single highest-value fall task.
Winter (December – February): Drainage Verification
- During the first heavy rain, walk outside and watch where water goes. It should run off the driveway and away from the house within seconds, not pool against the garage sill.
- Check the low corner for standing water after 24 hours. Any puddle that’s still there is a base or grading problem, not a surface problem, and warrants professional review.
- Look for new settlement on the surface. A paver that rocks when you step on it in February means the base under it has begun to fail.
If you’d rather hand this calendar to the crew who’ll do the work, our Driveway & Pavers in Hayward service handles the whole schedule – and every visit ends with a documented photo record.
How to Test Whether Polymeric Sand Needs Replacement
This is the single most useful test in this guide, and almost nobody does it. Pour 2 oz of water (about a quarter cup) slowly onto a joint. If the water absorbs into the sand in under 10 seconds, the polymeric binder has failed and the sand needs replacement within one season. If the water beads and sits on top for 30 seconds or more, the binder is still intact and the joint is doing its job.
Do the test at three different locations: one joint in the middle of the driveway, one at the top where water drains toward it, and one at the low corner. All three should behave roughly the same. If one fails and two pass, the failing section is the local problem, usually caused by a low spot pooling water.
Why the test works: polymeric sand is sand bound by a polymer that cures after installation. That polymer is UV and cycle sensitive. It doesn’t fail all at once; it degrades joint by joint. The water test reports the state of the binder, not the state of the sand, and that’s the number that matters. If it fails, re-sanding is a job that takes an afternoon for a driveway under 200 sq ft. Above that, plan on a contractor.
Choosing the Right Sealer for Hayward Conditions
Wrong sealer is the most common way a homeowner accelerates the failure they were trying to prevent. There are two families, and picking the wrong one can trap moisture and cause spalling, especially with Hayward’s winter rain and summer heat cycling the surface hard.
- Penetrating silane-siloxane sealers – the right choice for unglazed concrete pavers, which is what most Hayward driveways are made of. They soak in and chemically bind to the surface rather than sitting on top of it. They don’t change appearance (no wet-look gloss) and they leave joints breathable.
- Acrylic film sealers – the right choice for tumbled stone or decorative pavers where you want the enhanced wet look, and where the stone is dense enough that trapped moisture escapes through the joints rather than through the face. These sit as a film on the surface and need recoating every 2 to 3 years.
The error to avoid: applying film sealer to a concrete paver driveway in a house with clay soil drainage, because someone wanted the drive to look darker and newer. That film traps moisture under the pavers, spalling follows within two winters, and the repair costs more than the rebuild of the surface. If you’re not sure which family is right for your driveway, ask. The answer takes about three minutes with a photo of the surface.
DIY vs. Professional: The Cost Triggers
Most paver maintenance is owner work. Some of it isn’t. The threshold isn’t about status or “leave it to the pros.” It’s about physical task characteristics, and each one has a clear number.
Owner maintenance (roughly $80 in materials)
- Re-sanding joints on a surface under 200 sq ft
- Hand pulling weeds and clearing debris
- Sealer application on a 500 sq ft driveway in dry summer weather
- Cleaning a drainage channel or clearing a downspout outlet
Call a contractor
- Any compaction work. A hand tamper won’t do it; you need a plate compactor, and getting a plate compactor to do the job right is part experience and part knowing when to stop.
- Edge restraint replacement or resetting. The restraint is structural, and a failed restraint under rain load will displace the outer course.
- Any paver showing settlement, rocking, or a visible void underneath. That’s a base failure, and the surface has to come up to fix it.
- Re-sanding a driveway over 400 sq ft. It’s technically doable; the sweep-and-cure process has to be done correctly or the sand washes out in one rain.
A note on base failures in Hayward: the geologic conditions in parts of the city (notably the older flatland neighborhoods near the bay) include fill soil and high groundwater. Small surface problems are more likely to be symptoms of a base problem than in cities with better drainage. When in doubt, a $200 to $400 professional inspection is cheaper than discovering it in February.
Keeping a Maintenance Record (for Resale and Warranty)
The homeowner who can hand a buyer a one-page maintenance log for the driveway has an advantage in a resale. It also matters for warranty claims: most paver manufacturers warrant against defects only where installation and maintenance are documented, and “I think we sealed it once” loses that argument every time.
What a useful log contains, for each visit:
- Date and season
- Task performed (resand, seal, edge check, drainage clear)
- Product used, with the brand name and specific product line (e.g. Techniseal HP NextGel, Surebond HP)
- Square footage covered
- Any observed defects – with photos
- Whether a professional was involved and what they reported
When we maintain a Hayward paver driveway, the customer receives a documented photo record on every visit as standard. That record is what a buyer will see at resale – and it’s why the log matters more than most homeowners realize. If you’re also planning bigger driveway work, the same documentation standard applies to Home Additions & ADU in Hayward and to Fence Installation in Hayward, where the fence line and driveway edge often share the same base.
Common Mistakes to Avoid
- Sealing in the wrong weather. Sealer applied when the surface isn’t completely dry, or when rain is coming within 48 hours, does nothing. In Hayward, that means late September is risky; stick to July and August.
- Pressure-washing the joints out. A 3,000 psi pressure washer directed into the joints blows the polymeric sand out faster than anything. If you do pressure-wash, use a surface cleaner with a spinning head and stay at low pressure.
- Topping up failed joints with regular sand. Regular sand doesn’t bind. It washes out with the first rain, and it doesn’t just look bad – it confirms to anyone inspecting the driveway that the surface hasn’t been maintained properly.
- Ignoring a single rocking paver. One rocking paver is the first sign the base under it has begun to fail. It sits quiet for a season and then takes the surrounding pavers with it.
- Applying film sealer on concrete pavers with marginal drainage. This traps moisture and drives spalling within two winters. Penetrating sealer is the correct choice for concrete.
- Skipping the fall edge restraint check. Winter rain is what fails edge restraints. Checking them in October is the single highest-leverage task in the whole calendar.
- No log. A maintenance record that exists only in memory isn’t a record. A homeowner selling in 2027 will want proof the driveway was serviced – and the buyer’s inspector will ask.
See the difference
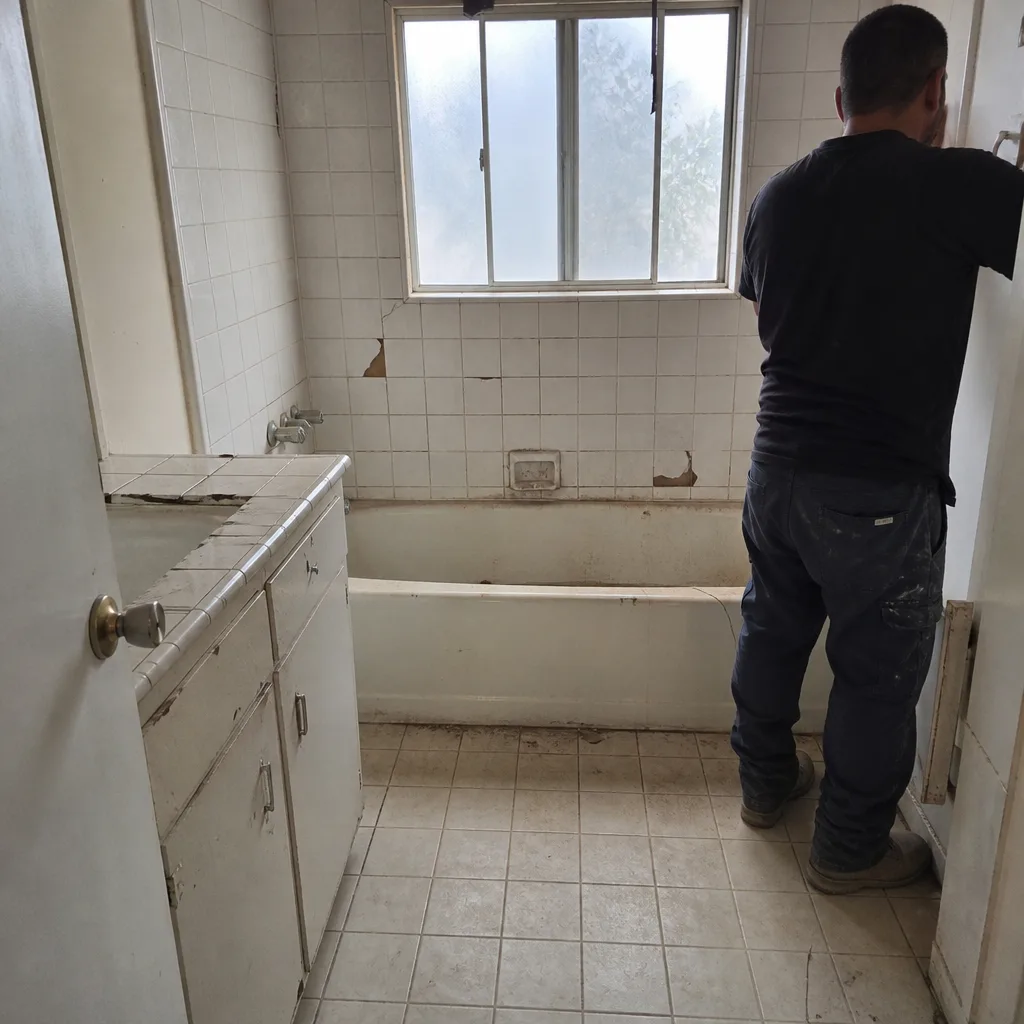 Before
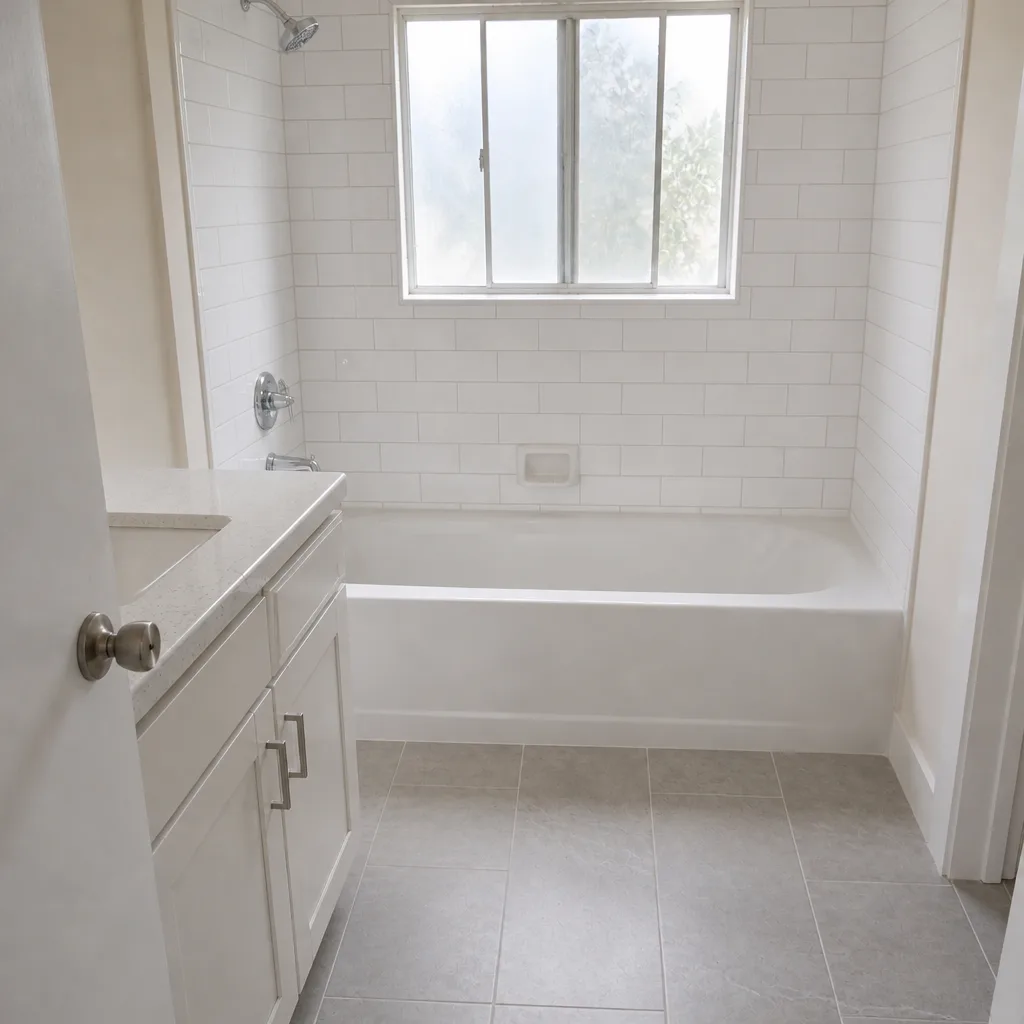 After
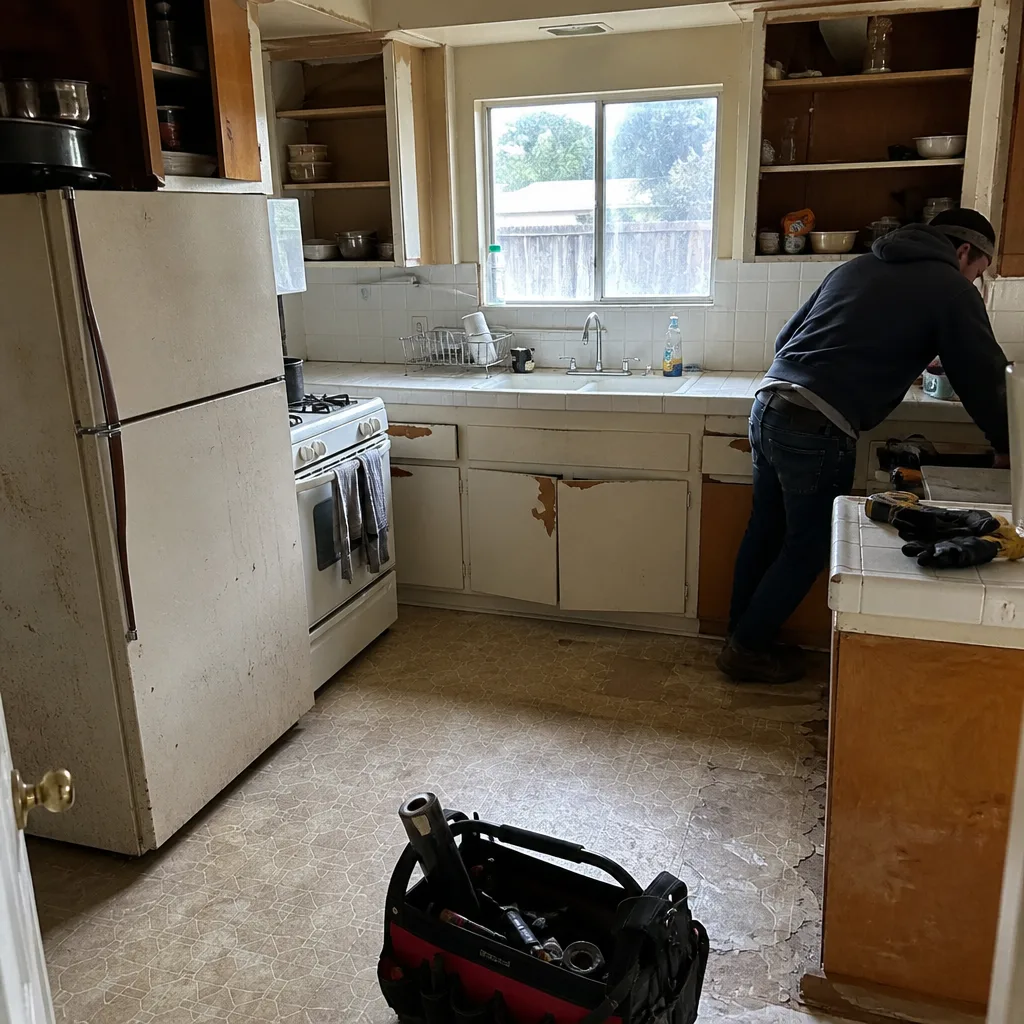 Before
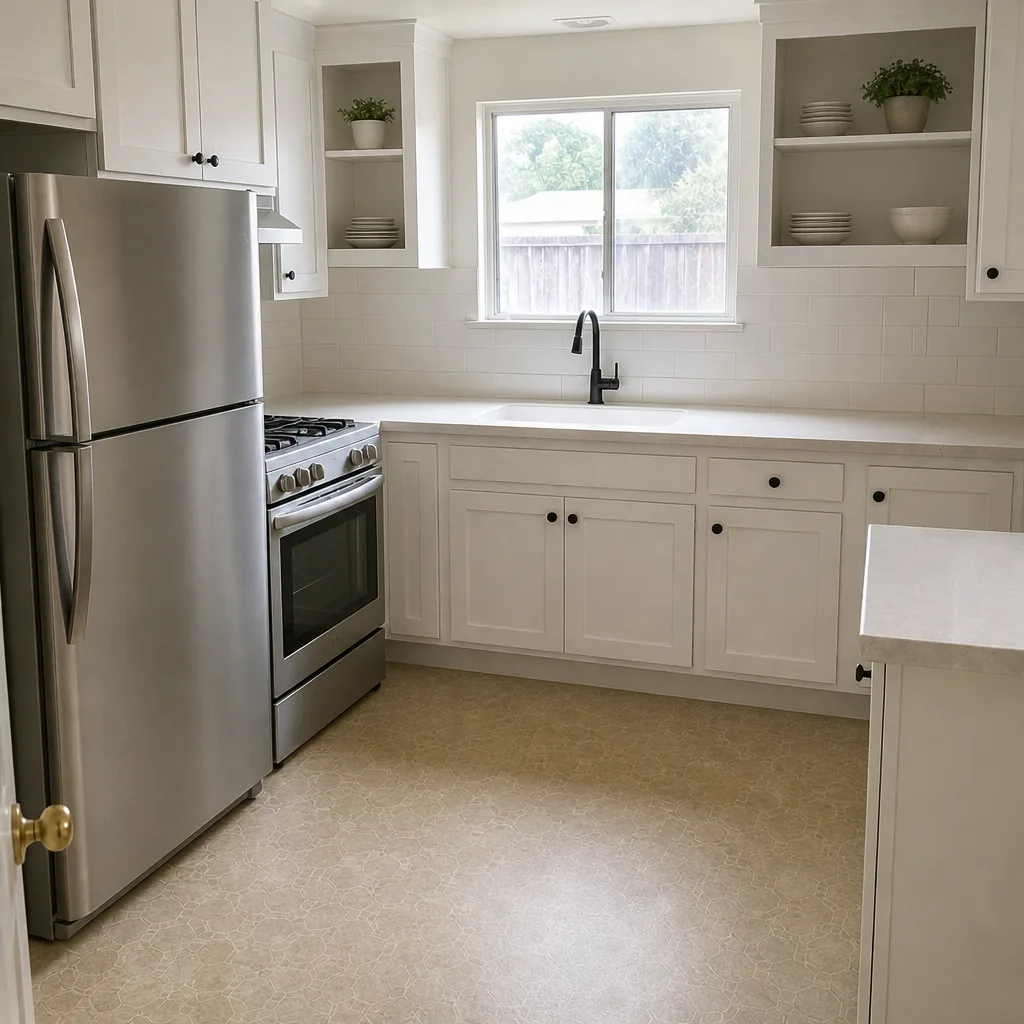 After
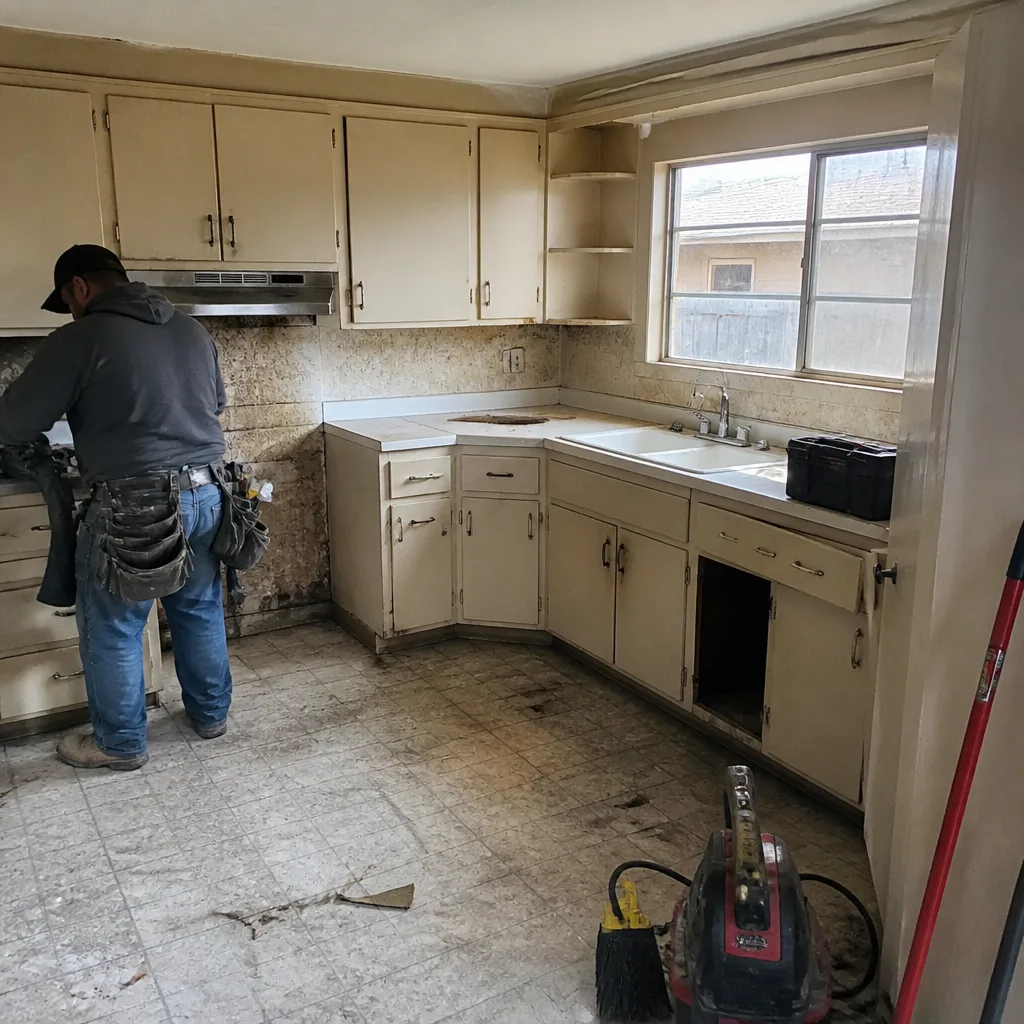 Before
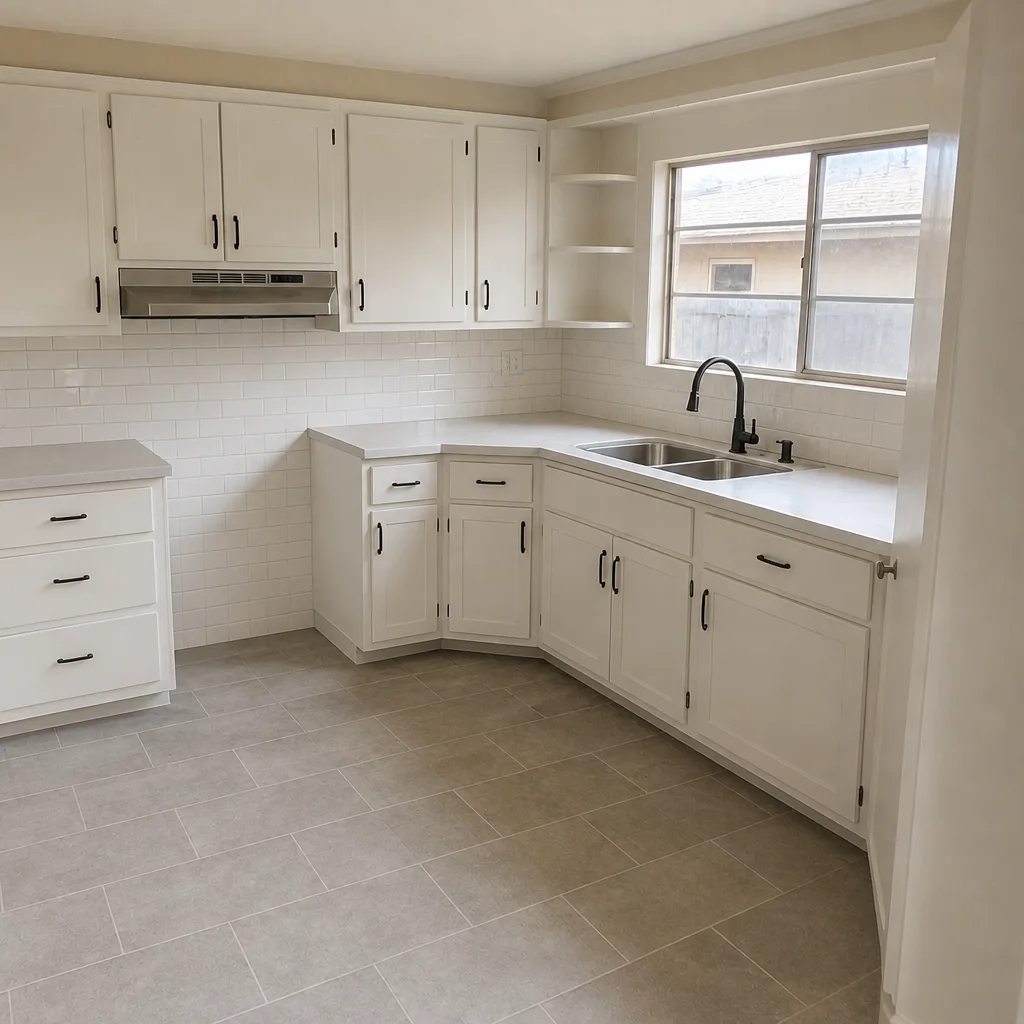 After
When to Call a Professional
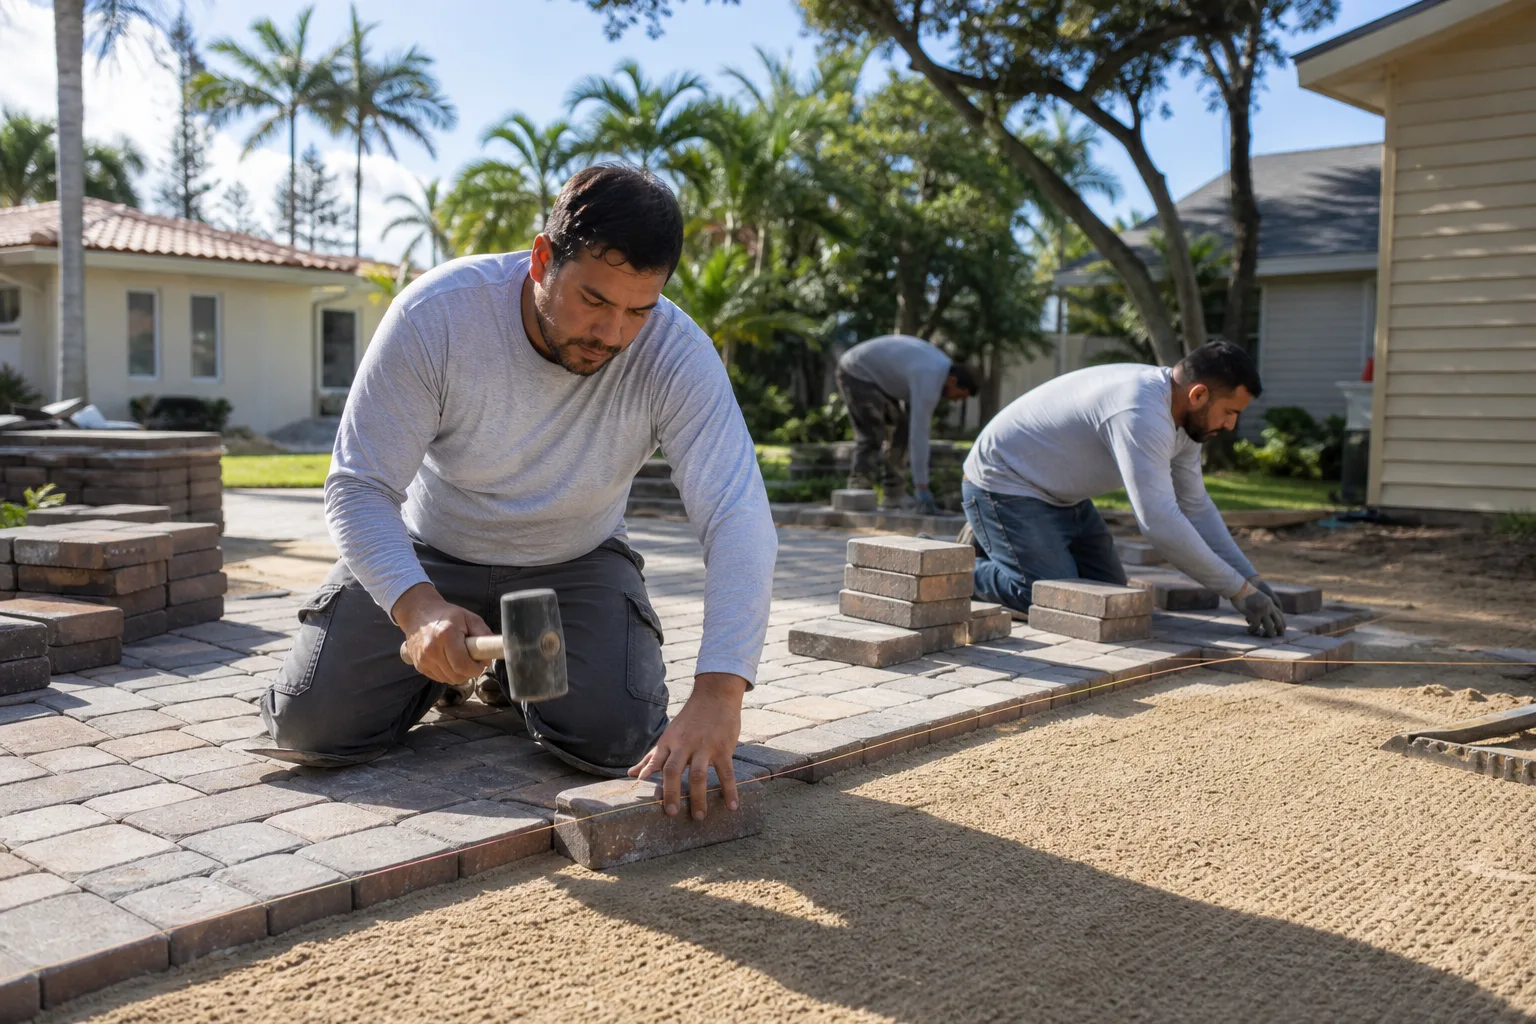
Call a professional immediately if any of these are true: a paver rocks underfoot, water pools against the garage sill or the house foundation after rain, a visible dip or hump has appeared in the surface, the edge restraint is loose or cracked, water is coming up through the joints from underneath (rather than draining down), or the driveway is over 400 sq ft and needs re-sanding. Each of these is a base, edge, or drainage issue, and none of them get better on their own. A pair of background-checked, uniformed technicians with a plate compactor and proper sanding equipment can reset a small failure in an afternoon; left alone, the same failure costs a rebuild in a year. Our technicians have up to 19 years of experience, and we carry the documentation to show it.
Rowan Construction Group Hayward offers free estimates in Hayward – call (866) 863-1729. The written price arrives before any work starts, and no work proceeds on a change until the change order is signed.
Frequently Asked Questions
Plan on $0.15 to $0.30 per square foot per year for materials, or roughly $90 to $180 for a 600 sq ft driveway. That covers polymeric sand top-up, sealer every 2 to 3 years, and minor joint repairs. Professional inspections, when needed, run $200 to $400. Call (866) 863-1729 for an exact quote – estimates are free.
Every 5 to 8 years in the Bay Area’s wet-dry cycle, though Hayward’s clay soil can accelerate that on driveways that pool water. The 2 oz water test tells you where you stand in 10 seconds. If it absorbs in under 10 seconds, plan the replacement within one season. Call us for an assessment before the next rain season.
A penetrating silane-siloxane sealer – Techniseal and Surebond HP are both standard choices. Skip acrylic film sealers on unglazed concrete; they trap moisture and accelerate spalling in Hayward’s climate. Budget about $0.08 to $0.14 per square foot in materials, applied in two thin coats in July or August. Call for a written quote if you’d rather have us do it.
Only at low pressure with a surface cleaner, and never with the wand directed into the joints. High pressure blows the polymeric sand out in seconds, and once it’s out, the joints have to be re-sanded. If the driveway hasn’t been washed in years, hire it out the first time so the joints can be restored properly.
Because organic matter – seeds, dirt, small debris – is sitting on top of the sand rather than being excluded by it. Polymeric sand is designed to lock out weeds by binding solid, but only if the joint is properly filled and cured. If weeds return within a season, the sand wasn’t installed correctly, or water is pooling in that joint. Call (866) 863-1729 to have a technician look.
Yes. A one-page log of dates, tasks, products used, and observed defects gives a buyer evidence the driveway was cared for, and it’s what a warranty claim requires if a manufacturer defect ever surfaces. The best time to start one is after your next maintenance visit. Call for a free second opinion on any written estimate you’ve received from another contractor – we’ll review it line by line at no charge.
The Bottom Line
Four actions, one per season: spring joint inspection, summer sealer, fall edge check, winter drainage verification. Run the 2 oz water test on your joints once a year. Budget $0.15 to $0.30 per square foot annually in materials, and know the two thresholds that flip you from DIY to contractor – any compaction or edge restraint work, and any re-sanding over 400 sq ft. Keep the log. The difference between a paver driveway that lasts 30 years in Hayward and one that needs rebuilding in 12 comes down to whether someone bothered to maintain it. If that someone is us, the schedule runs itself, and you get the photo record to prove it. If your driveway is in the Hayward market and you’d like a written price on maintenance or a full rebuild, we’re at Rowan Construction Group Hayward home and ready to schedule. Call (866) 863-1729 for a free estimate. Under Clause 1 of the Haven Standard, the price is written before anyone starts – no “call for a quote,” no surprises after the work begins. We also back every job with the 365-Day Done Right Promise: if it’s not done right, we make it right.
Written by the team at Rowan Construction Group Hayward.