Last updated November 18, 2026



Free written scope consultation - allowances, timeline, and change-order rules on paper before a single trade is scheduled
Windows & Doors Maintenance Schedule: What to Do and When
Weatherstripping on an exterior door has a service life of 3 to 7 years and costs $20 to $60 to replace. Left to fail unnoticed, the air infiltration it allows adds measurably to heating and cooling costs, and the moisture that follows begins attacking the door frame, a repair that runs $400 to $1,200. That gap between a twenty-dollar part and a four-figure repair is the whole argument for preventive maintenance on windows and doors. In this guide we lay out the task-specific annual schedule we use on Hayward homes: what to inspect in spring and fall, which lubricant goes on which surface, how to test a weep hole, and the intervals that keep multi-point locking hardware from seizing before its time.
Quick Answer
Windows and doors need a full inspection and lubrication twice a year, in spring and fall, plus quarterly hardware checks and a two-minute monthly visual pass on seals and tracks. The high-value tasks are cleaning and lubricating track systems, replacing compressed weatherstripping, clearing weep holes, and checking the sealant or glazing compound at every frame perimeter. Wood frames need a paint-film and end-grain check each fall; vinyl and fiberglass need a UV and caulk-joint review each spring.
Styles & brands we work with
- Kitchen remodeling
- Bathroom remodeling
- Home additions & ADU
- Roofing
- Windows & doors
- Driveway & pavers
- Fence
Table of Contents
The Seasonal Maintenance Calendar
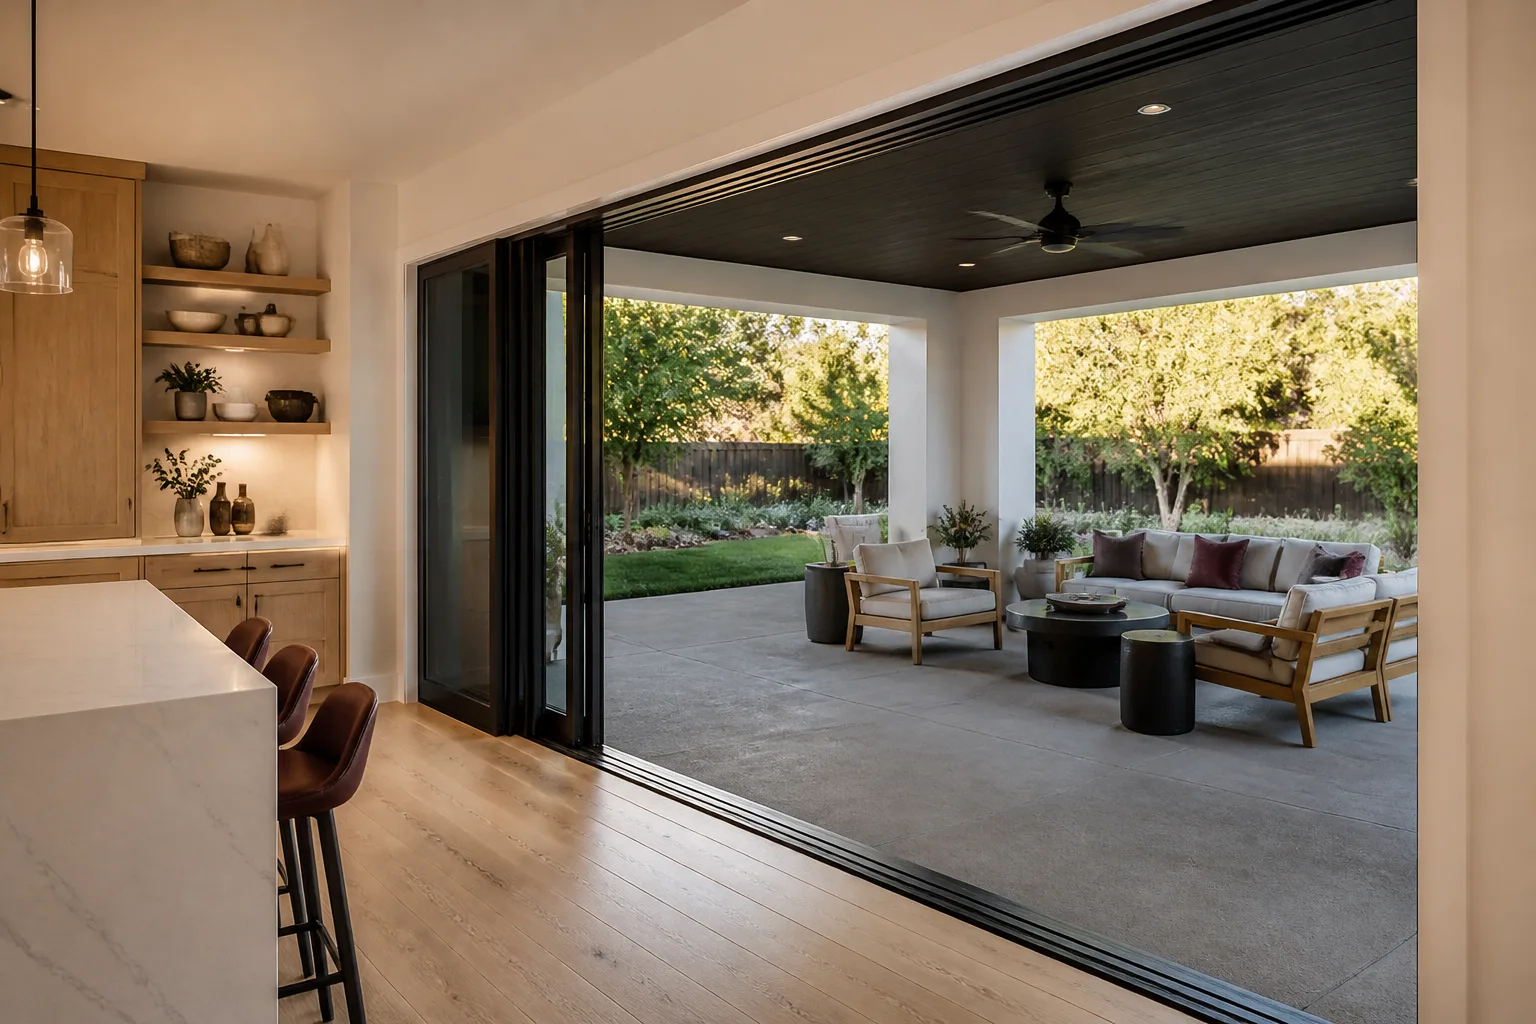
Window and door maintenance breaks cleanly into two deep passes and a set of light recurring checks. The spring pass catches what winter did to the exterior; the fall pass prepares the envelope for the wet months. Here’s the schedule we recommend for Hayward homes, where the mild climate is forgiving but the shoulder seasons still bring enough rain and temperature swing to stress seals and frames.
Spring (March through April)
- Wash tracks and sills on every window and sliding door, then vacuum the debris that accumulates at the bottom of the channel.
- Test every weep hole with a cup of water and clear any blockage with a thin wire.
- Inspect caulk joints at the exterior perimeter of every frame; cut out and replace any joint that has cracked or pulled away.
- Check vinyl and fiberglass frames for chalky UV oxidation and wipe with a vinyl cleaner.
- Lubricate sliding tracks with silicone spray and test each sash for smooth travel.
Fall (September through October)
- Check the paint film on wood frames, windowsills, and door bottoms; touch up any checked or peeling area before rain season.
- Inspect weatherstripping for compression set (a flat, permanently compressed profile that no longer springs back).
- Lubricate hinges, door operators, and multi-point lock hardware with dry PTFE or 3-in-1.
- Seal exposed end grain on wood doors and frame corners.
- Adjust door strike plates and locking hardware for the season; wood frames swell slightly in wet weather.
Between the two deep passes, do a two-minute monthly walk-through: run a hand along each exterior door edge for drafts, look for water stains at window sills, and open and close each window once.
Cleaning and Lubricating Track Systems
Tracks collect dust, pollen, pet hair, and grit. That debris abrades the sliding surface and eventually prevents a sash or panel from seating fully, which defeats the weather seal. The fix is mechanical, not chemical: remove the grit, then lubricate the sliding surface, in that order. A track that gets lubricated without being cleaned just becomes a paste.
What we do on a sliding window or patio door in a Hayward home:
- Vacuum the track with a crevice tool to lift loose grit.
- Wipe the channel with a damp cloth and a mild dish-soap solution.
- Reach the corners with a cotton swab or a toothbrush to clear compacted debris.
- Dry fully before applying any lubricant.
- Apply a light silicone spray to the sliding surface, not a flood, and cycle the sash or panel a few times to distribute it.
Rollers under sliding doors are a separate item. If a panel drags even after the track is clean and lubricated, the roller carriage has likely worn or lost its adjustment. On most patio doors the roller is accessible by removing a trim screw at the bottom stile; on some it requires lifting the panel out. This is one of the few tasks we’d steer a homeowner toward a professional for, because a dropped panel is heavy and the glass can crack on impact. Our crews handle window and door service across Hayward and the surrounding East Bay, and a stuck panel is usually a quick diagnosis once the roller is in view.
Which Lubricant Goes Where
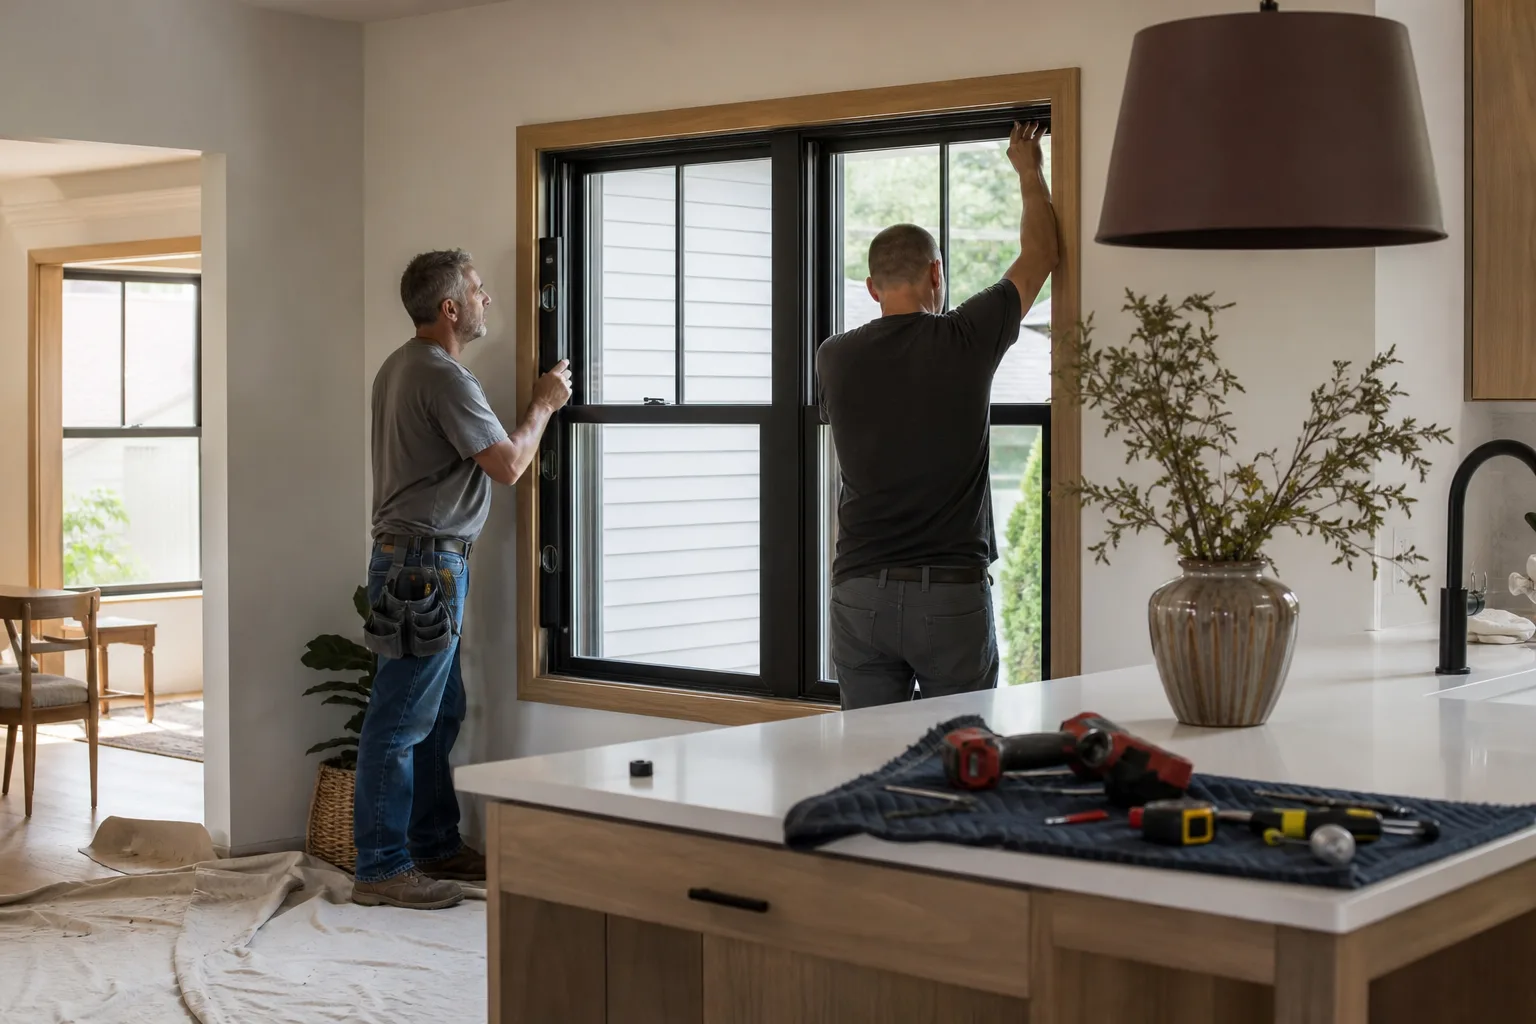
The single most common maintenance mistake we see is a petroleum-based lubricant (WD-40, standard grease, motor oil) sprayed onto vinyl tracks. Petroleum products attack vinyl and can soften or discolor the surface. The right answer is to match the lubricant to the material and the moving part.
- Vinyl sliding tracks and sashes: silicone spray. It’s dry, it doesn’t attract dust, and it’s compatible with vinyl.
- Weatherstripping and rubber seals: dry PTFE (polytetrafluoroethylene). It lubricates without softening the rubber or leaving residue that collects grit.
- Hinges, door operators, and strike plates: 3-in-1 oil or an equivalent light machine oil. These are metal-on-metal contacts where a wet lubricant is appropriate.
- Multi-point lock hardware: dry PTFE on the lock mechanism and light oil on the rods and hinges, applied sparingly. Excess oil traps dust and accelerates wear inside the lock case.
- Never: WD-40 or grease on vinyl, silicone on rubber weatherstripping (it can cause swelling in some compounds), or graphite in a humid climate (it cakes).
Store the three lubricant types together so a seasonal pass doesn’t turn into a scavenger hunt. The whole kit costs under $30 and covers every friction point on a home’s windows and doors.
Testing and Clearing Weep Holes
Blocked weep holes are the leading cause of water intrusion that homeowners misattribute to failed seals. The weep hole is the small slot at the bottom of a window or sliding door frame that lets water that gets past the exterior seal drain back out. When it plugs, water pools inside the sill channel and finds its way into the wall or the floor below. The window itself may be perfectly sound; the drain is the failure point.
A weep hole test takes about a minute per unit:
- Locate the weep holes at the bottom of the exterior frame. There are usually two per window and several along a sliding door.
- Pour a cup of water into the sill channel just above the hole.
- Watch for water to exit the hole on the exterior face within a few seconds.
- If water sits or drains slowly, clear the hole with a thin wire or a pipe cleaner.
- Re-test. If it still won’t drain, the internal drainage path is blocked and needs professional attention.
We test weep holes on every window and door service call in Hayward because the climate can mask the problem. A dry summer hides a blocked drain; the first substantial rain exposes it as a stain on the interior sill or a soft spot in the drywall below. Catching it in spring, before the wet season, is the whole reason the test belongs on the spring list.
Wood vs. Vinyl vs. Fiberglass: Separate Protocols
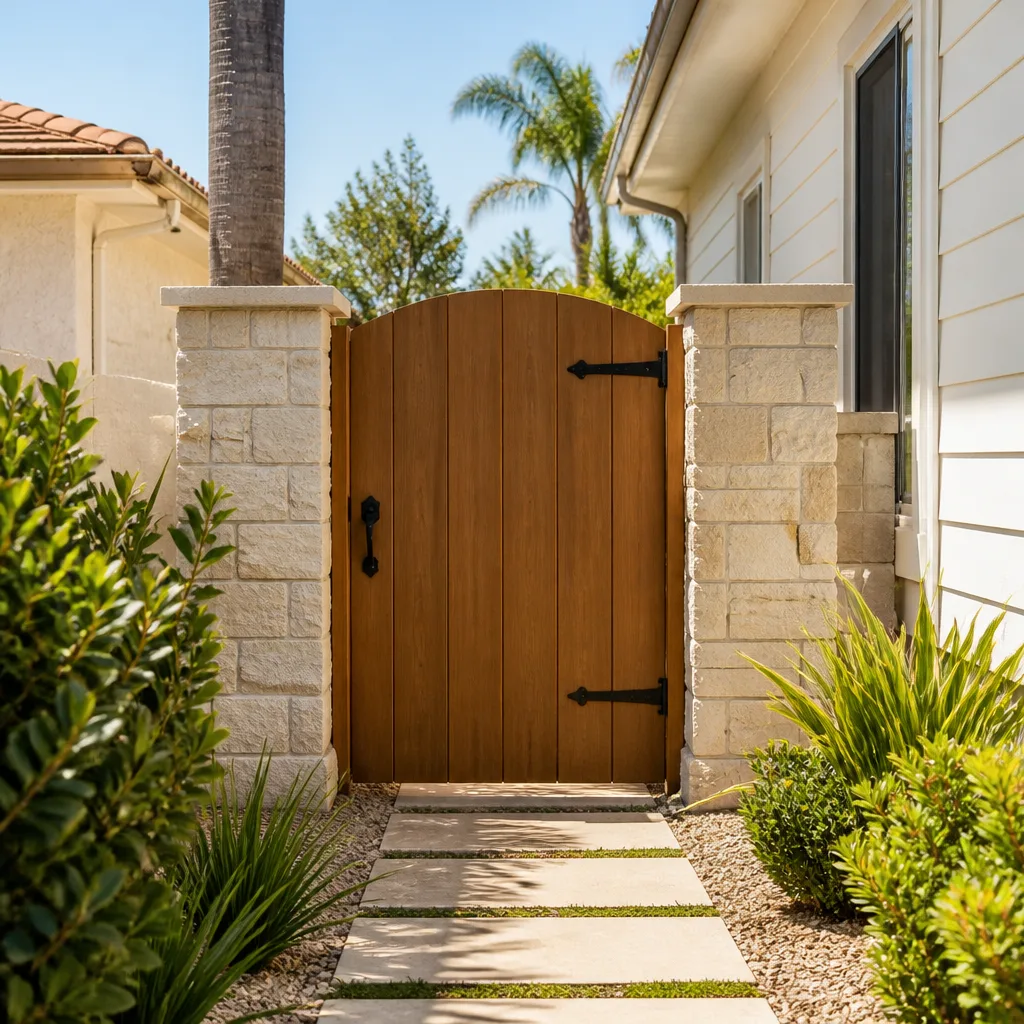
The material of the frame determines what maintenance actually protects it. Treating a vinyl window like a wood window wastes effort; treating a wood window like a vinyl window invites rot. Here’s the split.
Wood frames are protected by their paint film. Once that film checks, peels, or wears at the sill and bottom rail, moisture enters the wood and the frame begins to fail from the outside in. Check the paint film every fall, touch up any breach immediately, and pay special attention to end grain, the exposed cut ends of wood members where moisture wicks in fastest. Seal end grain with a paintable exterior sealant whenever it’s exposed. Any soft spot in a sill or bottom rail means the wood is already compromised; don’t paint over it, investigate it.
Vinyl frames are low maintenance but not maintenance-free. They oxidize under UV, which shows up as a chalky film that dulls the surface and, over time, embrittles the material. Wipe down with a vinyl cleaner each spring, and inspect the caulk joints at the frame perimeter for cracks or separation. Vinyl expands and contracts more than wood with temperature, so caulk joints take more movement stress.
Fiberglass frames resist UV and moisture well but need the same caulk-joint inspection as vinyl, plus a check on the frame for any surface cracks that could admit water. A fiberglass frame that shows a crack should be inspected before it’s painted; paint hides the crack but doesn’t stop the water.
On a Hayward home, the seasonal temperature swings and occasional heat spikes matter less than the wet-season rain and the dry-season sun, so the spring caulk-joint check and the fall paint-film check are the two priorities regardless of material.
See the difference
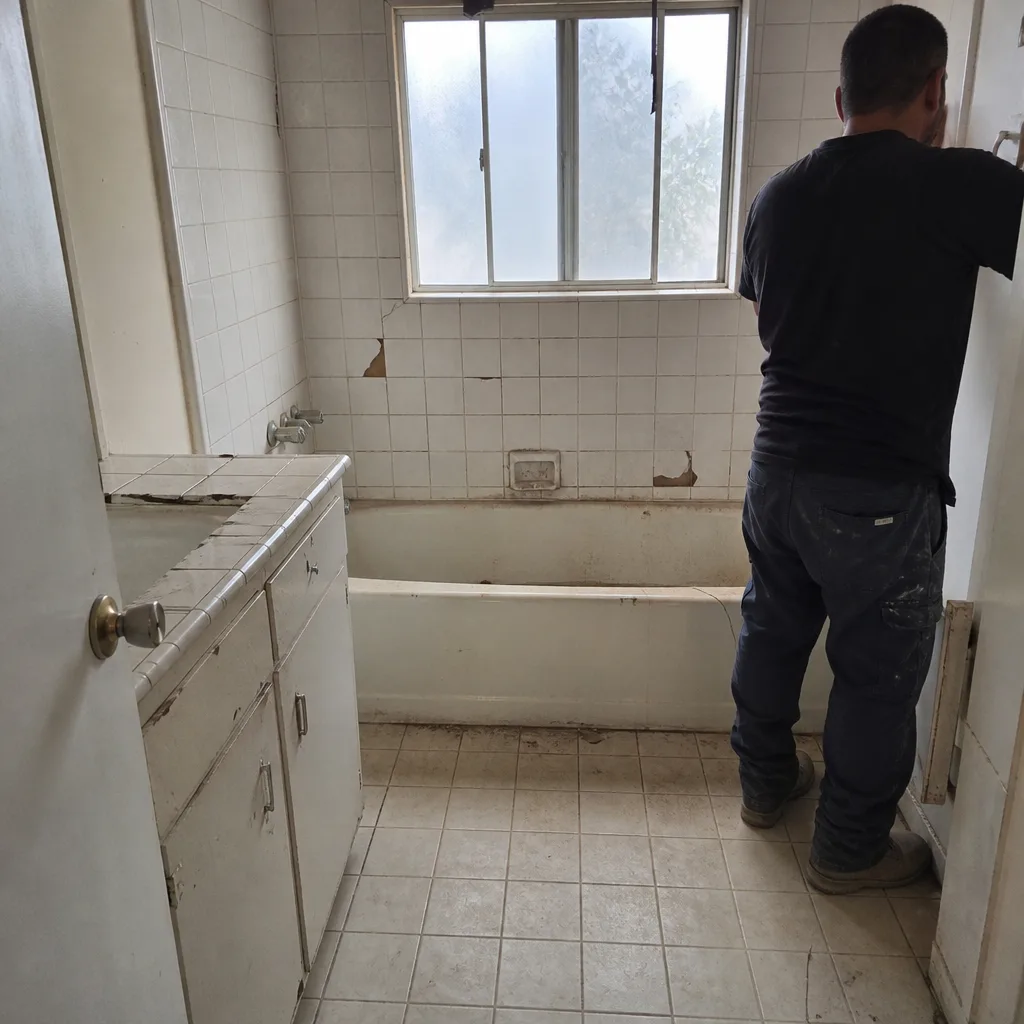 Before
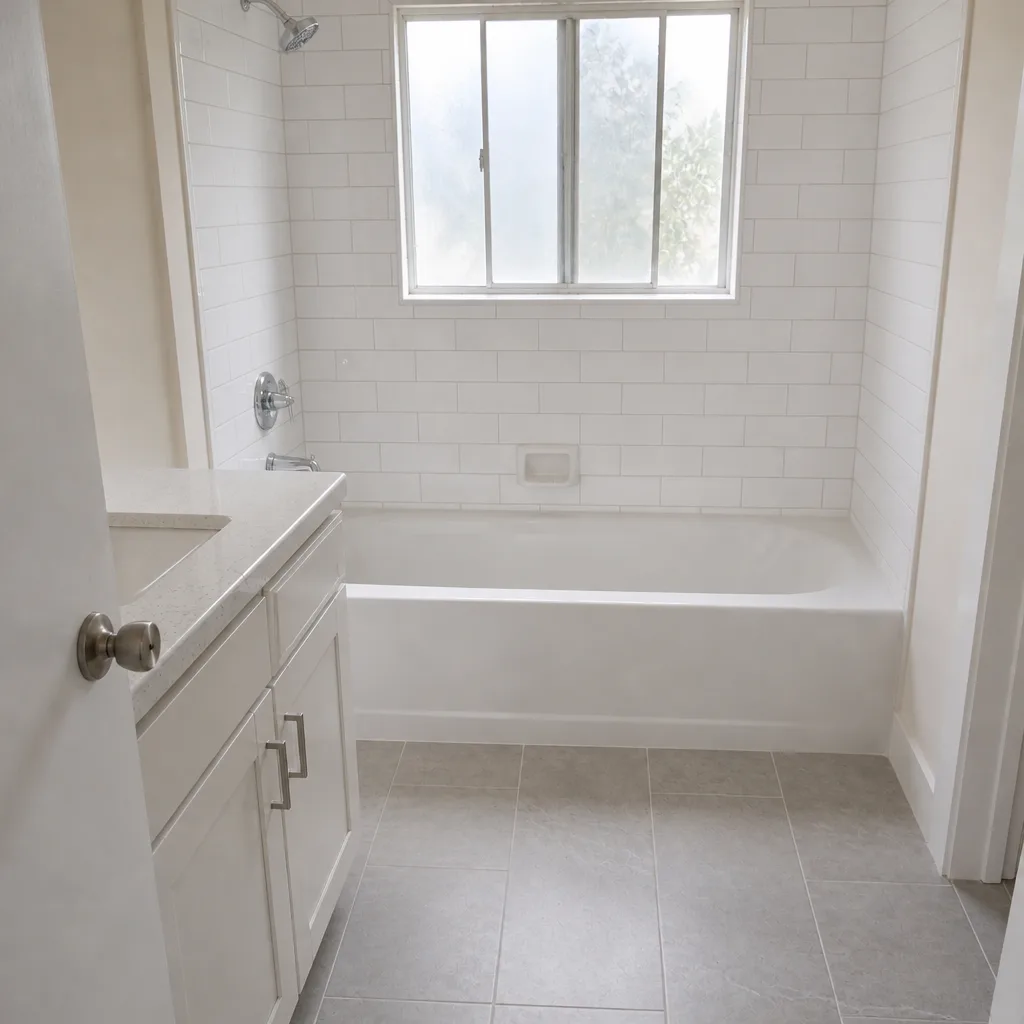 After
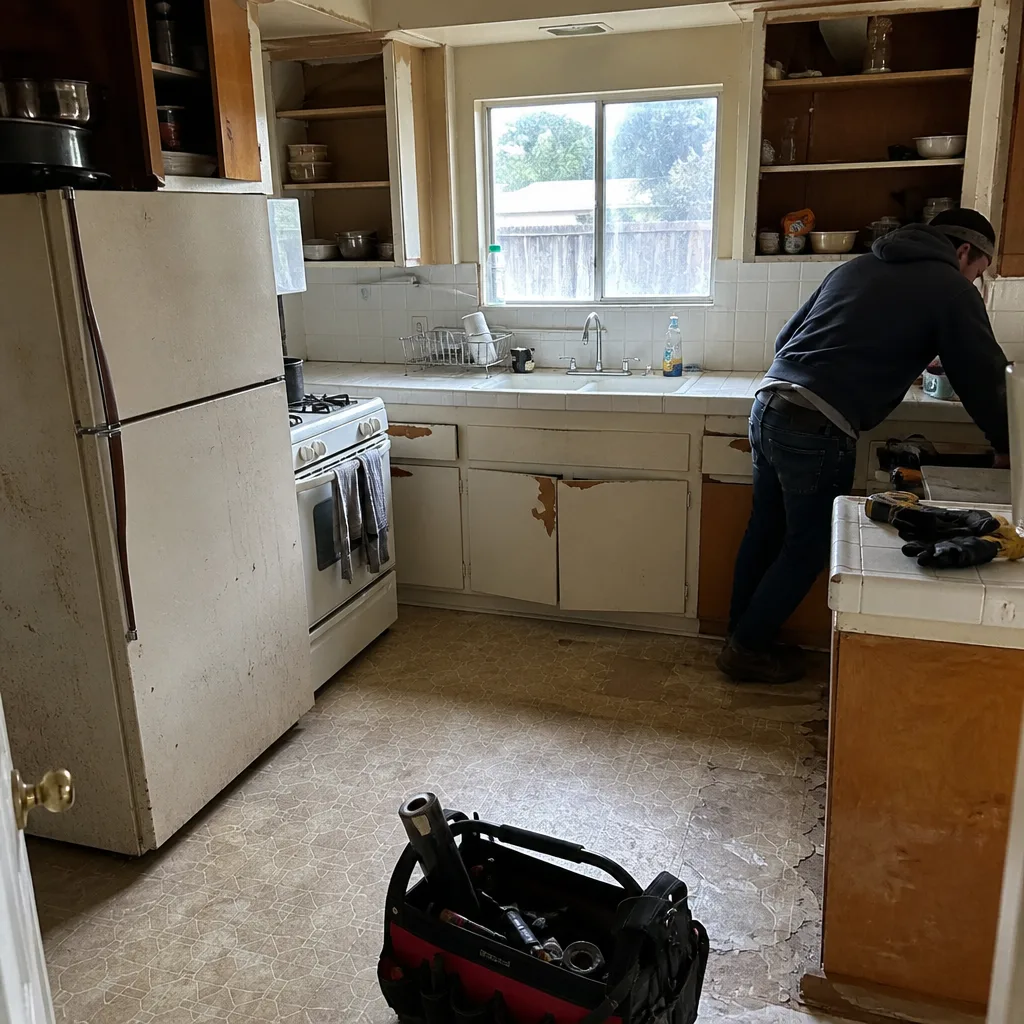 Before
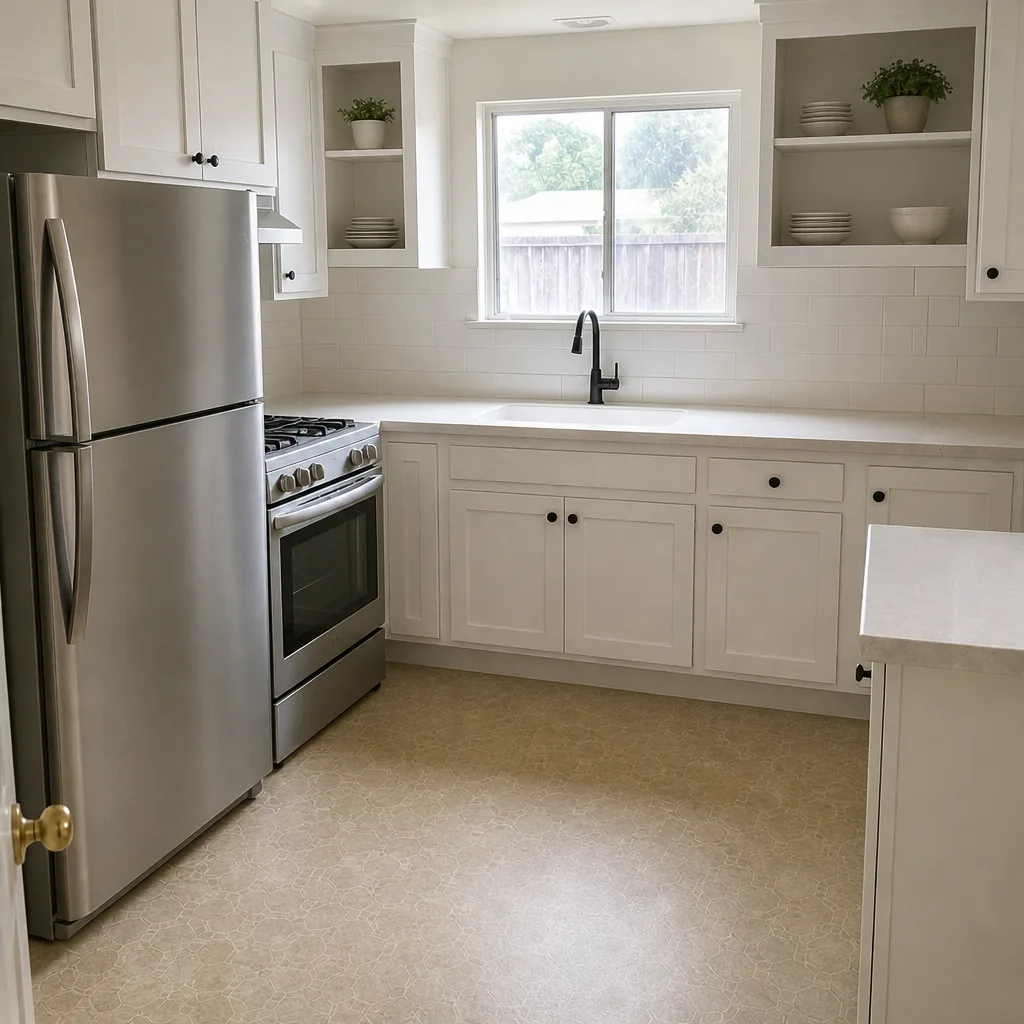 After
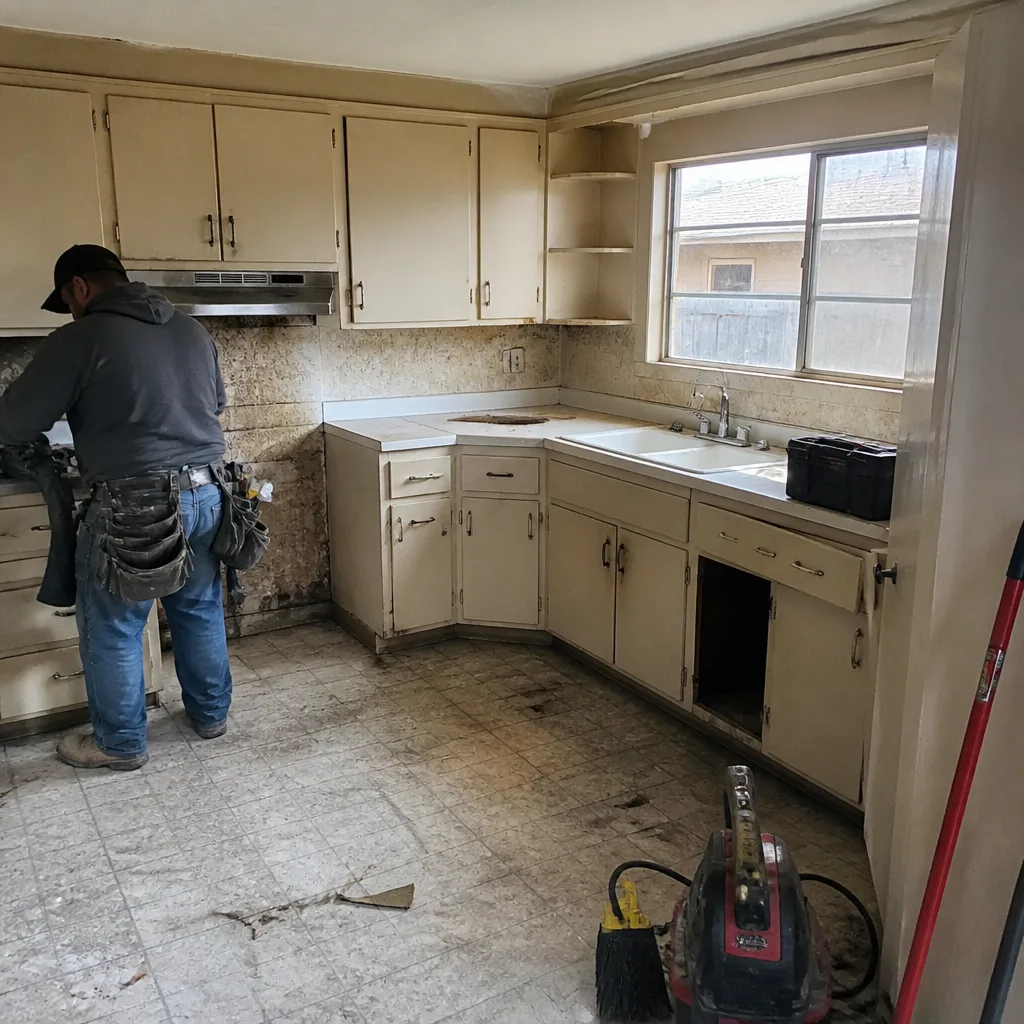 Before
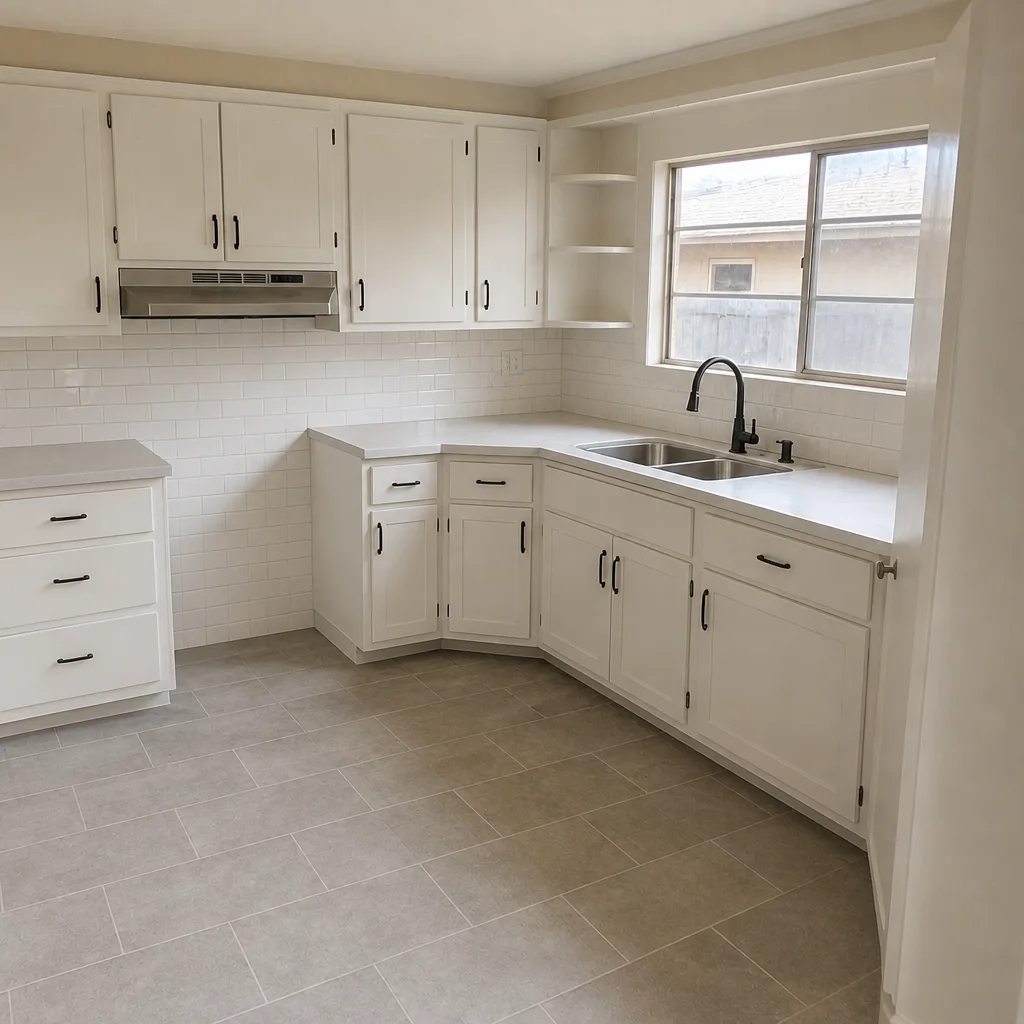 After
Hardware, Hinges, and Multi-Point Locks
Multi-point locking systems, now common on newer exterior doors, have specific maintenance needs that generic guides ignore. The system uses a single handle to drive locking rods or cams at multiple points along the door edge, and its smooth operation depends on the alignment of the door within the frame. Misalignment, not worn parts, is the usual cause of a stiff handle or a lock that won’t fully engage.
Quarterly, do this:
- Operate the lock fully, top to bottom, and feel for any point that catches or requires extra force.
- Lubricate the lock case and mechanism with dry PTFE, and the rods and hinges with light oil.
- Check the door for sag; a door that has dropped slightly will fight the lock at the top or bottom.
- Adjust the strike plates if the lock engages with effort; a quarter-turn on the adjustment screw often restores smooth operation.
- Check the hinges for loose screws and tighten any that have backed out.
If the lock won’t engage after adjustment, the door alignment needs professional attention. Forcing it will damage the mechanism, and replacement hardware for a multi-point system runs $300 to $800 depending on the brand. A 15-minute adjustment now is cheaper than a lock replacement later. Hinges on standard doors need a light oil annually and a screw-tightness check every six months.
Weatherstripping and Sealant Inspection
Weatherstripping is the cheapest part in the whole system and the one that fails fastest. Its job is to seal the gap between the door or window and the frame, and it does that by compression. Over 3 to 7 years the material loses its memory and stays compressed, at which point it no longer seals and the gap leaks air and moisture. The telltale is a profile that’s been flattened into a permanent groove or a foam that crumbles when you pinch it.
Check the weatherstripping at every exterior door and operable window each fall. Run a hand along the closed edge for a draft on a windy day, or hold a strip of tissue near the gap and watch for movement. If you find a gap, replace the strip. The material is inexpensive; the labor of replacing it is minimal compared with the cost of the air infiltration and frame moisture it prevents.
Sealant at the frame perimeter, the caulk joint where the frame meets the wall, is the other critical seal. Inspect these joints each spring. Cut out and replace any joint that has cracked, pulled away, or shrunk. Use a paintable exterior caulk rated for the frame material. The joint takes the most movement stress of any part of the assembly, so it’s the first to fail.
Common Mistakes to Avoid
- Using petroleum-based lubricant on vinyl tracks. It softens and discolors vinyl and attracts grit. Use silicone spray instead.
- Assuming a window leak means a failed seal. In our experience it’s often a blocked weep hole. Test the drain before you price a window replacement.
- Painting over a soft wood sill. Paint hides rot but doesn’t stop it. Probe the wood first; if it’s soft, investigate before you paint.
- Ignoring weatherstripping because the door “feels fine.” Compression set develops slowly and doesn’t announce itself. Check the profile, not just the draft.
- Forcing a multi-point lock that won’t engage. The problem is usually alignment, not the lock. Forcing it damages the mechanism.
- Skipping the spring caulk-joint check. Failing joints are easy to miss until water is already inside the wall.
- Cleaning a track and not lubricating it, or lubricating without cleaning. The two go together. Grit plus lubricant equals paste.
When to Call a Professional
Most window and door maintenance is a homeowner task. A few situations are not. Call a professional when a wood frame shows soft spots or rot, when a sliding door panel drops or drags after the track has been cleaned and lubricated, when a weep hole won’t drain after clearing, when a multi-point lock won’t engage after adjustment, or when you find evidence of water inside the wall around a window or door. Those situations involve structural repair, glass handling, or diagnostic work that a maintenance schedule can’t address. Rowan Construction Group Hayward offers free estimates in Hayward on window and door repair and replacement, and our technicians have up to 19 years of experience with the diagnostic work that tells you whether a fix or a replacement is the honest answer. Call (866) 863-1729 to schedule your free estimate. For projects that go beyond maintenance, see our work in Rowan Construction Group Hayward home and our other trades across the East Bay.
Frequently Asked Questions
Lubricate sliding tracks twice a year, in spring and fall, after cleaning them. Quarterly checks are enough for hinges and locks, and a monthly visual pass on tracks catches debris before it grinds into the surface. Call (866) 863-1729 if a track is damaged or a panel won’t slide smoothly after cleaning and lubrication.
A blocked weep hole lets water pool inside the sill even though the window itself is sound, while a failed seal lets water past the glass-to-frame joint. Test the weep hole first with a cup of water; if it drains and you still see moisture, the seal is the likely culprit. Call (866) 863-1729 for a free diagnostic estimate.
No. WD-40 is petroleum-based and can soften and discolor vinyl, and it attracts dust that turns into grit. Use silicone spray on vinyl tracks and dry PTFE on weatherstripping and multi-point locks. Call (866) 863-1729 if you’re unsure which product fits your frame material.
Weatherstripping lasts 3 to 7 years depending on material and exposure. Replace it when the profile has been flattened into a permanent groove or the foam crumbles when pinched, or when a draft test shows a gap. The material costs $20 to $60 and is one of the cheapest repairs on a home. Call (866) 863-1729 for a free estimate on replacement.
Multi-point locks need quarterly operation checks, dry PTFE on the lock case, light oil on the rods and hinges, and periodic strike-plate adjustment. If the lock won’t engage after adjustment, the door alignment needs professional attention. Call (866) 863-1729 for a free estimate on lock repair or replacement.
Hayward’s mild climate means less freeze-thaw stress than colder regions, but the wet-season rain and dry-season sun still stress caulk joints and paint films. The spring and fall deep passes apply here as everywhere; the difference is the priority on weep-hole testing and caulk-joint inspection. Call (866) 863-1729 for a free estimate tailored to your home.
The Bottom Line
Window and door maintenance is preventive, and the failures that drive replacement costs develop slowly enough to stop cheaply if they’re caught on schedule. Clean and lubricate tracks twice a year with the right product for the material. Test and clear weep holes each spring. Check the paint film on wood frames and the caulk joints on vinyl and fiberglass each spring and fall. Inspect weatherstripping for compression set each fall and replace it when it fails. Lubricate hardware quarterly and adjust multi-point locks rather than forcing them. Do those things and the expensive repairs stay rare. Rowan Construction Group Hayward handles the work that goes beyond maintenance, with a written price before any work starts, a free second opinion on any written estimate, and the 365-Day Done Right Promise on every job. Call (866) 863-1729 for a free estimate, and explore our Driveway & Pavers in Hayward, Fence Installation in Hayward, and Home Additions & ADU in Hayward services for the rest of your exterior work.
Written by the team at Rowan Construction Group Hayward.